Stainless Steel Sample Preparation
A comprehensive guide to preparing stainless steel samples for metallographic analysis, covering sectioning, mounting, grinding, polishing, and etching techniques.
Introduction
Stainless steel is one of the most commonly analyzed materials in metallography. From common austenitic grades like 304 Stainless Steel to high-strength precipitation-hardening alloys, proper preparation is essential to reveal the true microstructure without introducing artifacts such as deformation, scratches, or contamination. This guide will walk you through the complete preparation process.

431 Stainless steel, Kallings no. 2 etchant, 400X magnification. This image demonstrates the proper microstructure revealed through correct preparation techniques.
Stainless steels can be challenging due to their work-hardening characteristics and varying hardness depending on the grade. Softer austenitic grades like 304and 316 work-harden during preparation, while harder martensitic and precipitation-hardening grades like 17-4 PH require more aggressive cutting and grinding. The key is to use appropriate abrasives and maintain consistent pressure throughout the process.
Sectioning
When sectioning stainless steel samples on a standard abrasive cutoff saw, run the wheel at typical metallographic surface speeds (~2,500-4,500 SFM) and manage heat through blade selection, coolant flood, and feed rate rather than by lowering spindle RPM — under-speeding a thin abrasive blade tends to glaze and burn rather than cut. Harder grades like 17-4 PH Stainless Steelwant a harder-bond Al₂O₃ blade (the hardened/case-hardened blade category), not a slower wheel. For very heat-sensitive cross-sections, switch to a precision (low-speed) saw with a diamond wafering blade instead of slowing a standard cutoff.
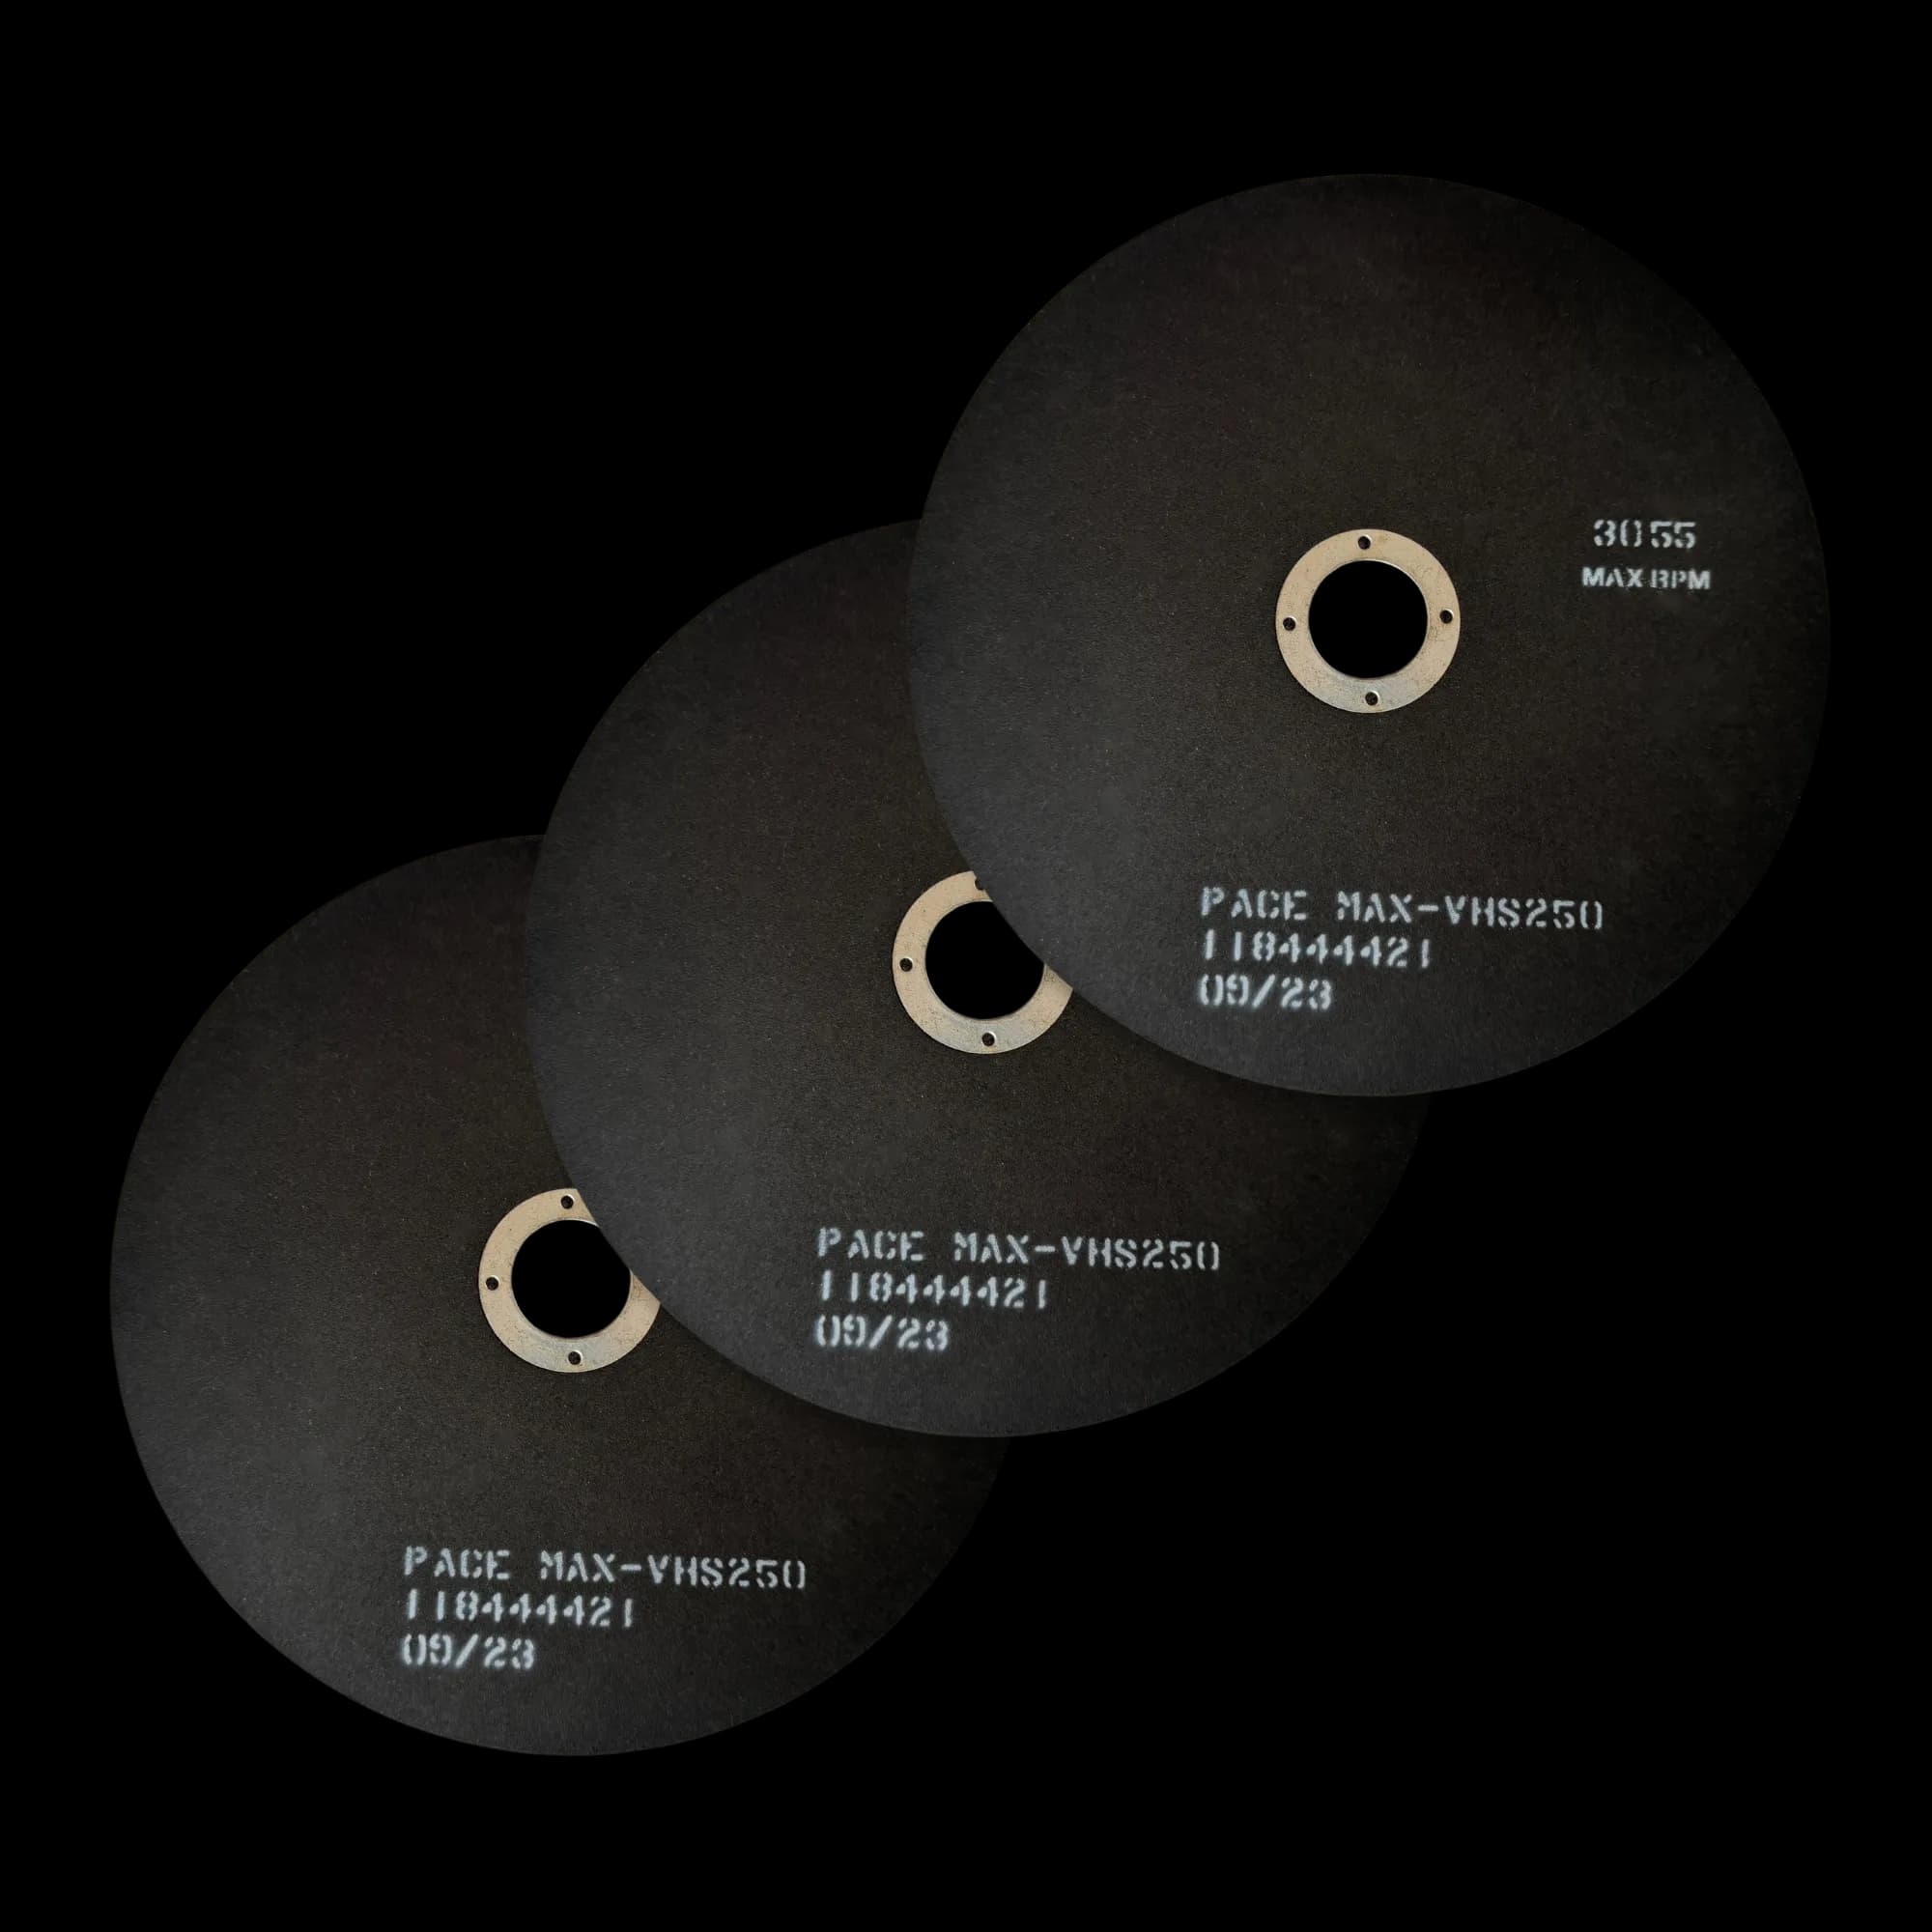
Hard-bond Al₂O₃ abrasive cut-off blades designed for hard and case-hardened stainless steels. For general stainless steel grades, a medium resin-bonded Al₂O₃ blade is also suitable. Thin blades (0.5-1.0 mm) minimize heat generation and deformation.
- Use a hard-bond Al₂O₃ blade (hardened/case-hardened steel category) for hard and case-hardened stainless steels, or a medium resin-bonded Al₂O₃ blade (general ferrous category) for typical stainless grades
- Use a thin abrasive cut-off wheel (0.5-1.0 mm thickness)
- Apply steady, moderate pressure
- Use adequate coolant to prevent overheating
- Allow the wheel to do the cutting - avoid forcing
Example Products: Stainless Steel Abrasive BladesHard-bond Al₂O₃ blades for hard/case-hardened stainless steel, plus medium resin-bonded Al₂O₃ blades for general stainless steel grades
For purchasing options and product specifications, see commercial supplier website.
Mounting
Mounting provides edge retention and easier handling. For stainless steel, the canonical choice is a glass-filled epoxy compression mount. Plain phenolic (Bakelite-style) is a common pitfall: it wears 2-3× faster than the steel during long polishes and rounds the sample-mount boundary, which is the most frequent cause of poor edge retention reports on 304 and 316. Reserve plain phenolic for soft non-ferrous samples and switch stainless and harder steels over to glass-filled epoxy. Note that conductive (carbon- or Cu-filled) mounts solve electrical continuity for SEM/EBSD — they do not by themselves solve mechanical edge retention.
Compression Mounting
- Clean the sample thoroughly to remove cutting fluid and debris
- Place sample in mounting press with glass-filled epoxy (preferred) or epoxy resin
- Apply pressure: 3000-4000 psi for glass-filled epoxy/phenolic, 2000-3000 psi for plain epoxy
- Heat to 150-180°C and hold for 5-8 minutes
- Cool under pressure to room temperature
Grinding
Grinding removes sectioning damage and prepares the surface for polishing. Start with coarse grits and progressively move to finer grits. For stainless steel, we recommend the following sequence:
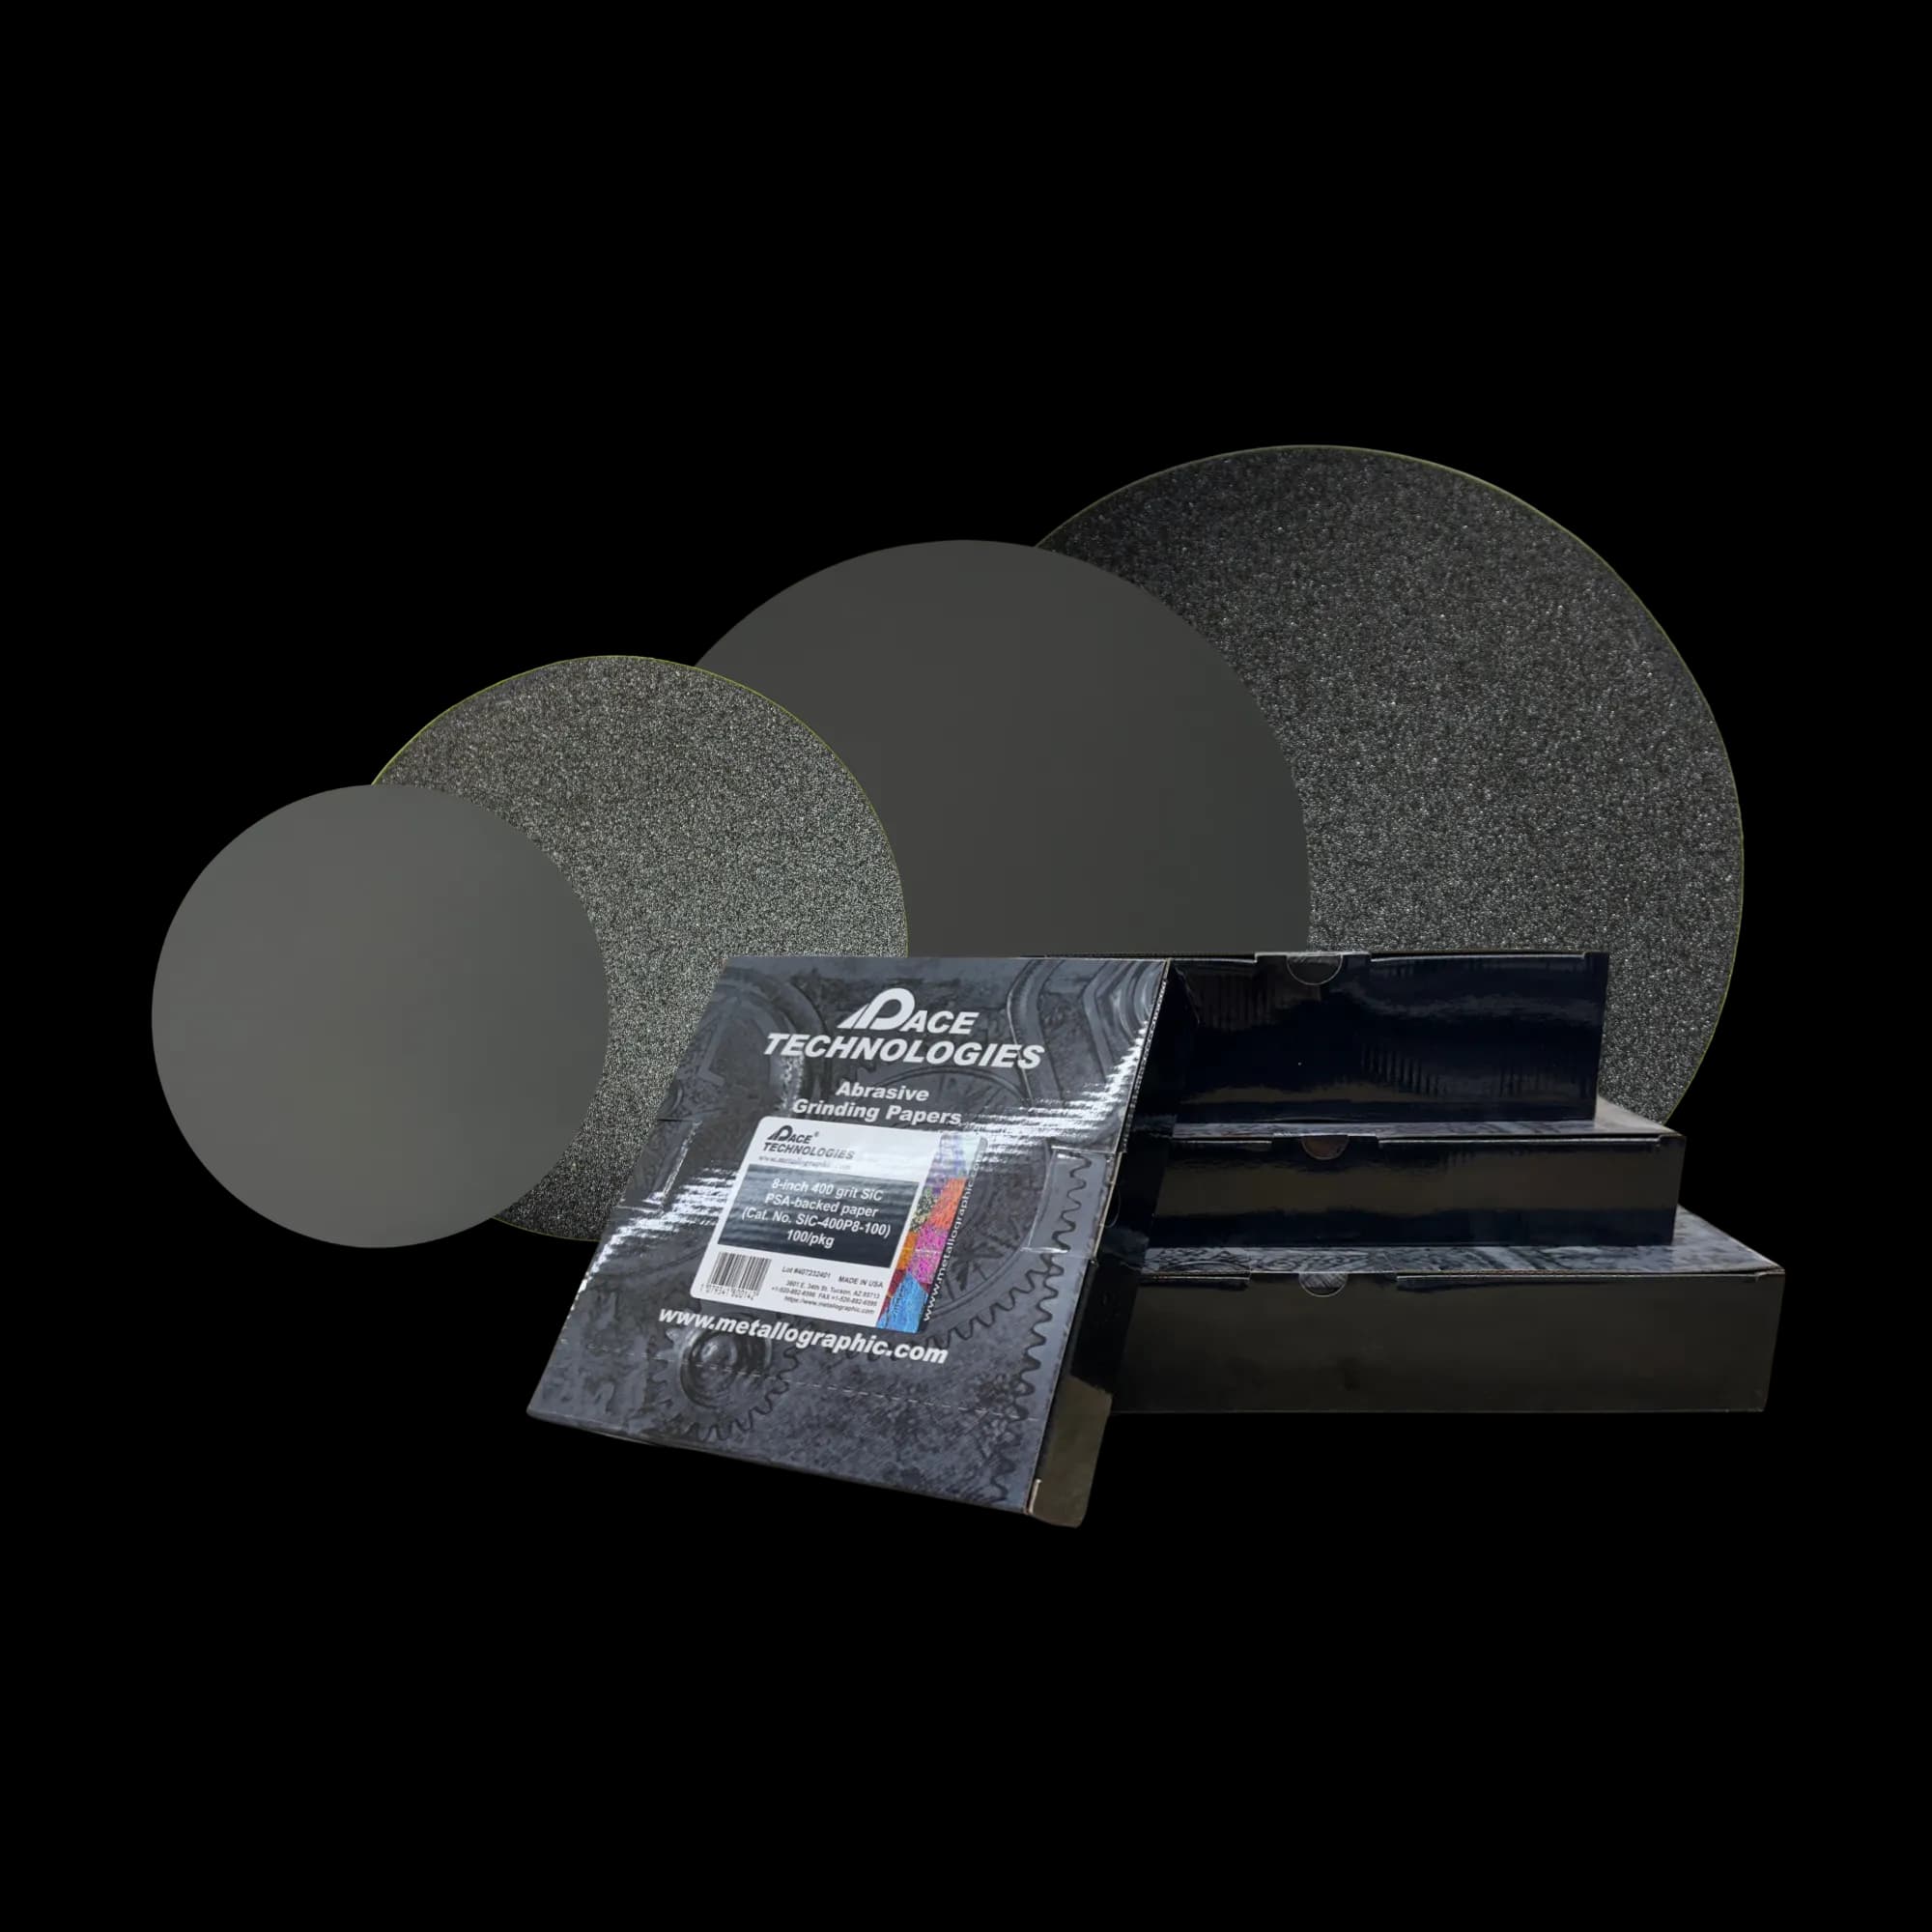
Silicon carbide (SiC) grinding papers in various grit sizes (120, 240, 400, 600) for progressive grinding. Rotate sample 90° between each grit to ensure complete scratch removal.
Grinding Sequence
- 120 grit: Remove sectioning damage (30-60 seconds per step)
- 240 grit: Remove previous scratches (1-2 minutes)
- 400 grit: Further refinement (1-2 minutes)
- 600 grit: Final grinding step (1-2 minutes)
Important: Rotate the sample 90° between each grit to ensure complete removal of previous scratches. Use water as a lubricant and maintain consistent, moderate force (roughly 25-30 N per sample) at a platen speed of 200-300 RPM — steady contact matters because stainless work-hardens under intermittent, heavy loading.
Example Products: Silicon Carbide Grinding PapersSiC papers in all grit sizes for consistent grinding
For purchasing options and product specifications, see commercial supplier website.
Polishing
Polishing removes grinding scratches and prepares a mirror-like surface. For stainless steel, diamond polishing followed by oxide polishing typically yields excellent results.
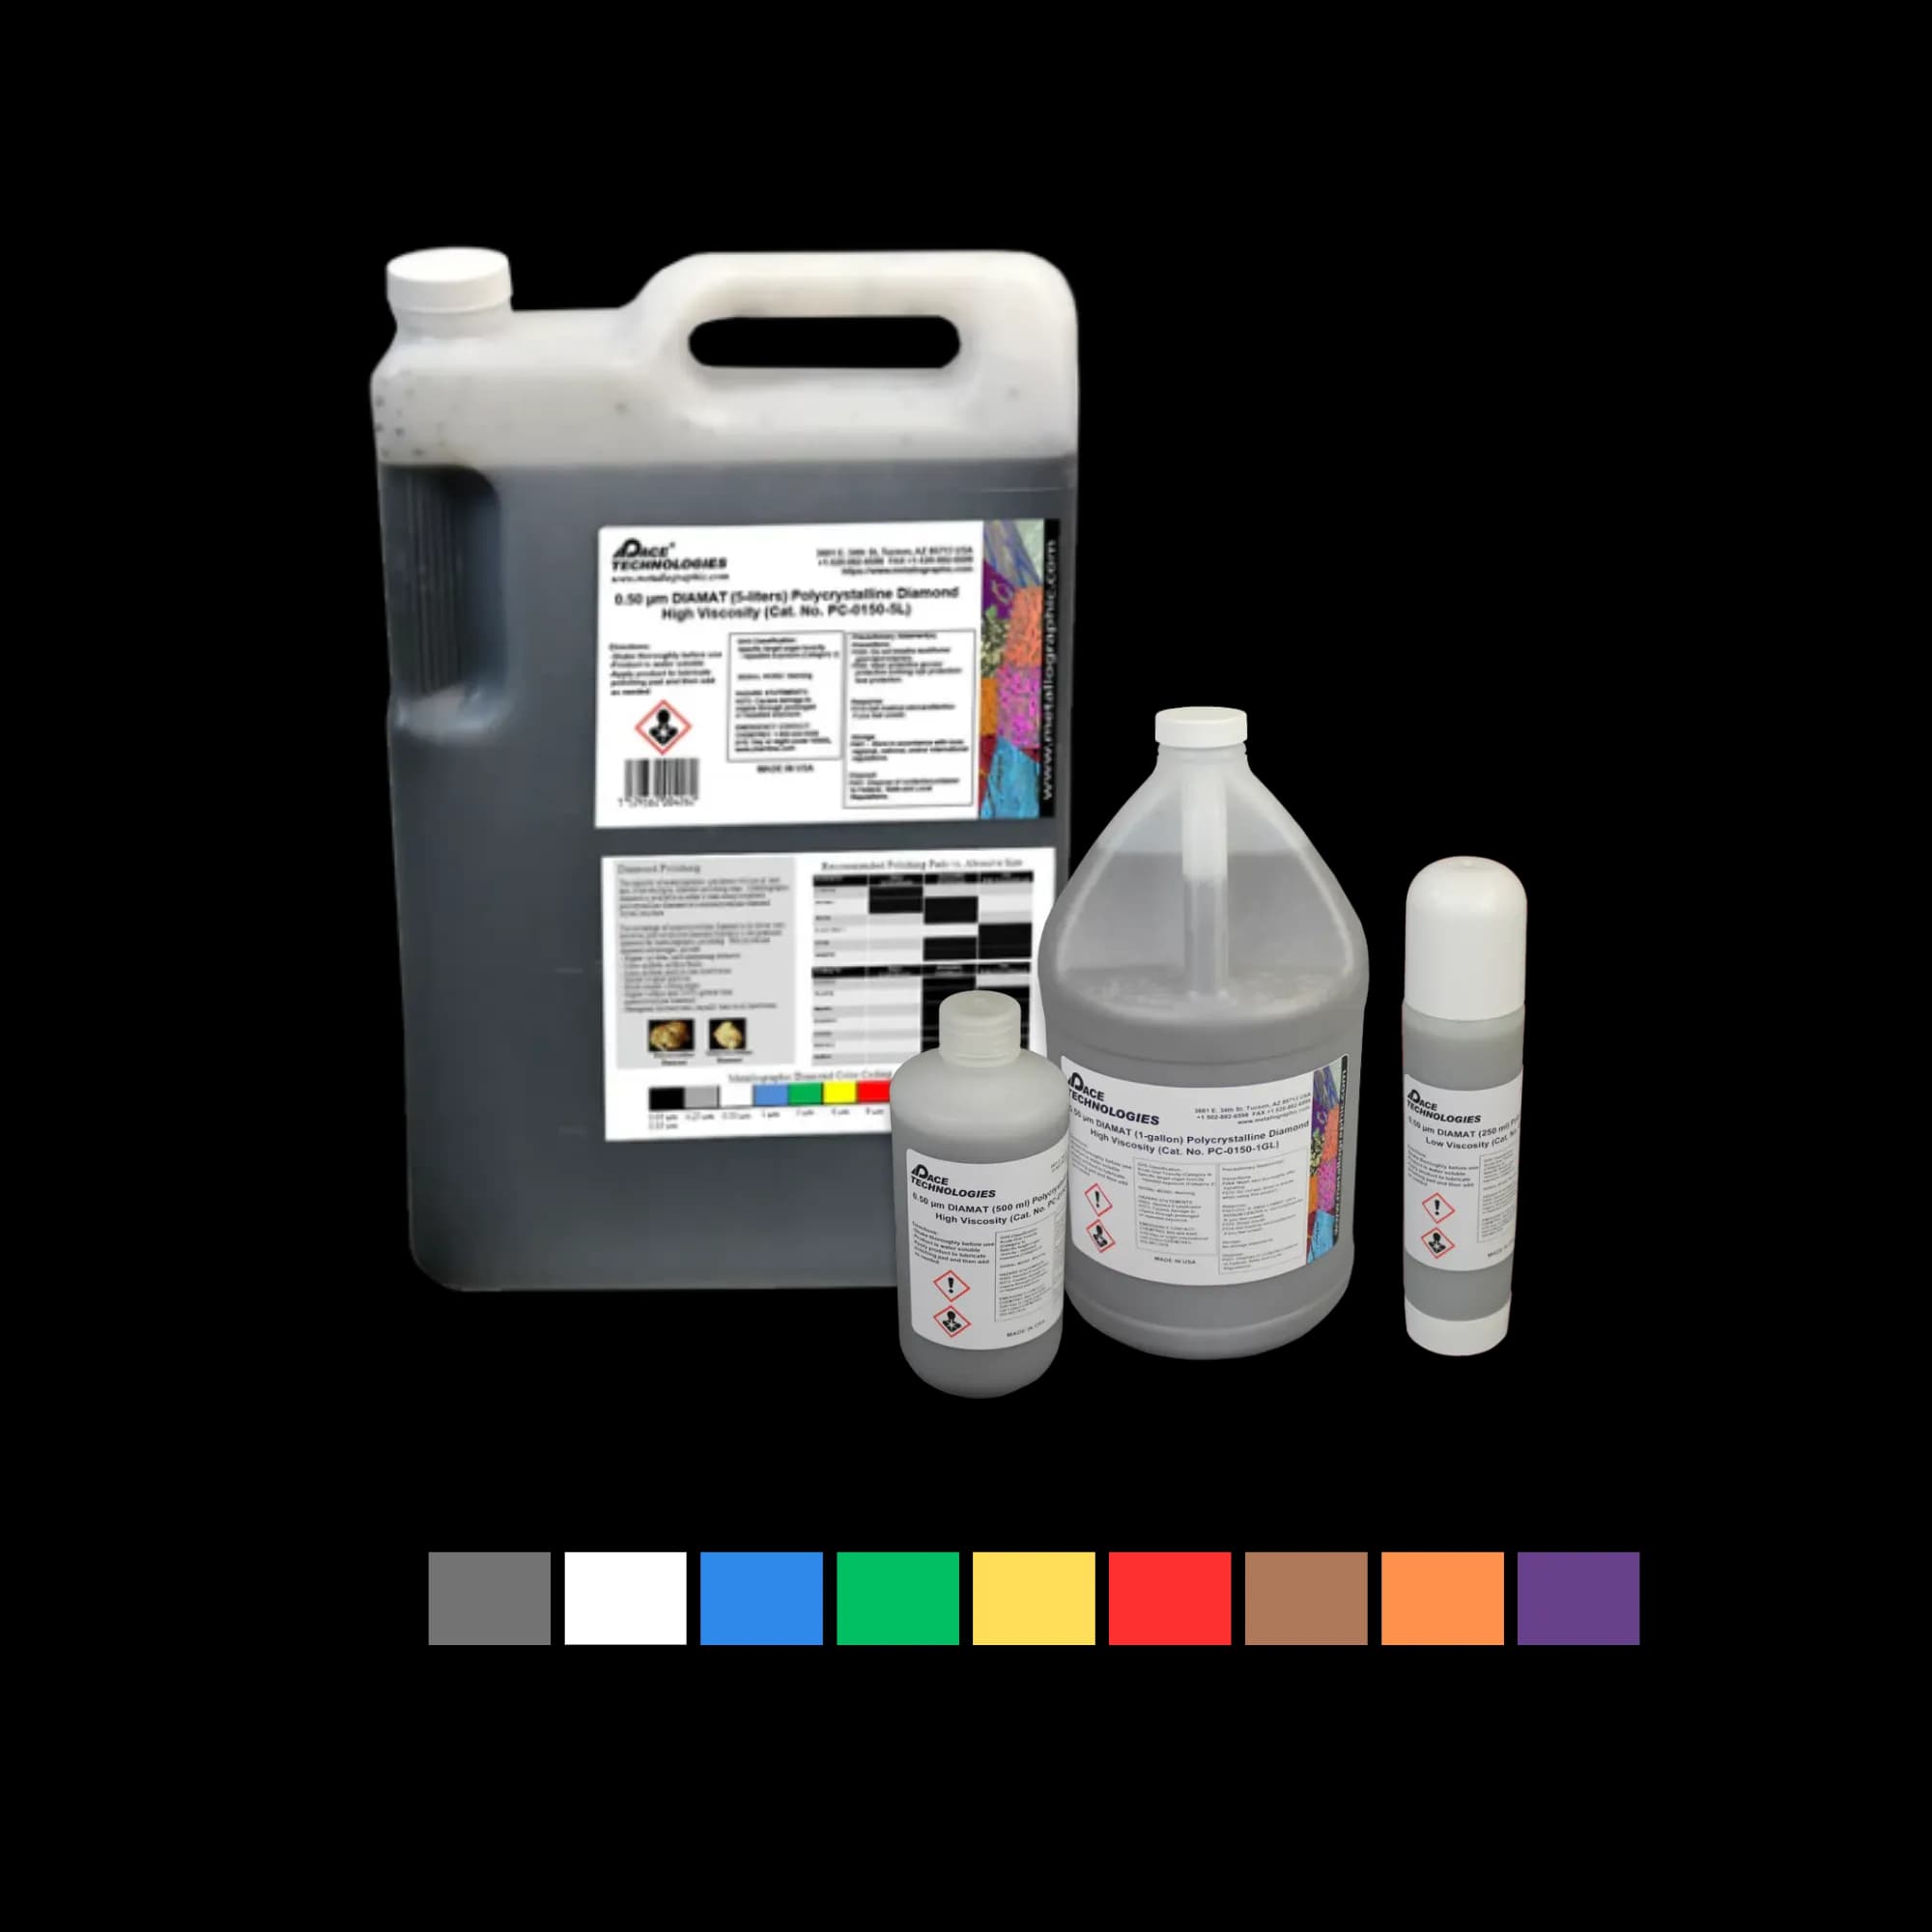
Polycrystalline diamond compound provides aggressive cutting action ideal for hard materials like stainless steel.
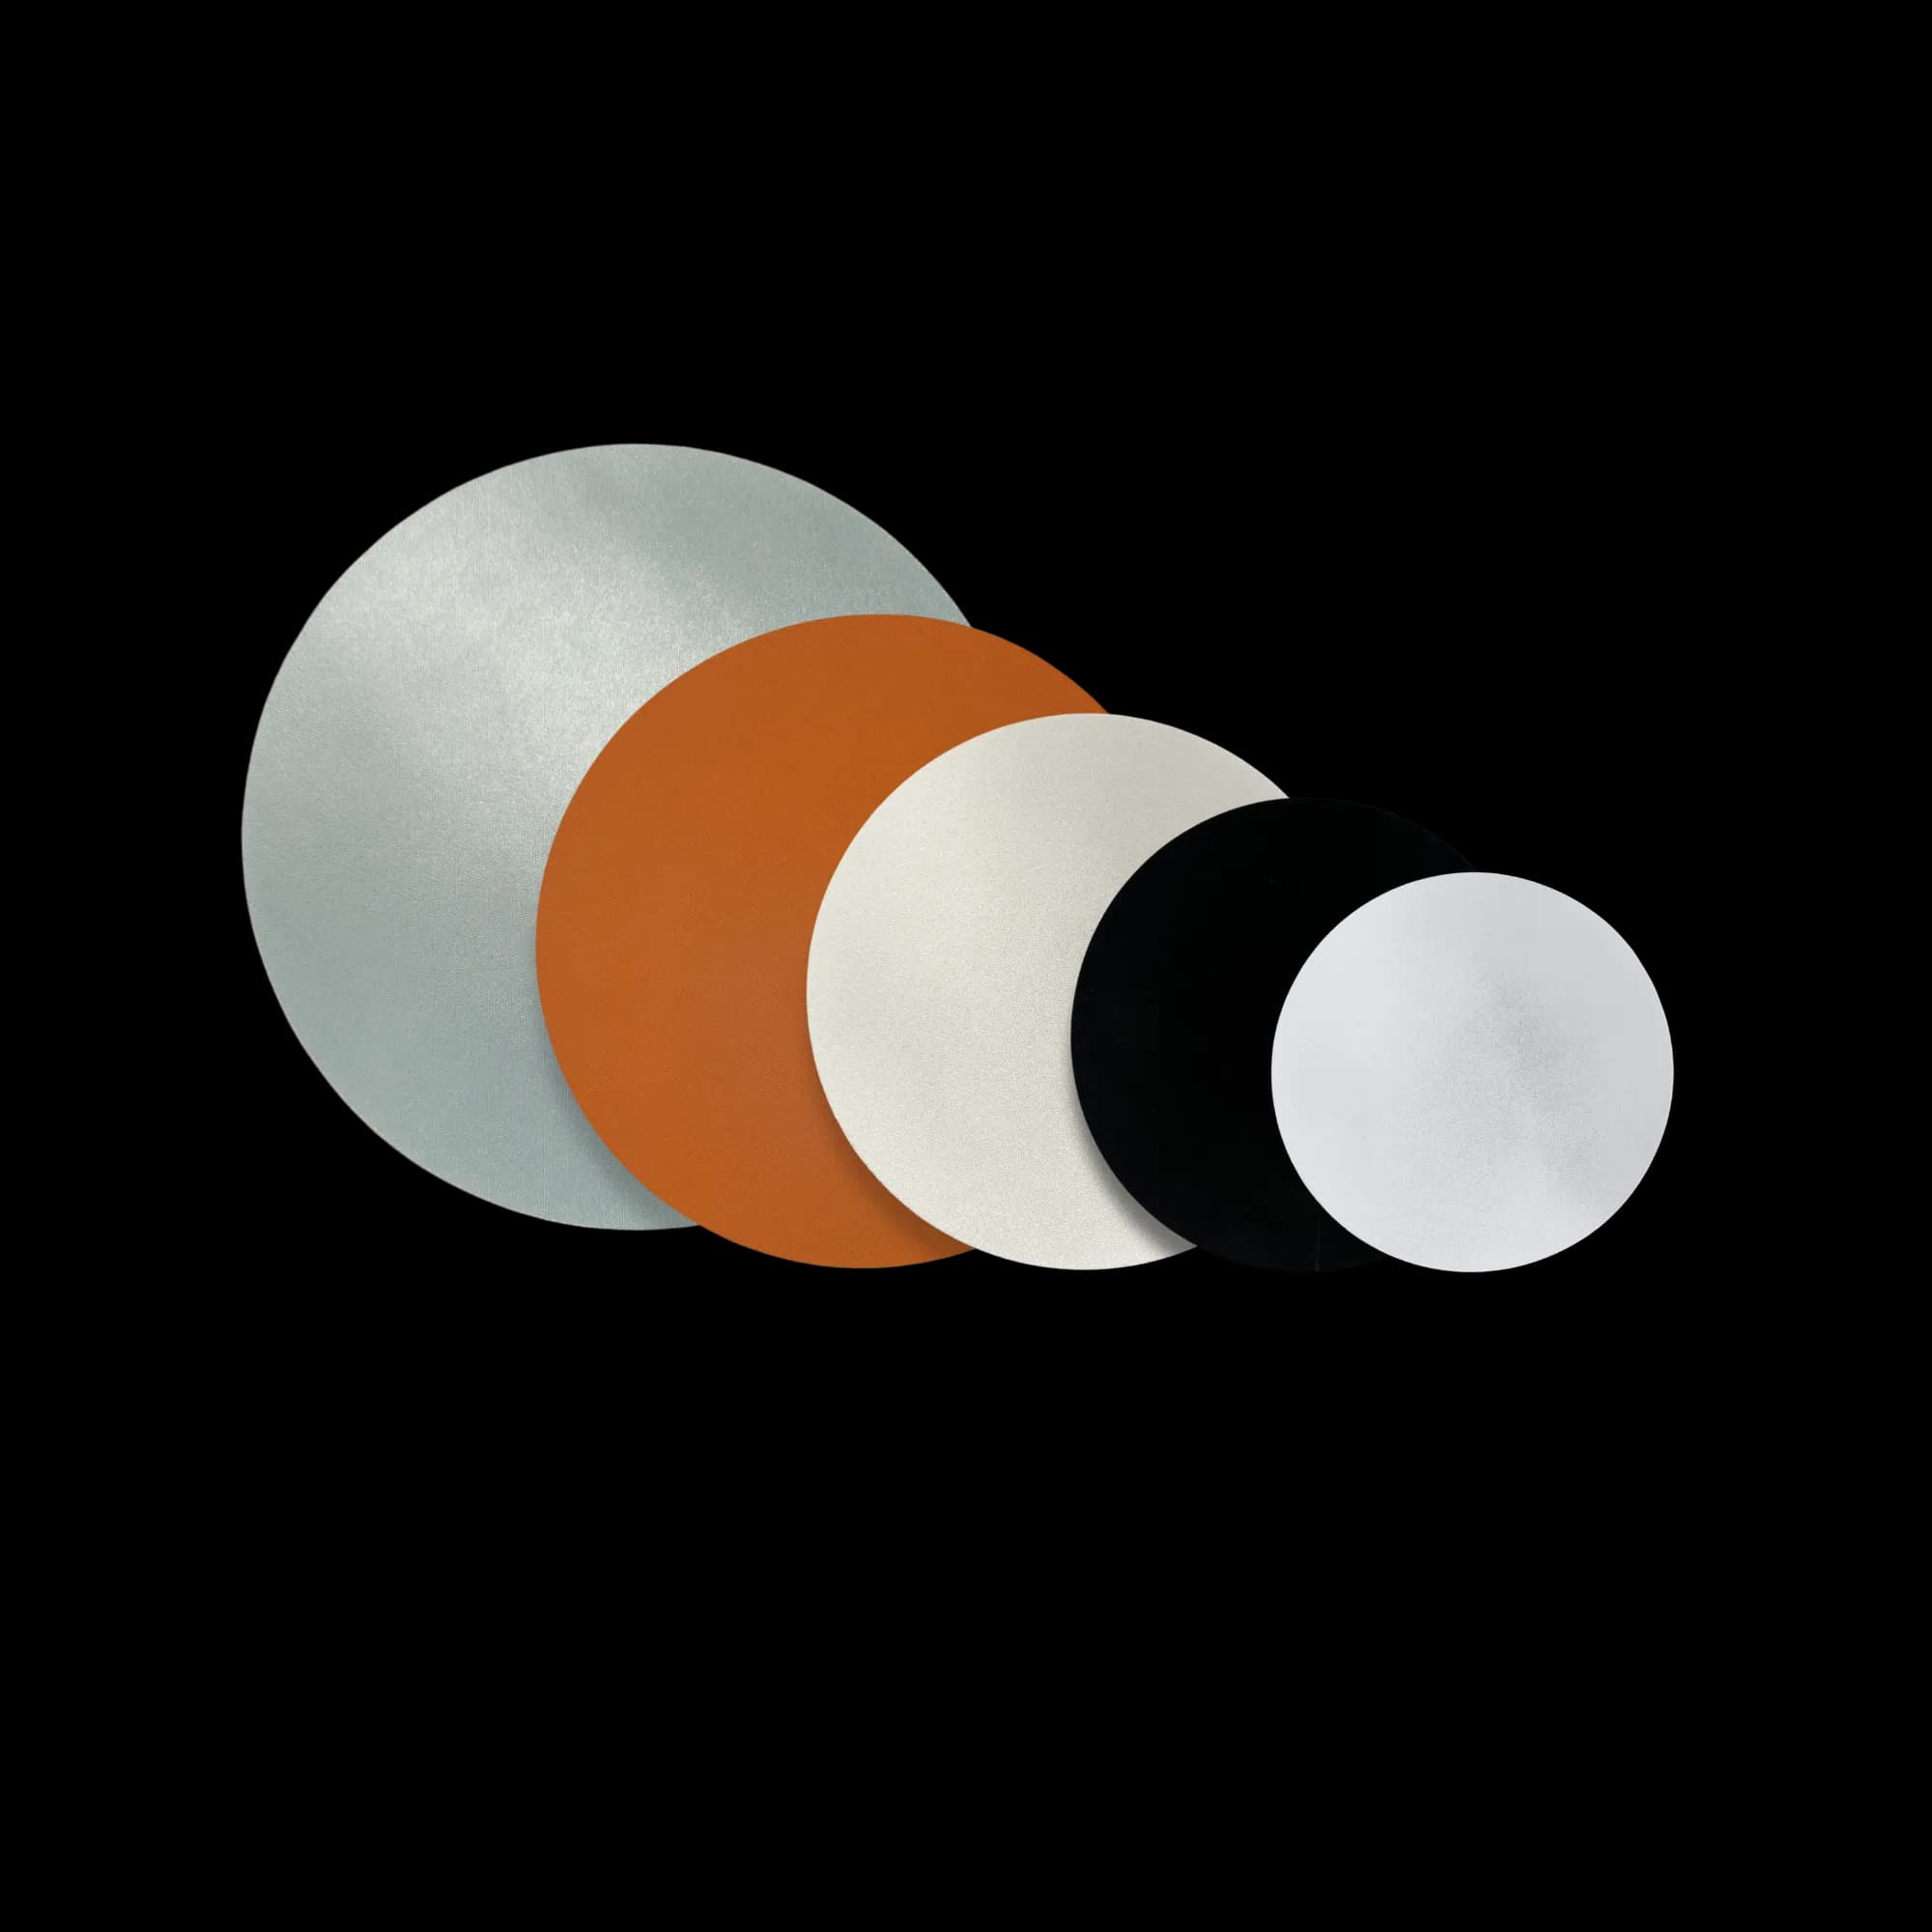
Various polishing pads and cloths for different polishing stages. Select pad hardness based on material and polishing stage.
Diamond Polishing
- 9 μm diamond: 3-5 minutes on a hard woven pad
- 3 μm diamond: 3-5 minutes on a medium napped cloth
- 1 μm diamond: 2-3 minutes on a soft napped cloth
Final Polishing
- 0.05 μm colloidal silica: ~2 minutes on a chemotextile pad
- Flush with water for the final 30-60 seconds while still polishing — this removes silica residue that otherwise dries into stains — then rinse and dry with compressed air
Use appropriate polishing lubricants, maintain consistent pressure, and run the platen at 100-150 RPM for all polishing steps. Over-polishing can introduce relief, especially around inclusions or second phases.
Etching
Etching reveals the microstructure by selectively attacking grain boundaries and phases. The choice of etchant depends on the stainless steel grade and what features you want to reveal.
.JPG&w=3840&q=75)
431 Stainless steel etched with Kallings no. 2, 400X magnification (DIC). Proper etching reveals grain boundaries and phase structure without over-etching artifacts.
Common Etchants for Stainless Steel
The right etchant depends on the stainless family. Pick from the list below by alloy class rather than reaching for a single "general purpose" reagent — austenitic, martensitic/ferritic, precipitation-hardening, and duplex grades each respond differently.
- Glyceregia (austenitic — 304, 316, 321, 347): 10 mL HNO₃ + 20 mL HCl + 30 mL glycerol. Immerse 10-60 s. Mix fresh; activity decays within an hour. The standard general-purpose etch for austenitic stainless.
- 10% Oxalic acid, electrolytic (austenitic): 10 g oxalic acid in 100 mL H₂O. Apply at 6 V for 30-60 s. Cleaner grain boundaries than Glyceregia with no flash etching. At 6 V for 90 s, this is also ASTM A262 Practice A for sensitization detection (reveals "ditched" chromium-carbide grain boundaries).
- Vilella's Reagent (martensitic — 410, 420, 440 — and ferritic — 430, 446): 1 g picric acid + 5 mL HCl + 95 mL ethanol. Swab 5-60 s. Picric safety: store the reagent and any picric acid stock wetted; dry picric is friction- and shock-sensitive. Vilella's also works for martensitic/PH grades like 431.
- Marble's Reagent (precipitation-hardening — 17-4 PH, 15-5 PH, 13-8 PH, 17-7 PH): 4 g CuSO₄ + 20 mL HCl + 20 mL H₂O. Swab 10-60 s. Modified Vilella's is an acceptable alternative for PH grades.
- Beraha's I or Klemm's I, tint etch (duplex — 2205, 2507): Beraha I = 10 mL HCl + 90 mL H₂O + 1 g K₂S₂O₅. Immerse 30-180 s. Tints ferrite blue/brown and leaves austenite white — required for duplex phase quantification. Klemm I gives even more vivid contrast on a deformation-free surface.
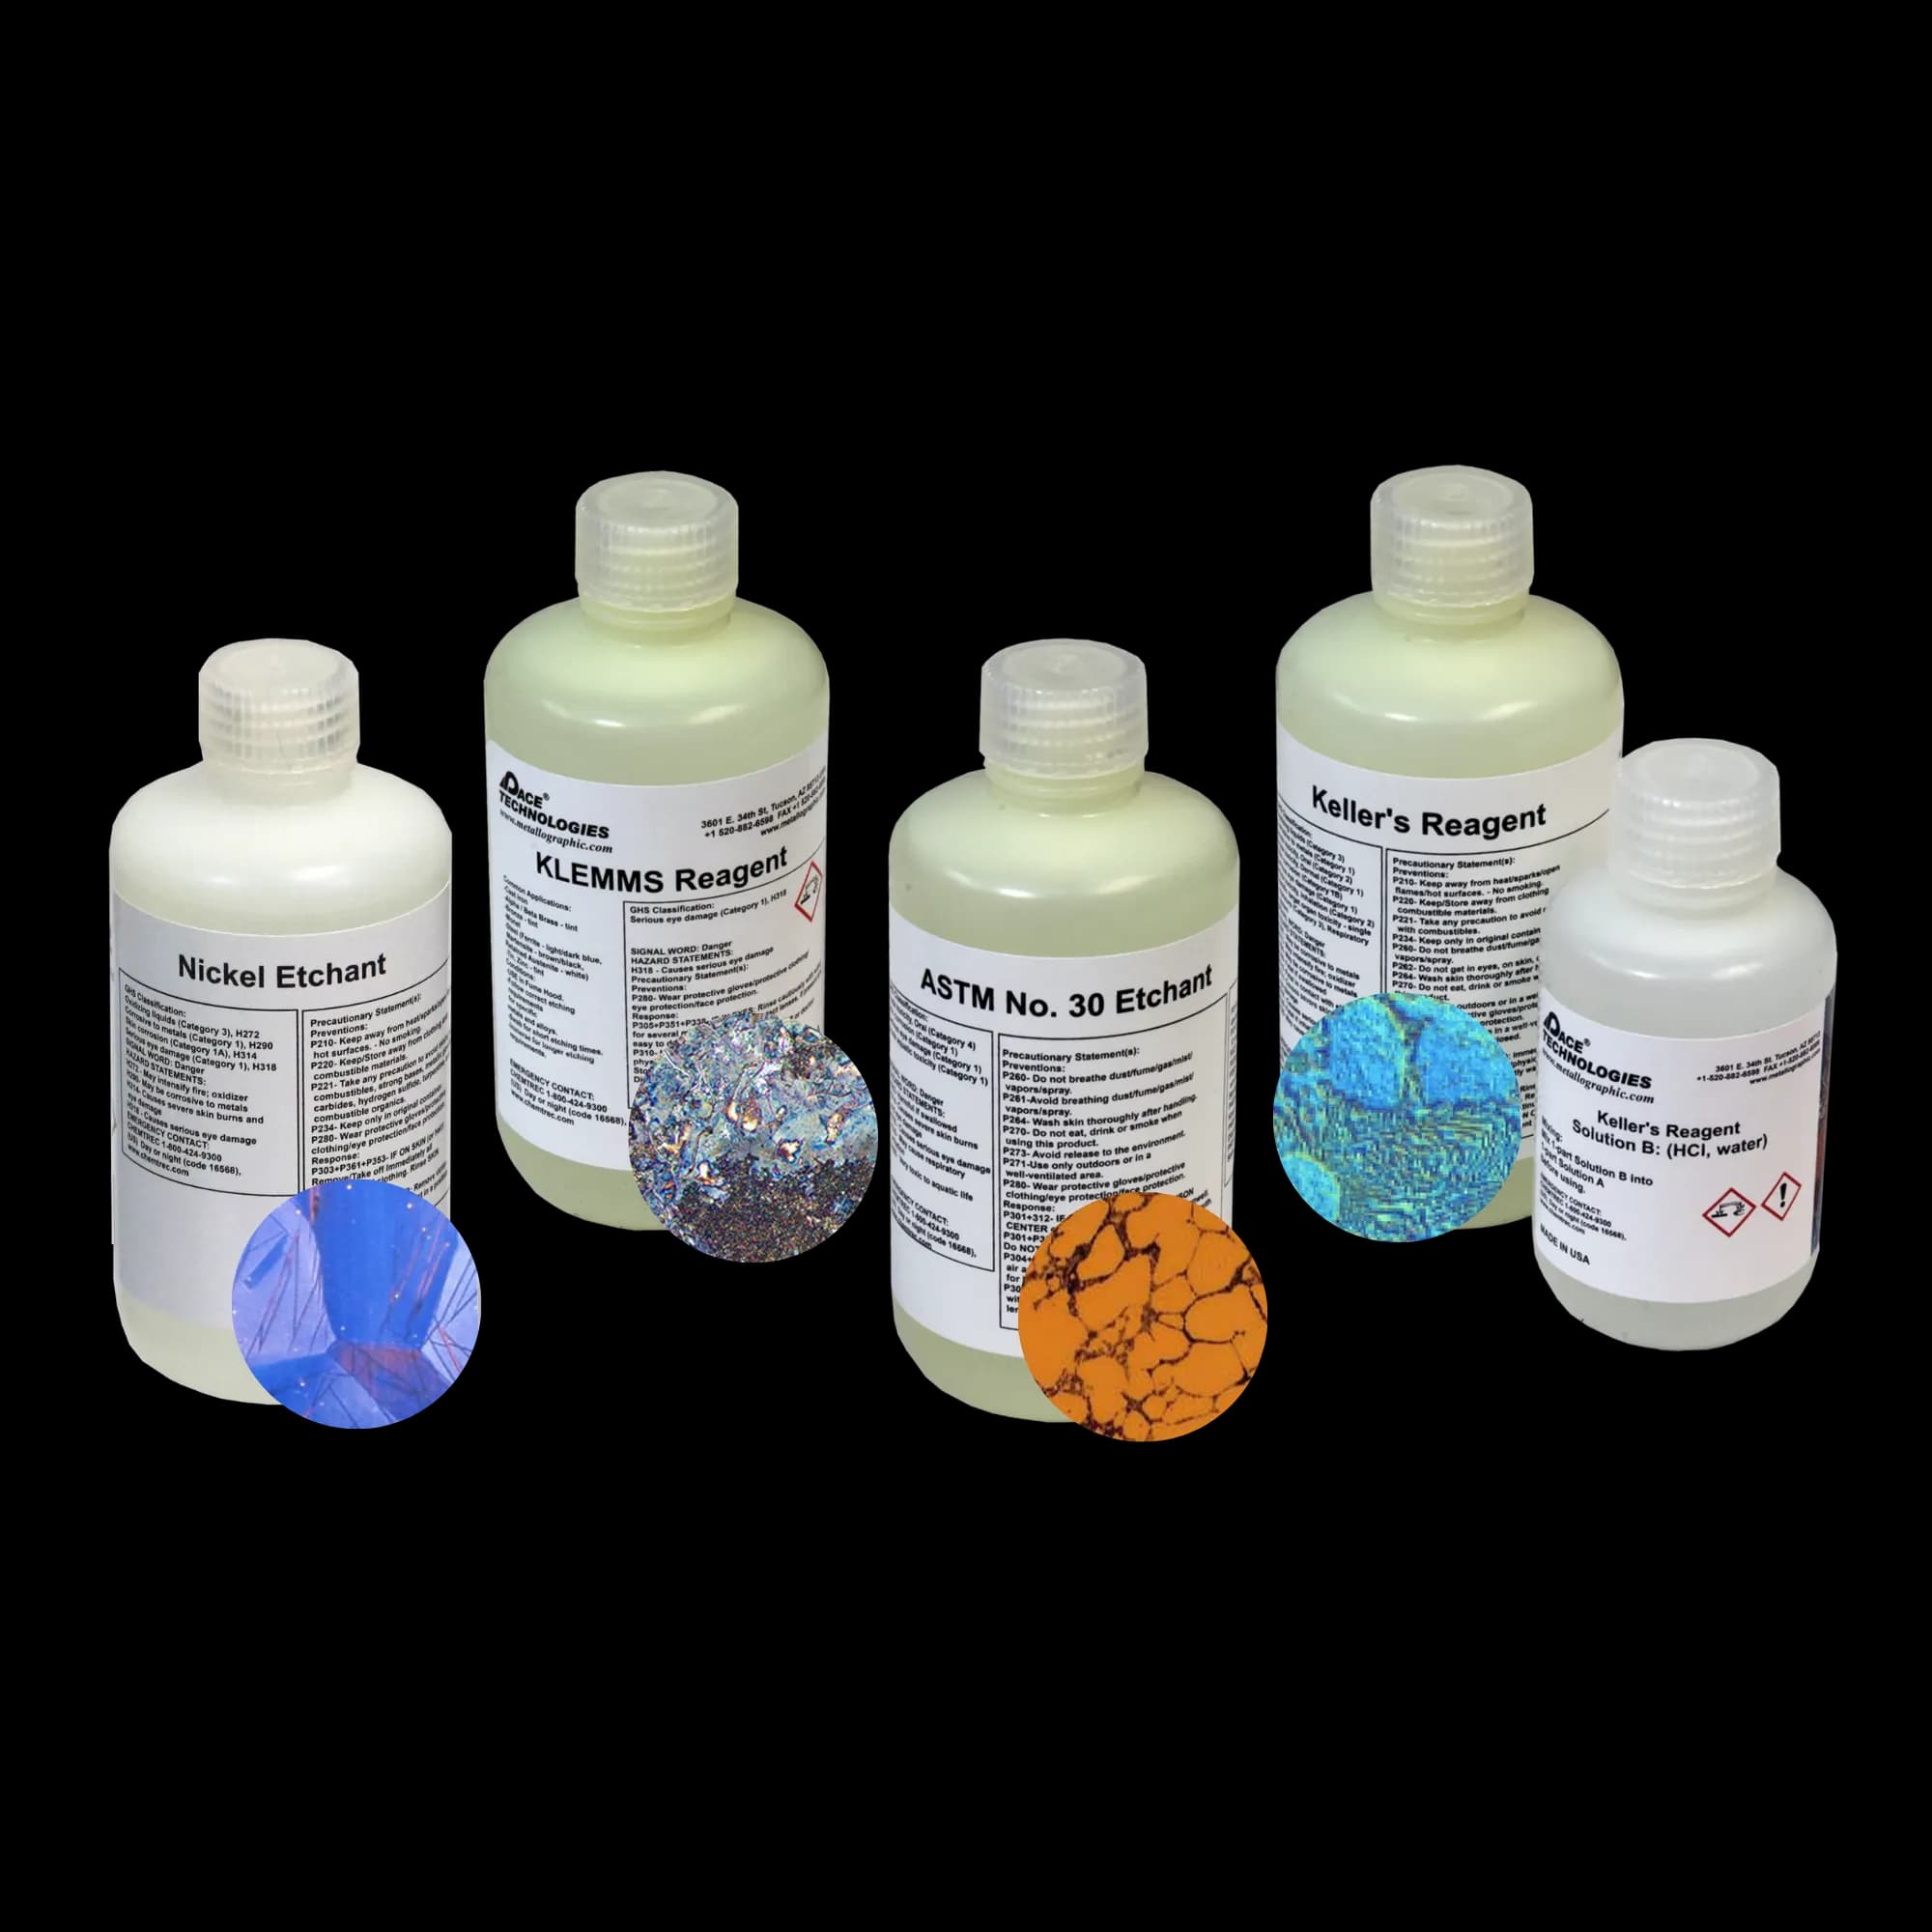
Etching solutions and reagents for stainless steel. Common etchants include Glyceregia, Vilella's Reagent, Marble's Reagent, and electrolytic oxalic acid. Etching time and method vary by stainless family — see the list above.
Etching Procedure
- Ensure sample is clean and dry
- Apply etchant with cotton swab or immerse sample
- Etch for the time listed above for your etchant (typically 5-60 seconds; tint etches run 30-180 seconds)
- Immediately rinse with water, then alcohol
- Dry with compressed air
Tip: Start with shorter etching times and increase if needed. Over-etching can obscure fine details. Austenitic grades like 304typically take 10-30 s in Glyceregia or 30-60 s electrolytic in 10% oxalic at 6 V; martensitic grades may need only 5-15 s in Vilella's; PH grades respond in 10-30 s with Marble's. Duplex tint etches (Beraha I, Klemm I) are timed by color development, not by clock — pull the sample when ferrite is clearly tinted relative to austenite.
Example Products: EtchantsPre-mixed and custom etching solutions for stainless steel
For purchasing options and product specifications, see commercial supplier website.
Troubleshooting
Common Issues and Solutions
- Scratches remaining: Insufficient grinding/polishing time or skipped grits
- Relief around inclusions: Over-polishing or too soft a cloth
- Contamination: Clean between steps, use fresh abrasives
- Poor edge retention: Switch to a glass-filled epoxy mount — plain phenolic wears faster than the steel and rounds the sample-mount boundary
- Over-etching: Reduce etching time or dilute etchant
Explore More Procedures
Browse our comprehensive procedure guides for material-specific preparation methods and get personalized recommendations.
Related Guides
Aluminum Sample Preparation
In-depth guide for preparing aluminum samples without smearing or deformation. Learn proper techniques for soft materials and avoid common pitfalls.
Read GuideCopper and Copper Alloys
In-depth preparation methods for copper and its alloys, including brass and bronze. Learn techniques to avoid smearing and reveal true microstructures.
Read GuideTitanium Preparation
In-depth specialized techniques for preparing titanium samples, including handling reactive surfaces and proper etching methods for alpha and beta phases.
Read Guide