Titanium Sample Preparation
A comprehensive guide to preparing titanium samples for metallographic analysis, covering sectioning, mounting, grinding, polishing, and etching techniques.
Introduction
Titanium and its alloys are important materials in aerospace, medical, and industrial applications. Proper preparation is essential to reveal the true microstructure without introducing artifacts such as deformation, scratches, or contamination. Titanium is particularly challenging due to its reactivity and tendency to form surface oxides. This guide will walk you through the complete preparation process.
Common titanium alloys include Ti-6Al-4V (Grade 5), the most widely used titanium alloy, as well as commercially pure titanium (Grade 2)and various alpha-beta alloys like Ti-3Al-2.5V (Grade 9). Titanium can be challenging due to its reactivity with oxygen and tendency to form surface contamination. The key is to use appropriate abrasives, maintain consistent pressure, and avoid contamination throughout the process. Titanium alloys vary in hardness, with some being relatively soft while others can be quite hard.
Sectioning
Titanium is extremely ductile and is prone to mechanical twinning when sectioned at high force — the twins look like microstructural features but are prep artifacts. The right answer for Ti sectioning is a precision (low-speed) saw with a diamond wafering blade whenever the sample geometry allows. The reduced load and the cutting action of a diamond blade keep the deformation layer thin and minimize twin generation. When a precision saw isn't an option, fall back to a standard abrasive cutoff at typical metallographic surface speeds (~2,500-4,500 SFM) with copious flood coolant. Keep the wheel inside its rated speed band and control damage with light feed instead — running far below rated speed doesn't reduce damage, it just upsets the bond's self-dressing behavior and wears the blade prematurely.
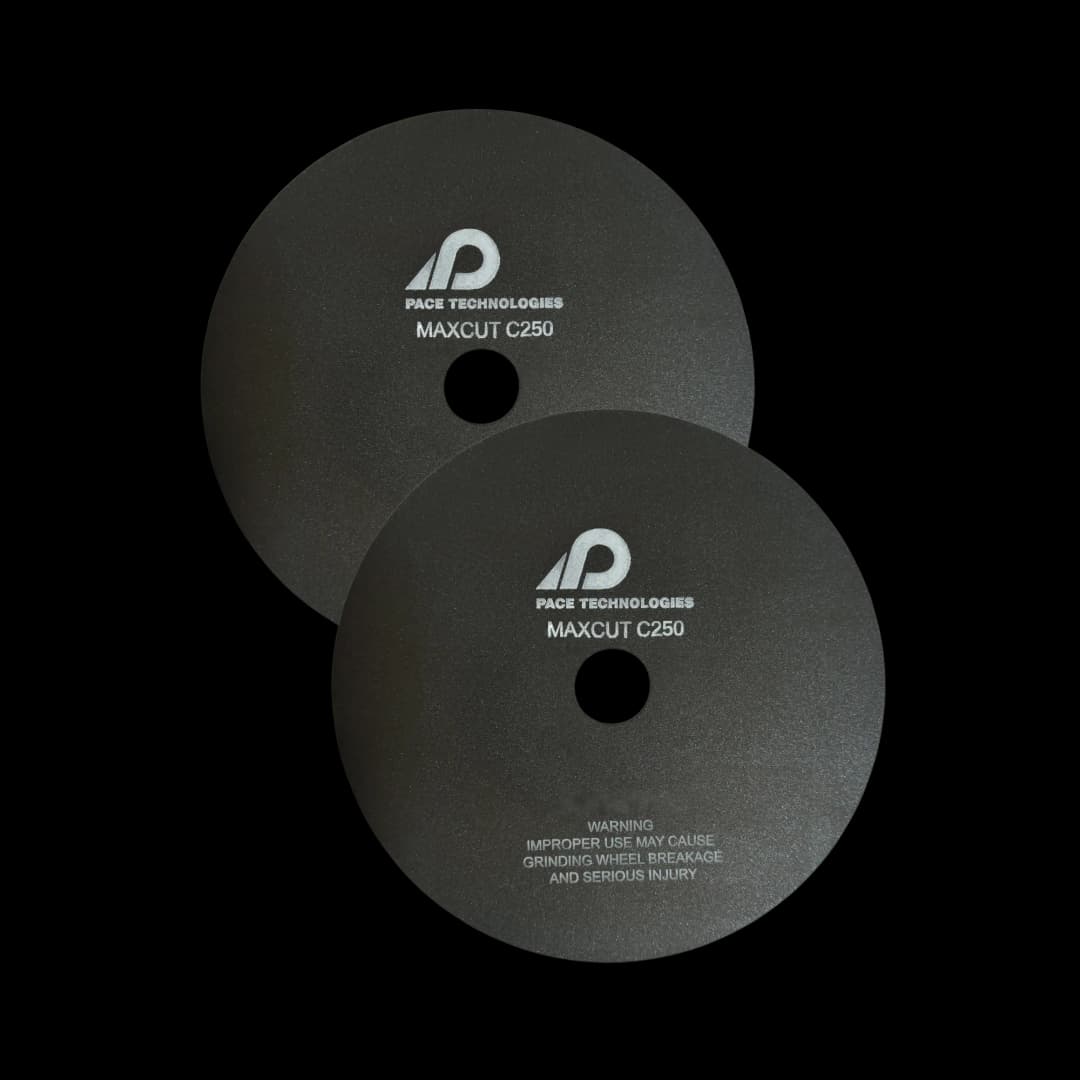
When abrasive cutoff is unavoidable, use a medium-hard-bond blade rated for hard non-ferrous metals (titanium, zirconium) — the dedicated titanium category. Thin blades (0.5-1.0 mm) and copious flood coolant are mandatory.
- Preferred: precision (low-speed) saw with a diamond wafering blade — reduces twinning and keeps the damage layer thin
- Fallback: standard abrasive cutoff with a medium-hard-bond blade rated for hard non-ferrous metals (titanium, zirconium) — the dedicated titanium category; blades in this class are sold with alumina, silicon carbide, or CBN abrasive. Avoid blades formulated for soft non-ferrous metals or for steels; the bond is wrong for Ti.
- Use a thin abrasive cut-off wheel (0.5-1.0 mm thickness)
- Apply light, steady force — heavy load is what produces deformation twinning in Ti
- Use generous flood coolant; surface contamination from cutting fluid is real, clean immediately after sectioning
- Never dry-cut titanium — fine Ti swarf is pyrophoric and can self-ignite. Flood coolant keeps it wet; collect and dispose of swarf wet, never in a dry dust-collection system
- Allow the wheel to do the cutting - avoid forcing
Example Products: Hard Non-Ferrous Abrasive Blades (Titanium)Abrasive blades rated for titanium and other hard non-ferrous alloys — the right blade category when a precision saw isn’t an option
For purchasing options and product specifications, see commercial supplier website.
Mounting
Mounting provides edge retention and easier handling. For titanium, compression mounting with phenolic or epoxy resins works well. Cold mounting with epoxy is also suitable and avoids potential heat-related issues. Ensure the sample is thoroughly cleaned before mounting to prevent contamination.
Compression Mounting
- Clean the sample thoroughly to remove cutting fluid and debris
- Place sample in mounting press with appropriate resin
- Apply pressure: 3000-4000 psi for phenolic, 2000-3000 psi for epoxy
- Heat to 150-180°C and hold for 5-8 minutes
- Cool under pressure to room temperature
Cold Mounting
- Clean and dry the sample thoroughly
- Place in mounting cup with epoxy resin
- Allow to cure at room temperature (typically 6-12 hours for slow-cure epoxy)
- Cold mounting avoids heat that could affect titanium microstructure
Grinding
Grinding removes sectioning damage and prepares the surface for polishing. Start with coarse grits and progressively move to finer grits. The dominant Ti-specific concern here is mechanical twinning, not classical work-hardening: heavy grinding pressure introduces deformation twins that survive into the polished surface and read as false microstructural features under Kroll's. Light, consistent force at every grit step is the lever that controls this — much more so than time per step.
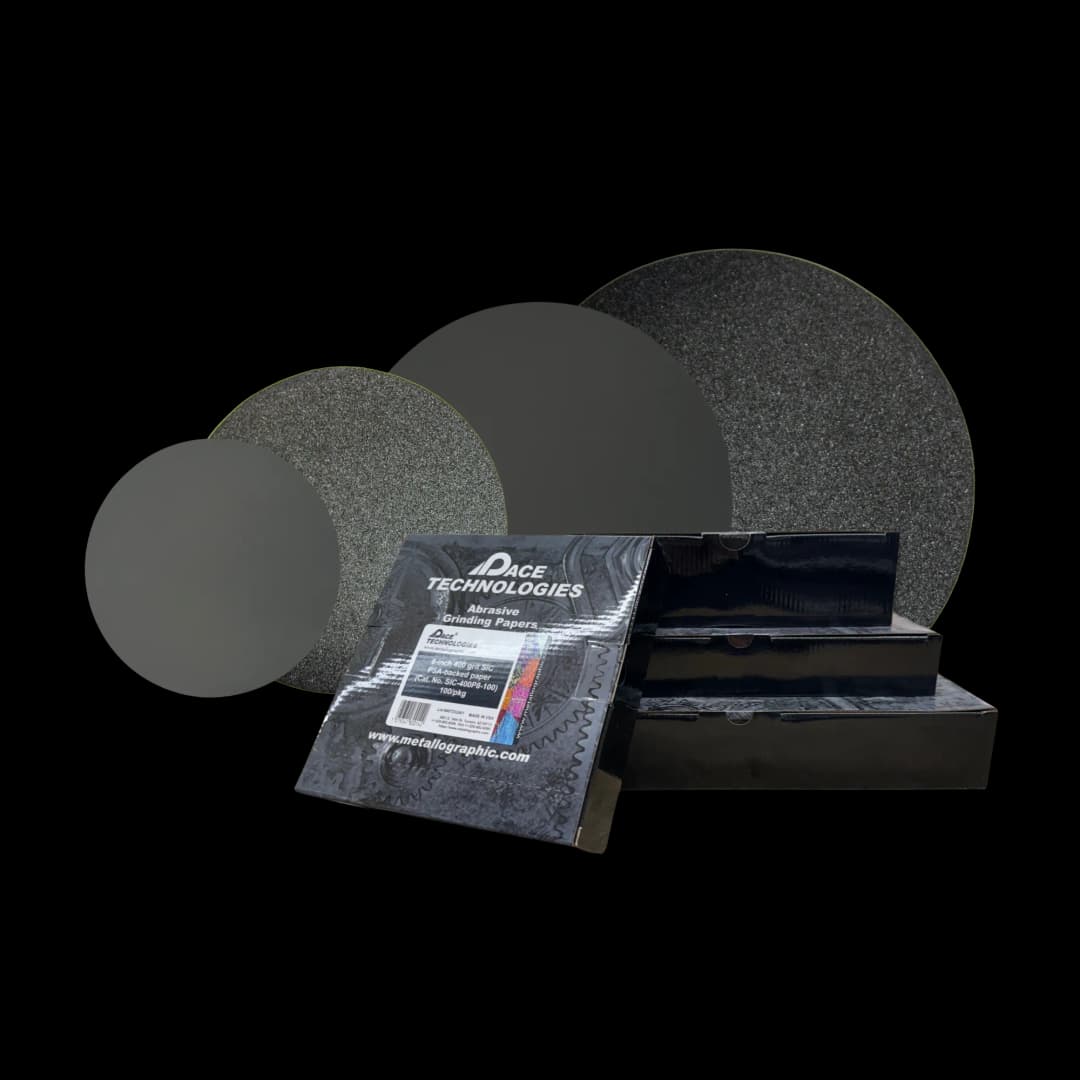
Silicon carbide (SiC) grinding papers in various grit sizes (120, 240, 400, 600) for progressive grinding. Rotate sample 90° between each grit to ensure complete scratch removal.
Grinding Sequence
- 120 grit (only when needed): Reserve for heavy stock removal after abrasive cutoff (30-60 seconds). The standard Ti ladder starts at 240 grit — on titanium a coarse grit drives deformation twins deeper even as it removes damage. If the sample was cut on a precision saw, always start at 240.
- 240 grit: Remove previous scratches (30-60 seconds)
- 400 grit: Further refinement (30-60 seconds)
- 600 grit: Final grinding step (30-60 seconds)
Important: Rotate the sample 90° between each grit to ensure complete removal of previous scratches. Use water as a lubricant and keep force light — heavy downforce on Ti drives deformation twins into the surface that the rest of the prep ladder cannot remove. Clean the sample thoroughly between steps to prevent contamination.
Example Products: Silicon Carbide Grinding Papersappropriate SiC papers in all grit sizes for consistent grinding
For purchasing options and product specifications, see commercial supplier website.
Polishing
Polishing removes grinding scratches and prepares a mirror-like surface. For titanium, diamond polishing followed by oxide polishing typically yields excellent results. Use appropriate cloths and maintain consistent pressure to avoid contamination and relief.
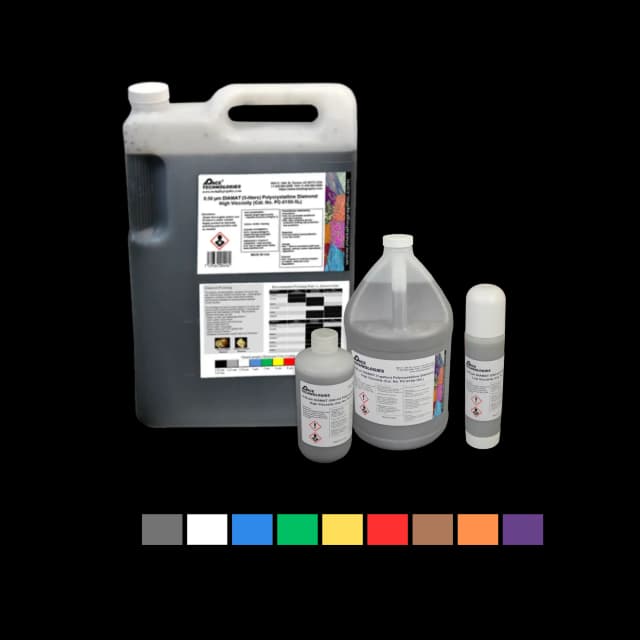
Polycrystalline diamond compound provides consistent cutting action for titanium alloys.

Various polishing pads and cloths for different polishing stages. Select pad hardness based on titanium alloy and polishing stage.
Diamond Polishing
- 9 μm diamond: 3-5 minutes on a hard woven cloth
- 3 μm diamond: 3-5 minutes on a medium-napped cloth
There is deliberately no 1 μm diamond step in the Ti ladder. Finer diamond doesn't refine a titanium surface — each diamond pass keeps re-introducing mechanical deformation that the final step then has to strip, so go straight from 3 μm to the attack polish. (On commercially pure titanium the effect is strongest; some labs minimize diamond polishing on CP Ti altogether and lean on the chemo-mechanical step.)
Final Polishing — "Attack Polishing"
Plain colloidal silica is not enough on titanium. Ti maintains a stubborn deformation layer that ordinary mechanical polishing won't break through, and that layer obscures the α/β structure when you etch. The canonical Ti final step is a chemo-mechanicalattack-polish: colloidal silica modified with hydrogen peroxide.
- 0.04-0.05 μm colloidal silica + 30% H₂O₂ at a 1:5 ratio (one part 30% H₂O₂ to five parts colloidal silica): 5 minutes on a soft napped pad at ~15 N, followed by a 30 s water flush on the same pad to clear residue.
- Rinse with water, then ethanol, and air-dry.
Use light, consistent pressure. The H₂O₂ does the chemical share of the work; pushing harder doesn't speed it up, just introduces relief between α and β regions of different hardness. Mix the silica + H₂O₂ fresh; the peroxide loses activity over hours.
Etching
Etching reveals the microstructure by selectively attacking grain boundaries and phases. The choice of etchant depends on the titanium alloy and what features you want to reveal. Common etchants include Kroll's reagent, hydrofluoric acid solutions, and various electrolytic solutions. Titanium requires careful etching due to its reactivity.
Common Etchants for Titanium
- Kroll's Reagent (general purpose — CP Ti, α-β, β alloys): 2 mL HF + 6 mL HNO₃ + 92 mL H₂O. Apply by swab for 5-15 s. The default first-pass etch for every Ti family — CP Ti, Ti-6Al-4V, Ti-3Al-2.5V, and Ti-10V-2Fe-3Al-class β alloys. HF safety: work in a fume hood, wear HF-rated gloves and face shield, and keep calcium gluconate gel on hand. Never let the surface dry between application and rinse — HF residues continue to attack until the surface is flushed.
- 10% Oxalic acid, electrolytic — for β-phase imaging: 10 g oxalic acid in 100 mL H₂O. Apply at 5 V for 30-60 s. Where Kroll's gives general structure, oxalic electrolytic preferentially responds to β-phase chemistry, so it's the canonical follow-up etch on α-β alloys (Ti-6Al-4V, Ti-3Al-2.5V) when you need to image the β fraction cleanly, and the primary etch for β-dominant alloys (Beta-C, Beta-21S, Ti-10V-2Fe-3Al).
The recipe matrix above is intentionally short. Kroll's itself is published as a range (1-3 mL HF and 2-6 mL HNO₃ per 100 mL water, adjusted to the alloy), so there is no single "modified Kroll's" the literature agrees on — treat the 2/6/92 mix as the standard starting point. A genuine Weck's tint for titanium does exist (5 g ammonium bifluoride in 100 mL water — a different recipe from the aluminum Weck's) and is the classic choice for color/grain-orientation work and for revealing the brittle, oxygen-enriched α-case layer that Kroll's does not bring out; reserve it for those specific jobs. For routine work, stick with standard Kroll's plus an oxalic electrolytic for β-phase imaging.
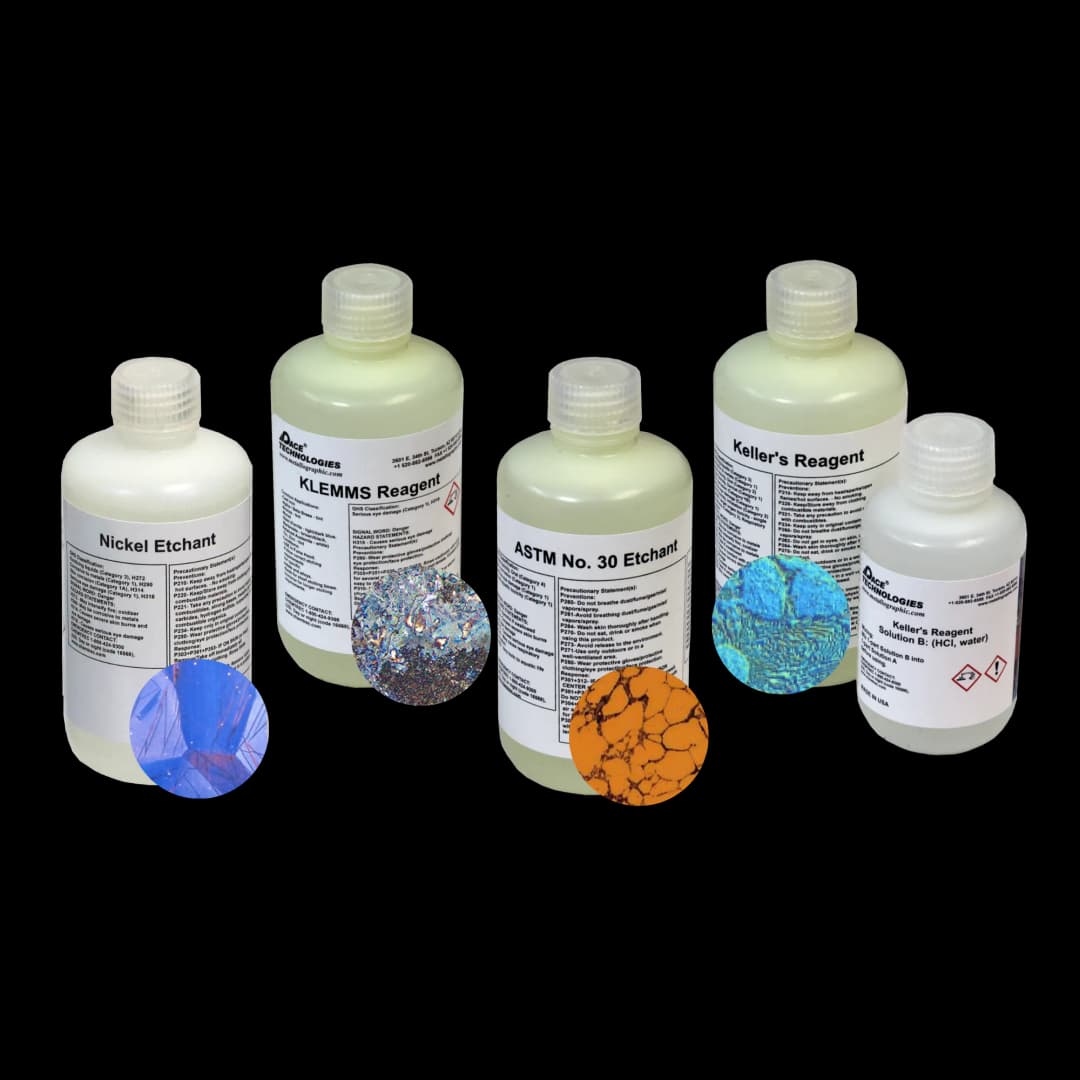
Etching solutions and reagents for titanium. The standard pair is Kroll's reagent (2 mL HF + 6 mL HNO₃ + 92 mL H₂O) for general microstructure, followed by 10% oxalic acid at 5 V electrolytic for β-phase imaging on α-β and β alloys. Warning: Hydrofluoric acid is extremely hazardous — fume hood, HF-rated PPE, calcium gluconate on hand.
Etching Procedure
- Ensure sample is clean and dry
- Apply Kroll's by cotton swab in the fume hood (HF-rated PPE on)
- Swab 5-15 s; do not let the surface dry — keep it wet with reagent until you rinse (HF residues continue to attack until flushed)
- Immediately rinse with water, then ethanol
- Air-dry, or let the ethanol evaporate
Tip: Start with shorter etching times (5-10 seconds) and increase if needed. Over-etching with Kroll's produces uniform pitting that obscures grain structure. For β-phase imaging, follow Kroll's with the oxalic electrolytic step rather than pushing Kroll's longer.
Example Products: EtchantsPre-mixed and custom etching solutions for titanium, including Kroll's Reagent
For purchasing options and product specifications, see commercial supplier website.
Troubleshooting
Common Issues and Solutions
- Scratches remaining: Insufficient grinding/polishing time or skipped grits. Ensure complete scratch removal at each step.
- Contamination: Titanium is highly reactive. Clean between steps thoroughly, use fresh abrasives, and avoid cross-contamination from other materials.
- Surface oxidation: Titanium forms oxides easily. Minimize exposure to air, clean immediately after polishing, and etch promptly after final polish.
- Relief around second phases: Over-polishing or too soft a cloth. Reduce polishing time or use slightly harder cloth.
- Deformation twinning (false microstructural features): Heavy force during sectioning or grinding drives mechanical twins into the surface that look like real twins or grain features under Kroll's. Mitigation: precision saw with diamond wafering blade where possible, light force throughout grinding, and the H₂O₂ chemo-mechanical attack-polish at the final step to lift the deformation layer.
- Persistent deformation layer / α-β contrast won't develop: Plain colloidal silica isn't enough on Ti. Switch the final step to colloidal silica + 30% H₂O₂ at a 1:5 ratio for 5 min + flush.
- Over-etching: Reduce etching time or dilute etchant. Start with shorter times (5-10 seconds).
- Pitting after etching: Etchant too strong or etching time too long. Dilute etchant or reduce time. HF-based etchants are particularly aggressive.
- Poor edge retention: Switch to a harder, lower-shrinkage compression mount — glass-filled epoxy gives the best edge retention (phenolic is only fair) — and keep final polishing steps short on soft pads.
- Inconsistent etching: Ensure sample is clean and dry before etching. Surface contamination can cause uneven etching — residual colloidal silica from the final polish is a common culprit (mottled etch); flush on the pad, then rinse with water and ethanol before etching.
Explore More Procedures
Browse our comprehensive procedure guides for material-specific preparation methods and get personalized recommendations.