Aluminum Sample Preparation
A comprehensive guide to preparing aluminum samples for metallographic analysis, covering sectioning, mounting, grinding, polishing, and etching techniques.
Introduction
Aluminum and its alloys are among the most commonly analyzed materials in metallography. Common alloys include 6061 (the most widely used aluminum alloy),7075 (high-strength aerospace alloy), and many others. Proper preparation is essential to reveal the true microstructure without introducing artifacts such as deformation, scratches, or contamination. This guide will walk you through the complete preparation process.

Aluminum-silicon alloy, Keller's reagent, 400X magnification. This image demonstrates the proper microstructure revealed through correct preparation techniques.
Aluminum can be challenging due to its softness and tendency to deform easily. The key is to use appropriate abrasives, maintain light pressure, and avoid over-polishing which can introduce relief and smearing.
Sectioning
When sectioning aluminum samples, run the abrasive cutoff wheel at typical metallographic surface speeds (roughly 2,500-4,500 SFM) and control heat with a light feed rate and copious coolant rather than by slowing the wheel — an under-speeded wheel glazes and rubs instead of cutting. Softer alloys like 6061 require particularly careful handling to prevent deformation, while harder alloys such as7075 tolerate slightly more aggressive feed rates. For the lowest possible damage layer, a precision (low-speed) saw with a thin blade and controlled load is also an option.
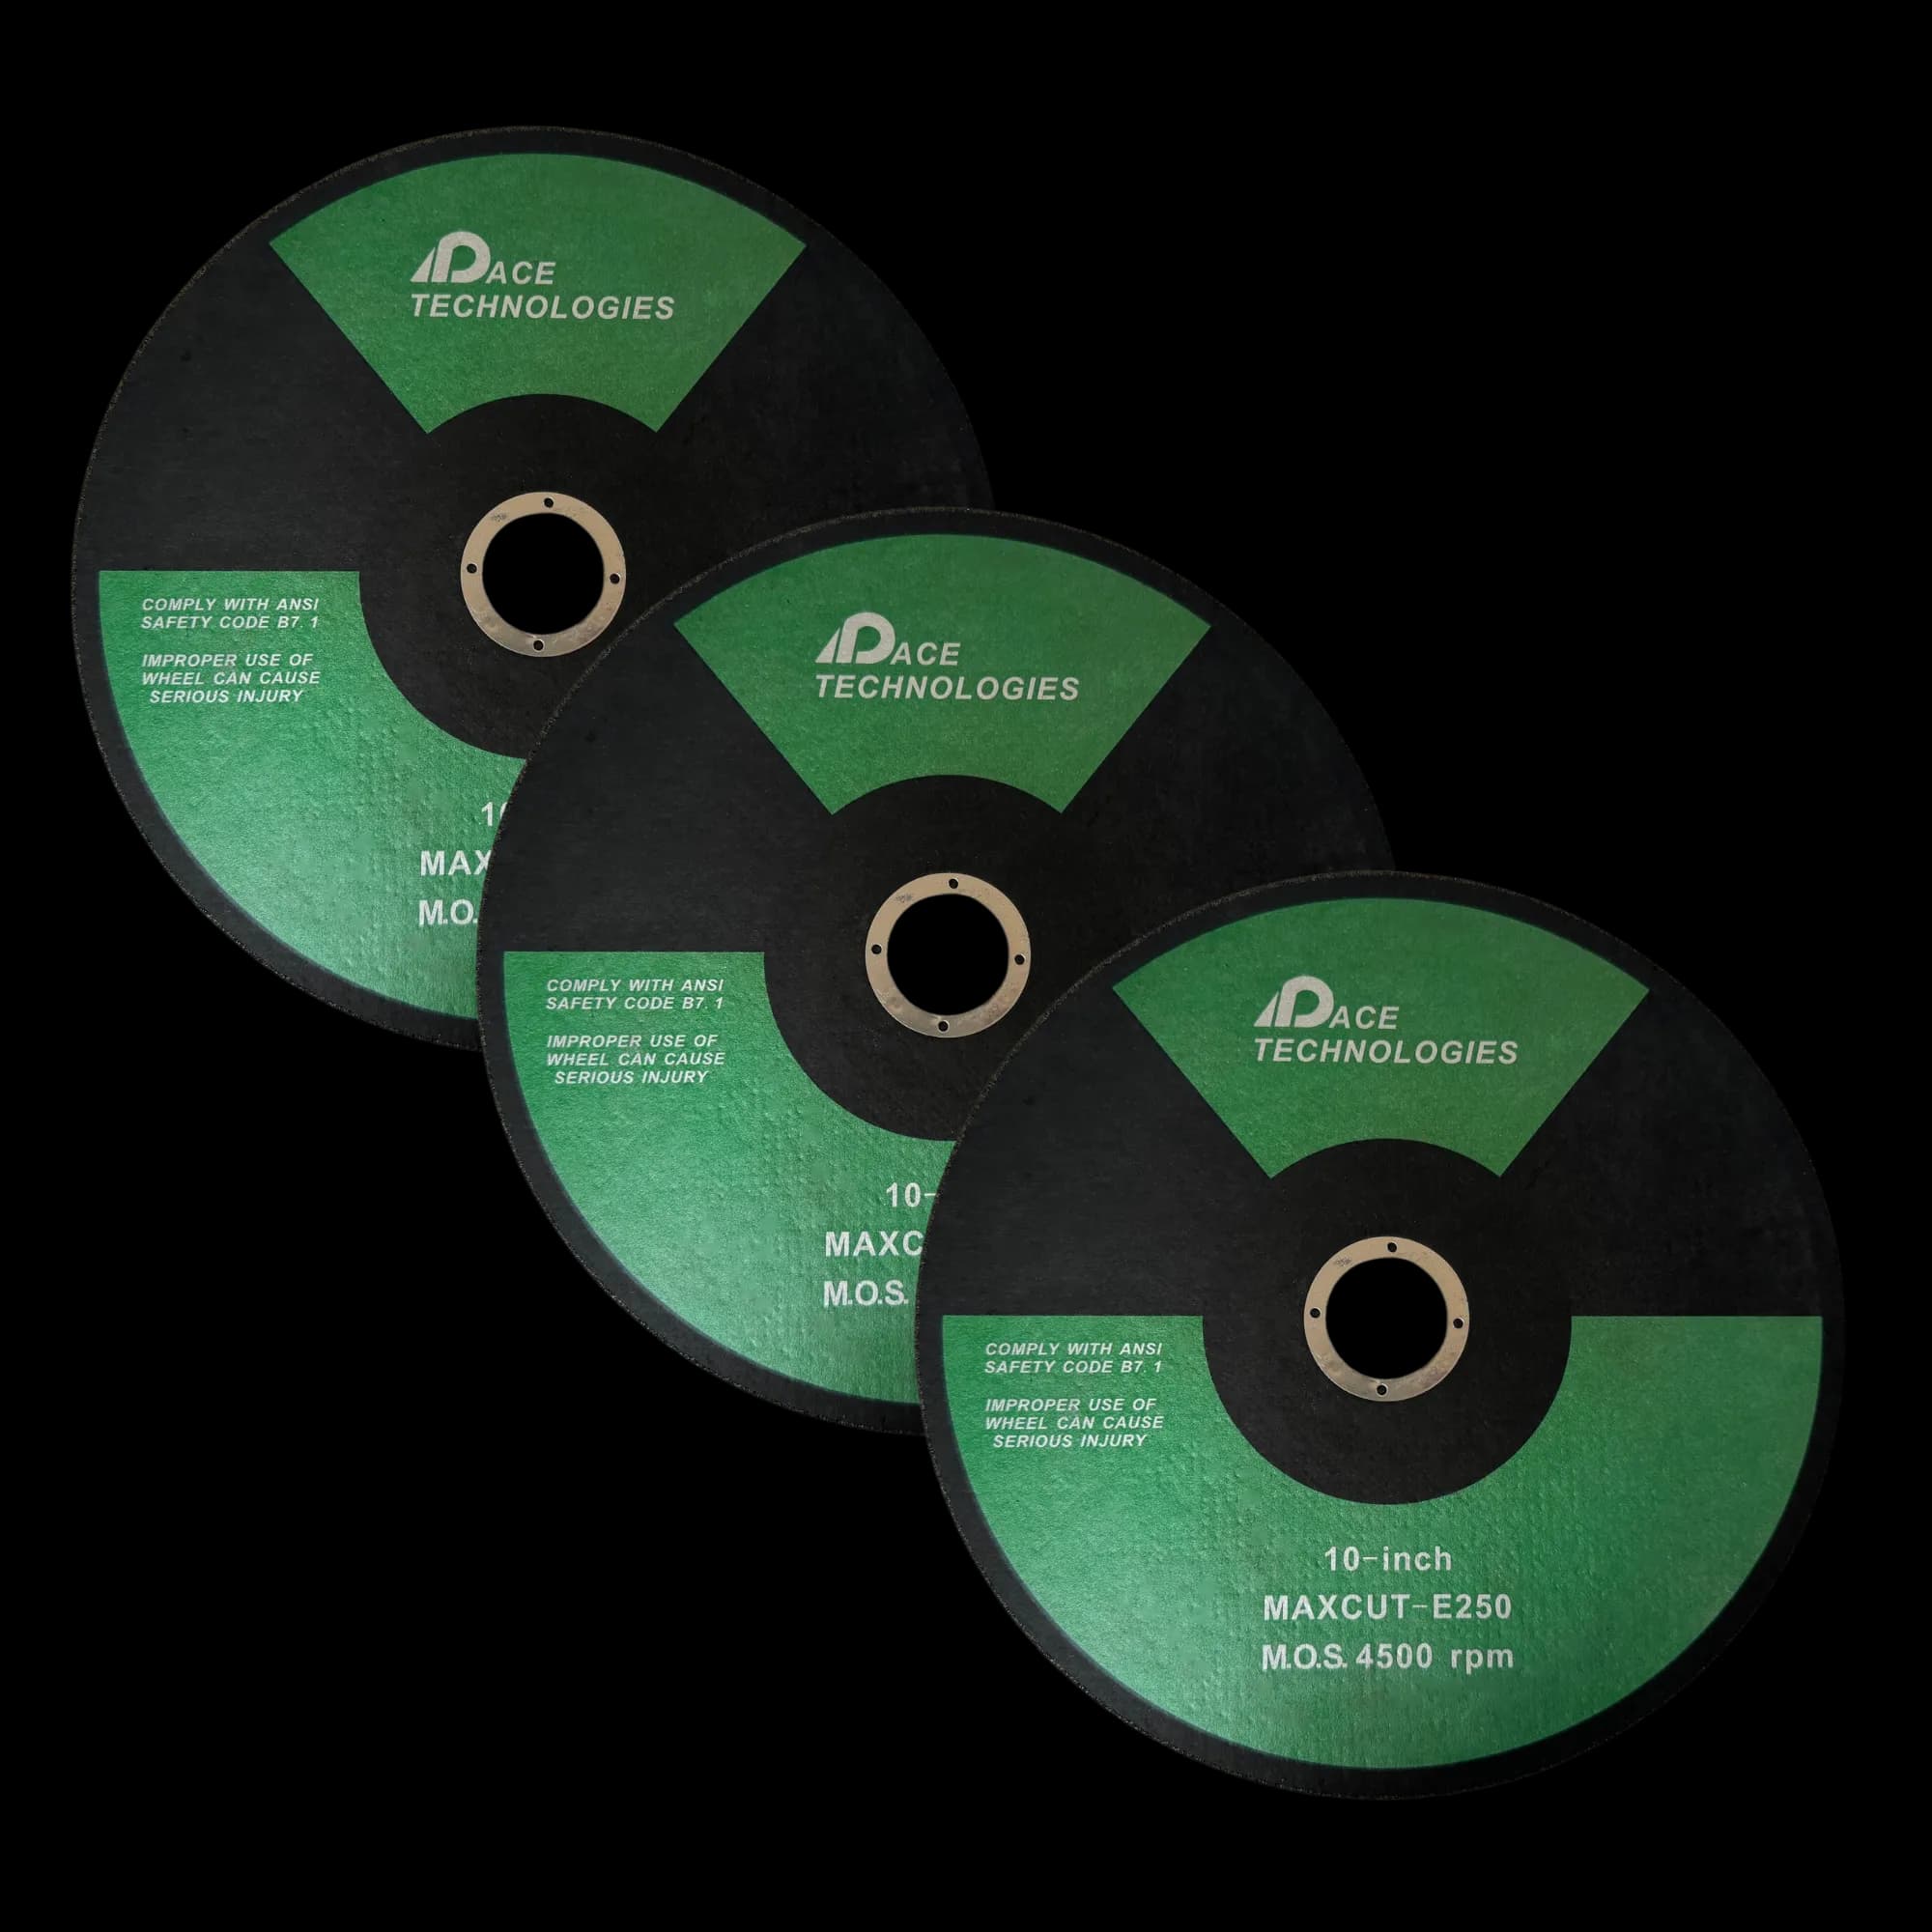
Soft-bond abrasive cut-off blades formulated for soft non-ferrous metals (aluminum, copper, brass). Thin blades (0.5-1.0 mm) minimize heat generation and deformation.
- Use a soft-bond abrasive blade formulated for soft non-ferrous metals (aluminum, copper, brass). Do not substitute a hard non-ferrous (titanium-class) blade or any steel-class blade — the bond chemistry is wrong and the blade will glaze or load.
- Use a thin abrasive cut-off wheel (0.5-1.0 mm thickness)
- Apply steady, light pressure to avoid deformation
- Use adequate coolant to prevent overheating and smearing
- Allow the wheel to do the cutting - avoid forcing
- Consider using a slower feed rate than for harder materials
Example Products: Soft Non-Ferrous Abrasive BladesSoft-bond abrasive blades formulated for soft non-ferrous metals — aluminum, copper, and brass
For purchasing options and product specifications, see commercial supplier website.
Mounting
Mounting provides edge retention and easier handling. For aluminum, compression mounting with phenolic or epoxy resins works well. Cold mounting with epoxy is also suitable and avoids potential heat-related issues.
Compression Mounting
- Clean the sample thoroughly to remove cutting fluid and debris
- Place sample in mounting press with appropriate resin
- Apply pressure: 3000-4000 psi for phenolic, 2000-3000 psi for epoxy
- Heat to 150-180°C and hold for 5-8 minutes
- Cool under pressure to room temperature
Cold Mounting
- Clean and dry the sample
- Place in mounting cup with epoxy resin
- Allow to cure at room temperature (typically 6-12 hours for slow-cure epoxy)
- Cold mounting avoids heat that could affect aluminum microstructure
Grinding
Grinding removes sectioning damage and prepares the surface for polishing. Start with the finest grit that will still remove the sectioning damage and flatten the sample, then move progressively to finer grits. For aluminum, use lighter pressure than for harder materials to avoid deformation.
Abrasive choice — alumina vs. SiC: Aluminum is soft enough that SiC particles can embed in the surface and resist removal in subsequent steps. The softer the aluminum, the worse the risk — commercially pure 1xxx grades and soft, non-heat-treatable alloys (3xxx, 5xxx) are the most susceptible, while age-hardened alloys like 2024, 6xxx, and 7xxx are harder and less prone. When available, prefer alumina (Al₂O₃) papers or a fixed alumina grinding disc for the planar step. SiC is acceptable for the harder age-hardened alloys and as a fallback, but inspect for embedded particles after fine grinding. The sequence below uses SiC as the most widely stocked option:
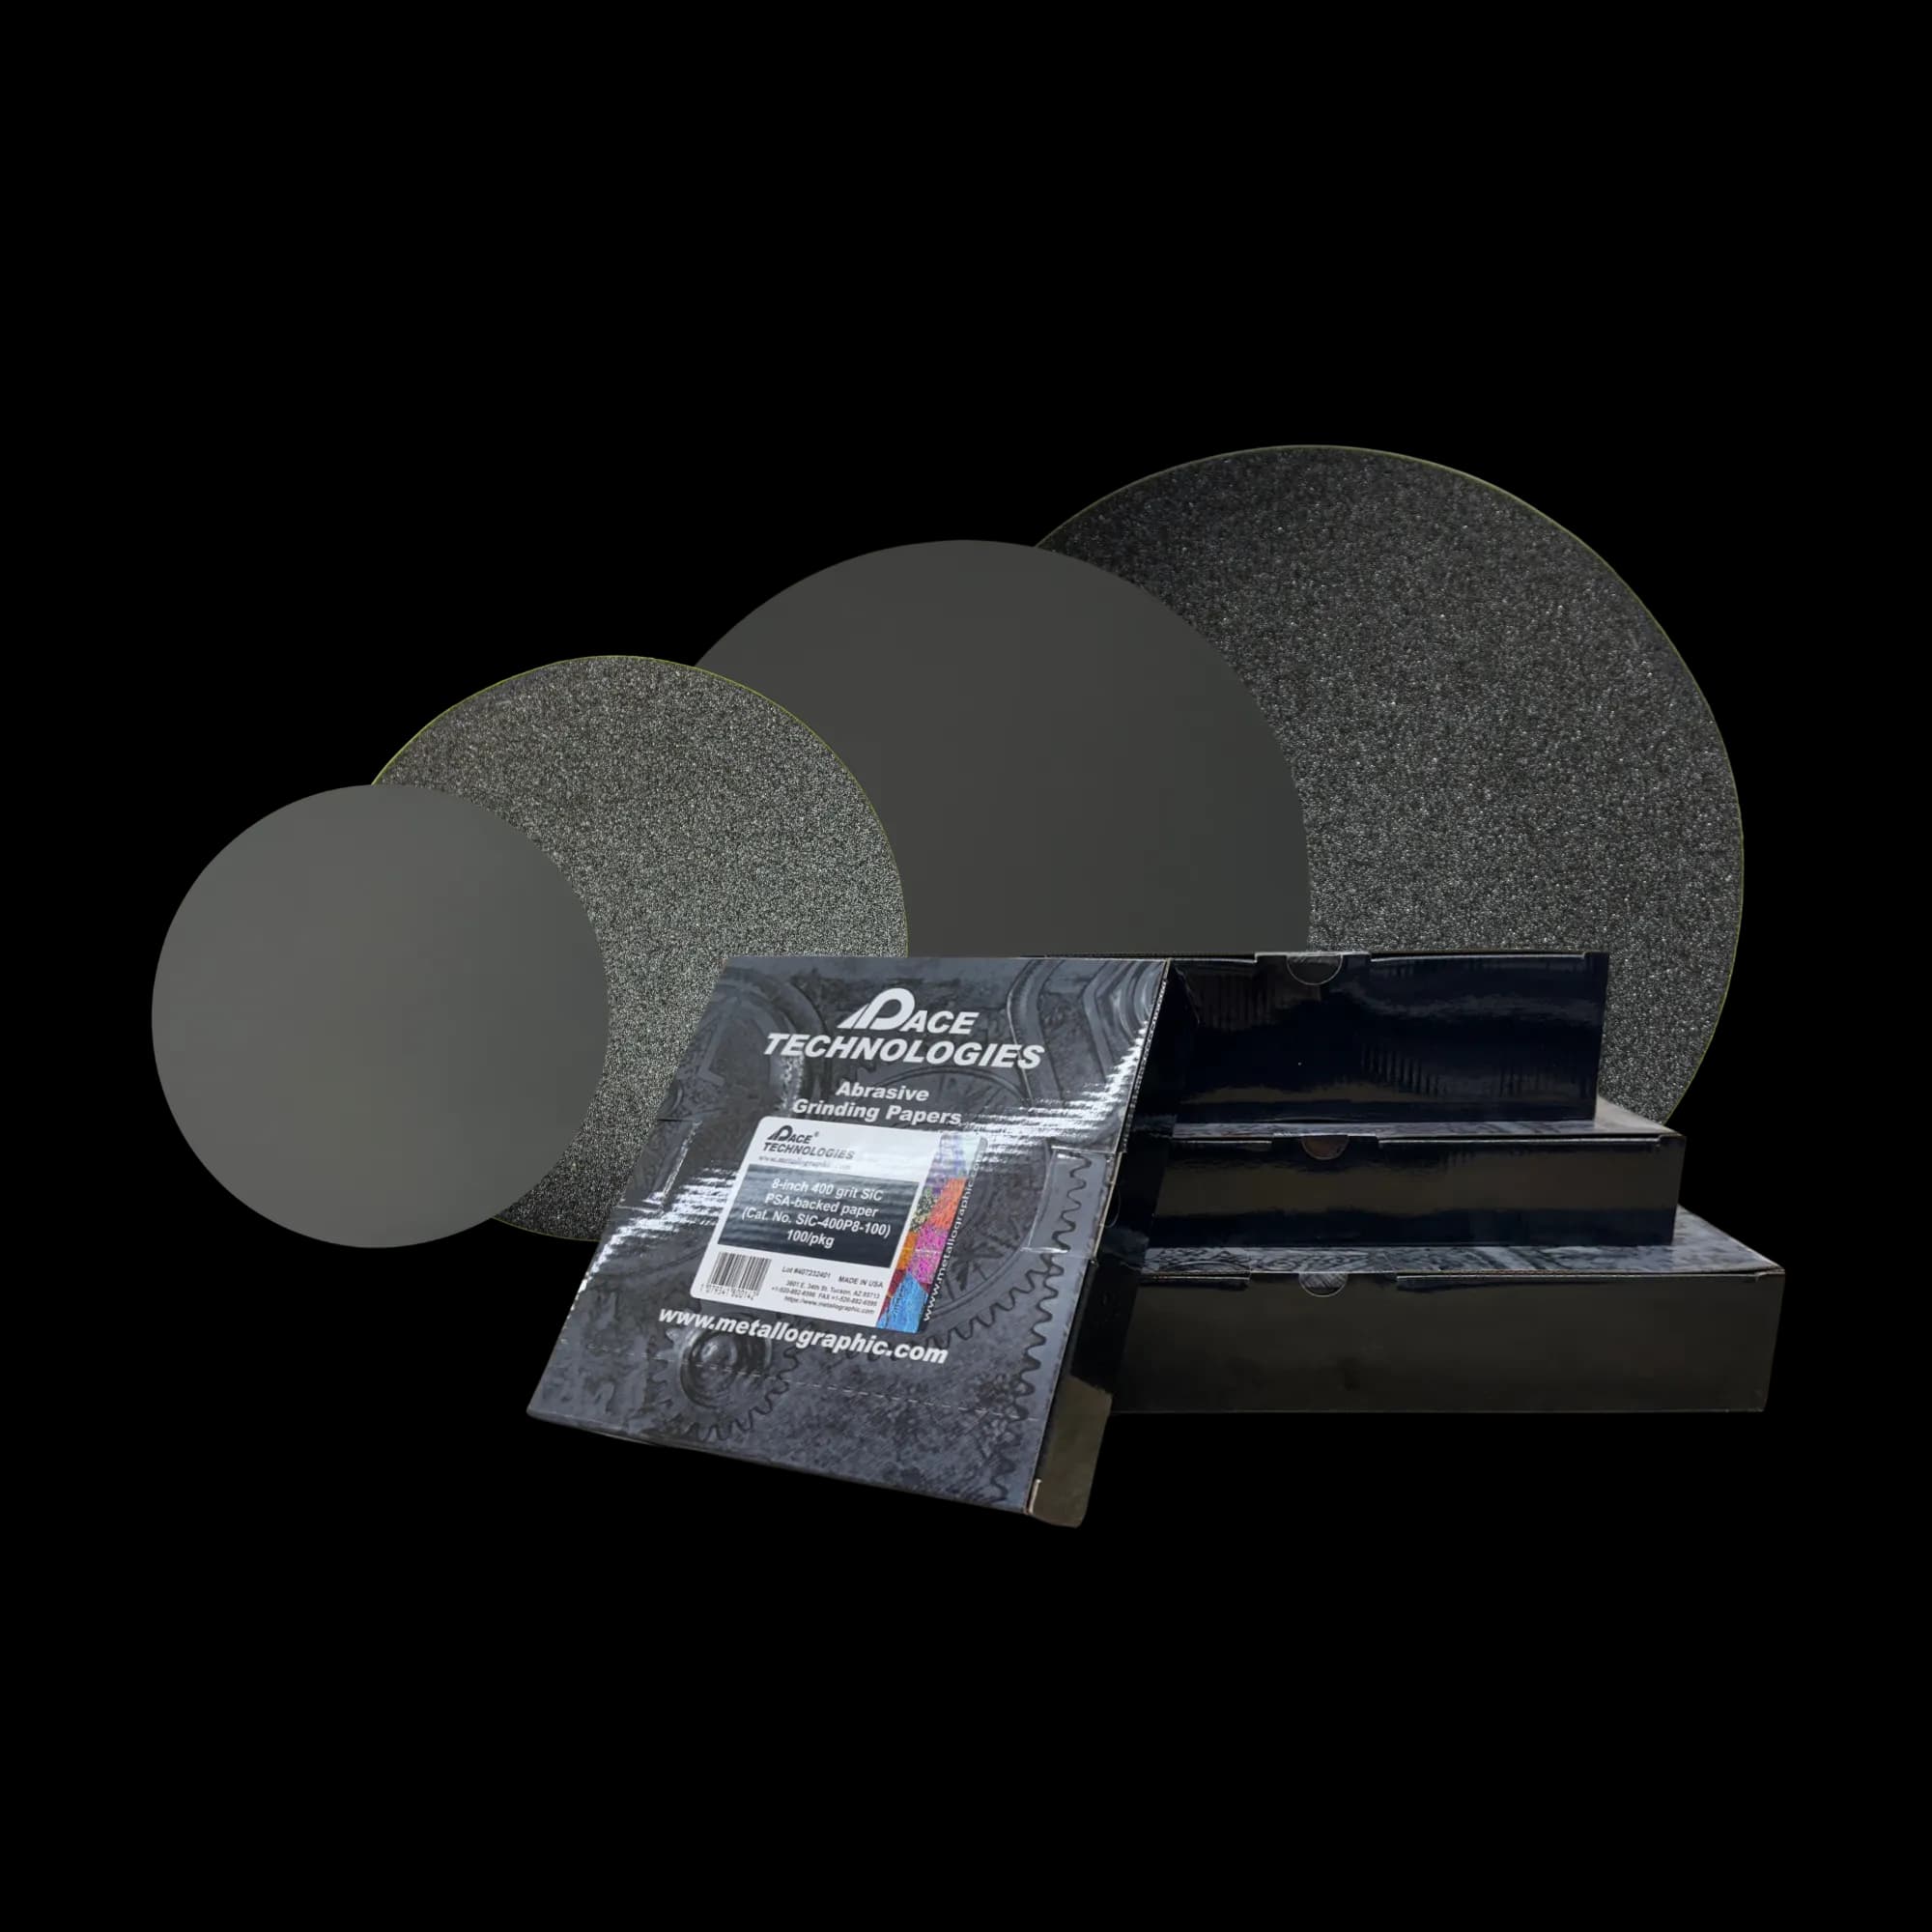
Silicon carbide (SiC) grinding papers in various grit sizes (240, 400, 600) for progressive grinding. Rotate sample 90° between each grit to ensure complete scratch removal.
Grinding Sequence
- 240 grit: Planar step — remove sectioning damage and establish flatness (30-60 seconds, or until plane). Avoid coarser starting grits on aluminum; they drive deformation deep into the soft surface. Reserve them for heavy sectioning damage on large castings.
- 400 grit: Remove previous scratches (1-2 minutes)
- 600 grit: Final grinding step (1-2 minutes)
Important: Rotate the sample 90° between each grit to ensure complete removal of previous scratches. Use water as a lubricant and maintain light pressure to avoid deformation. Softer alloys like 6061 require even lighter pressure, while precipitation-hardened alloys like 7075 may need slightly longer times per step. Run each step just long enough to remove the previous step's damage — roughly twice the time it takes for the previous scratches to disappear.
Example Products: Silicon Carbide Grinding Papersappropriate SiC papers in all grit sizes for consistent grinding
For purchasing options and product specifications, see commercial supplier website.
Polishing
Polishing removes grinding scratches and prepares a mirror-like surface. For aluminum, diamond polishing followed by oxide polishing typically yields excellent results. Use lighter pressure than for harder metals, and match cloth hardness to the step — hard woven cloths early, soft napped cloths only at the end — to control smearing and relief.
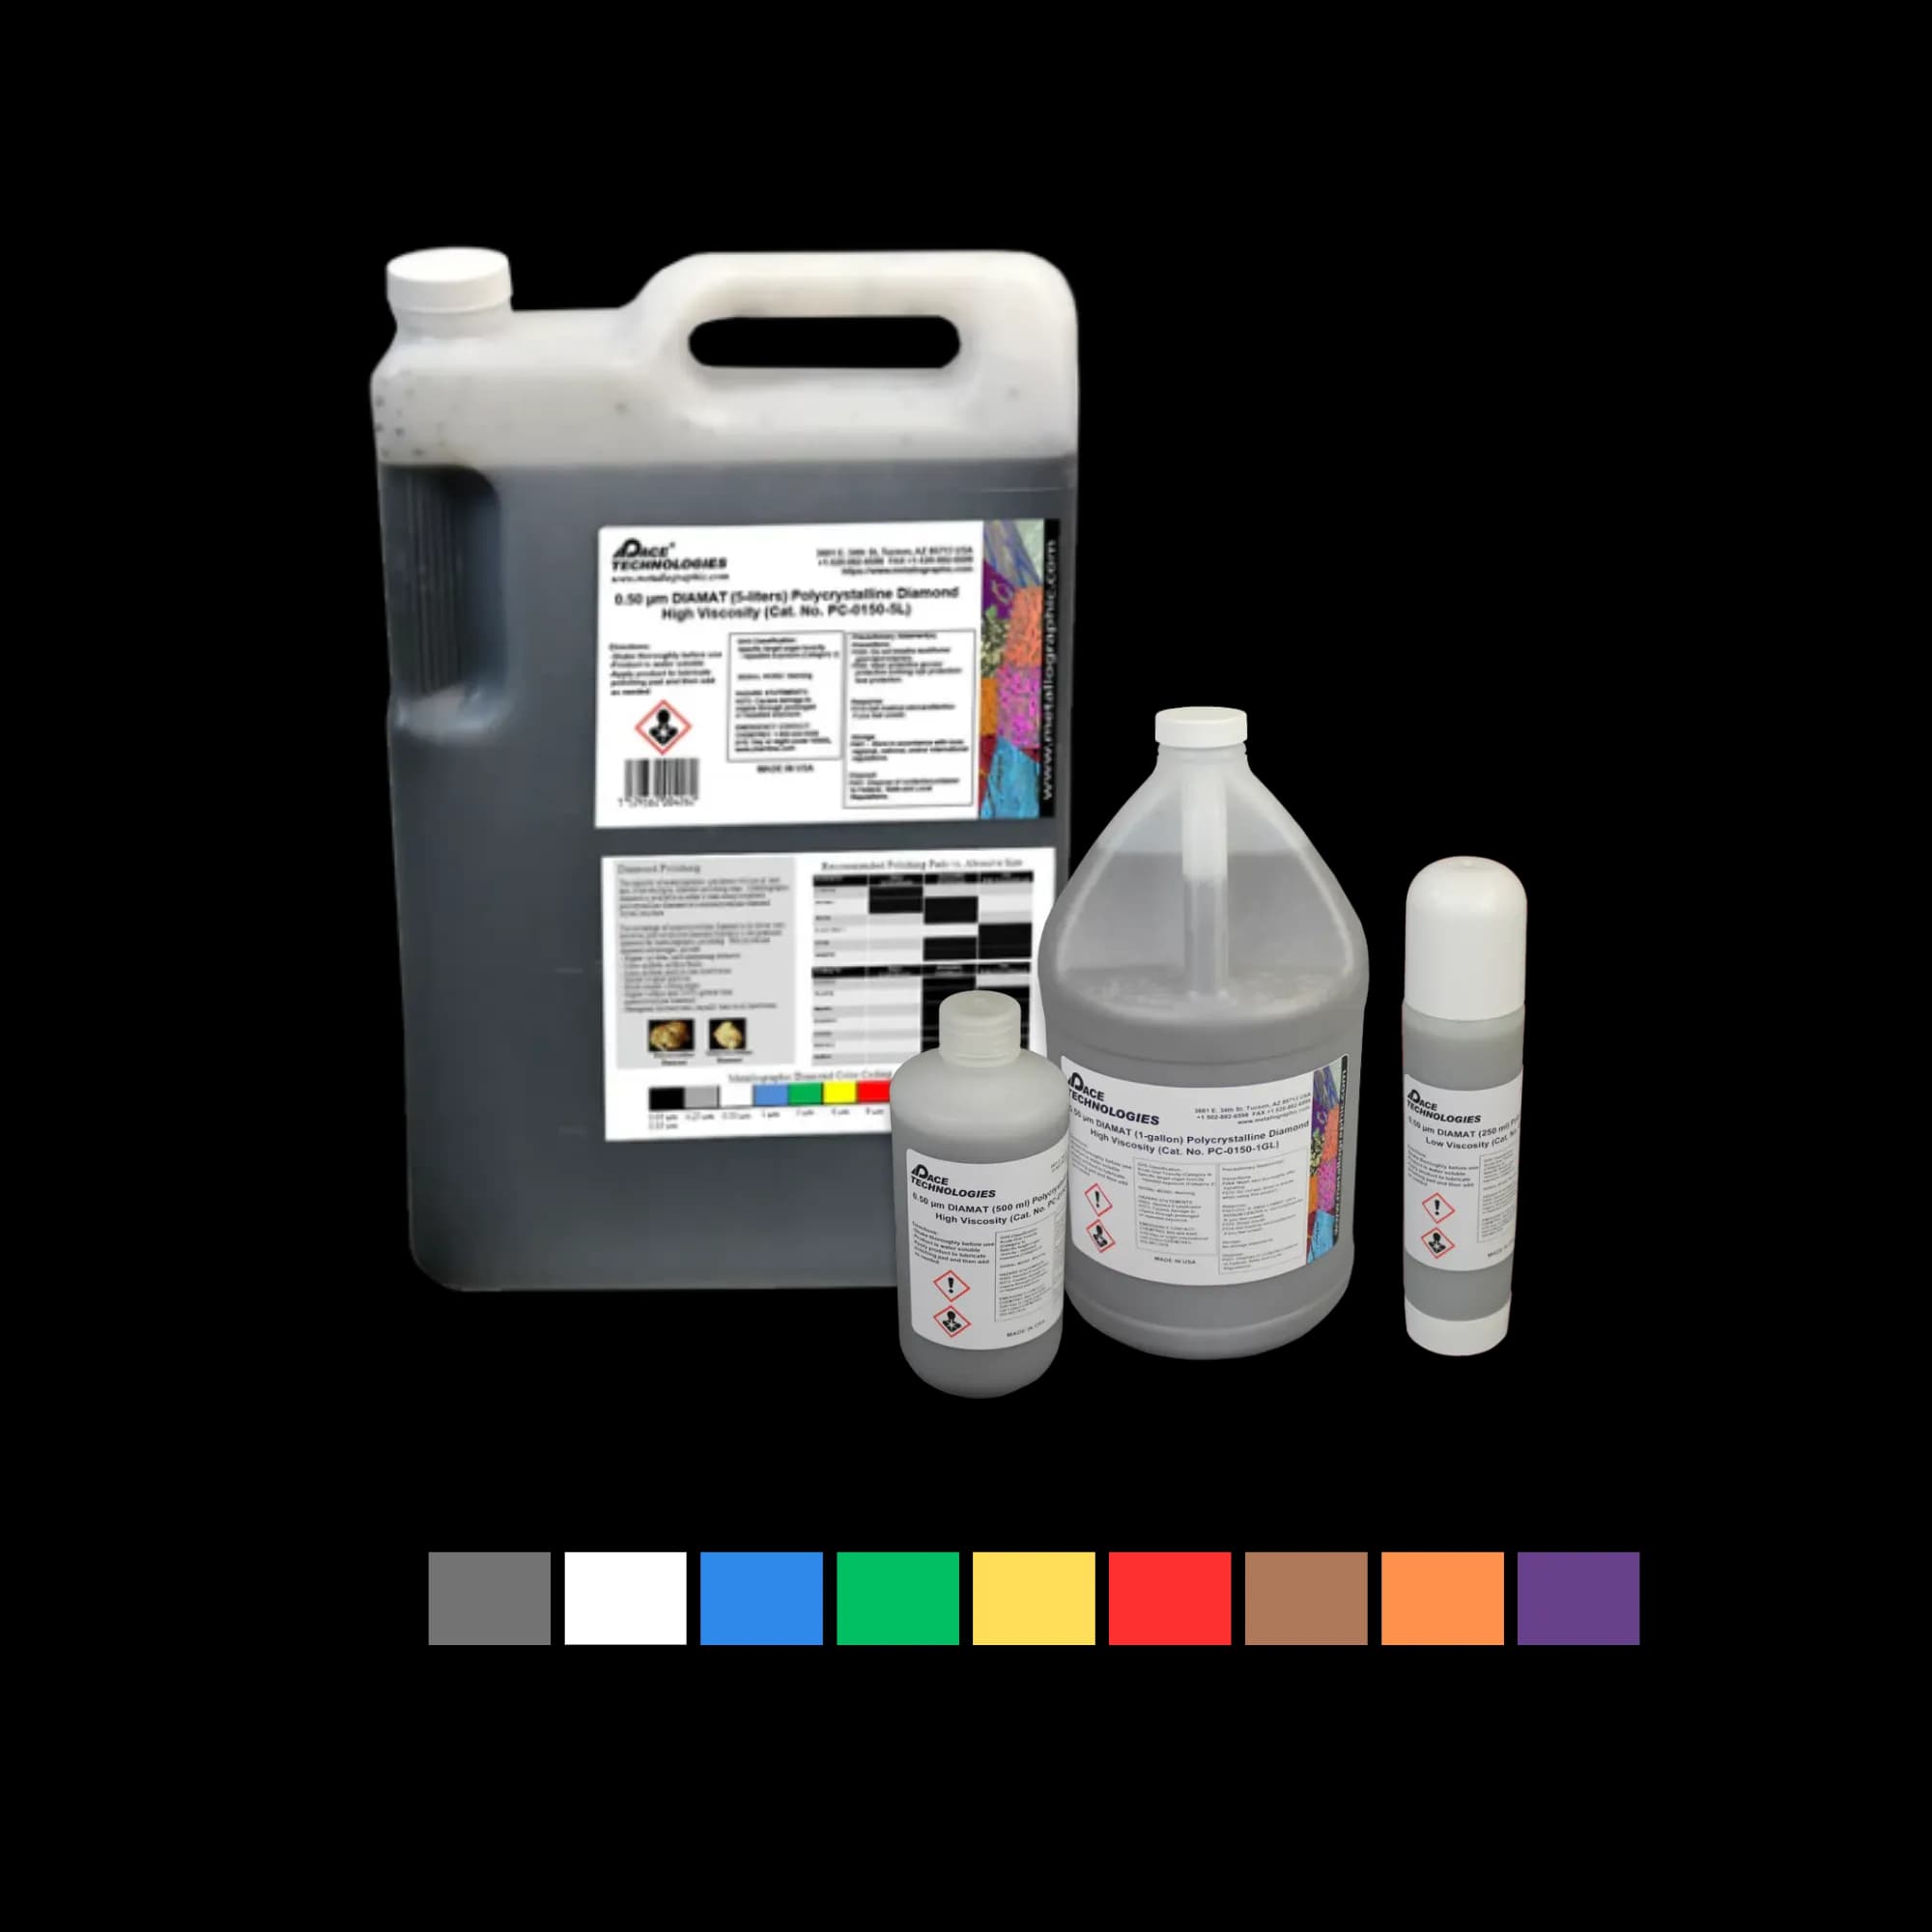
Polycrystalline diamond compound provides consistent cutting action for aluminum alloys.
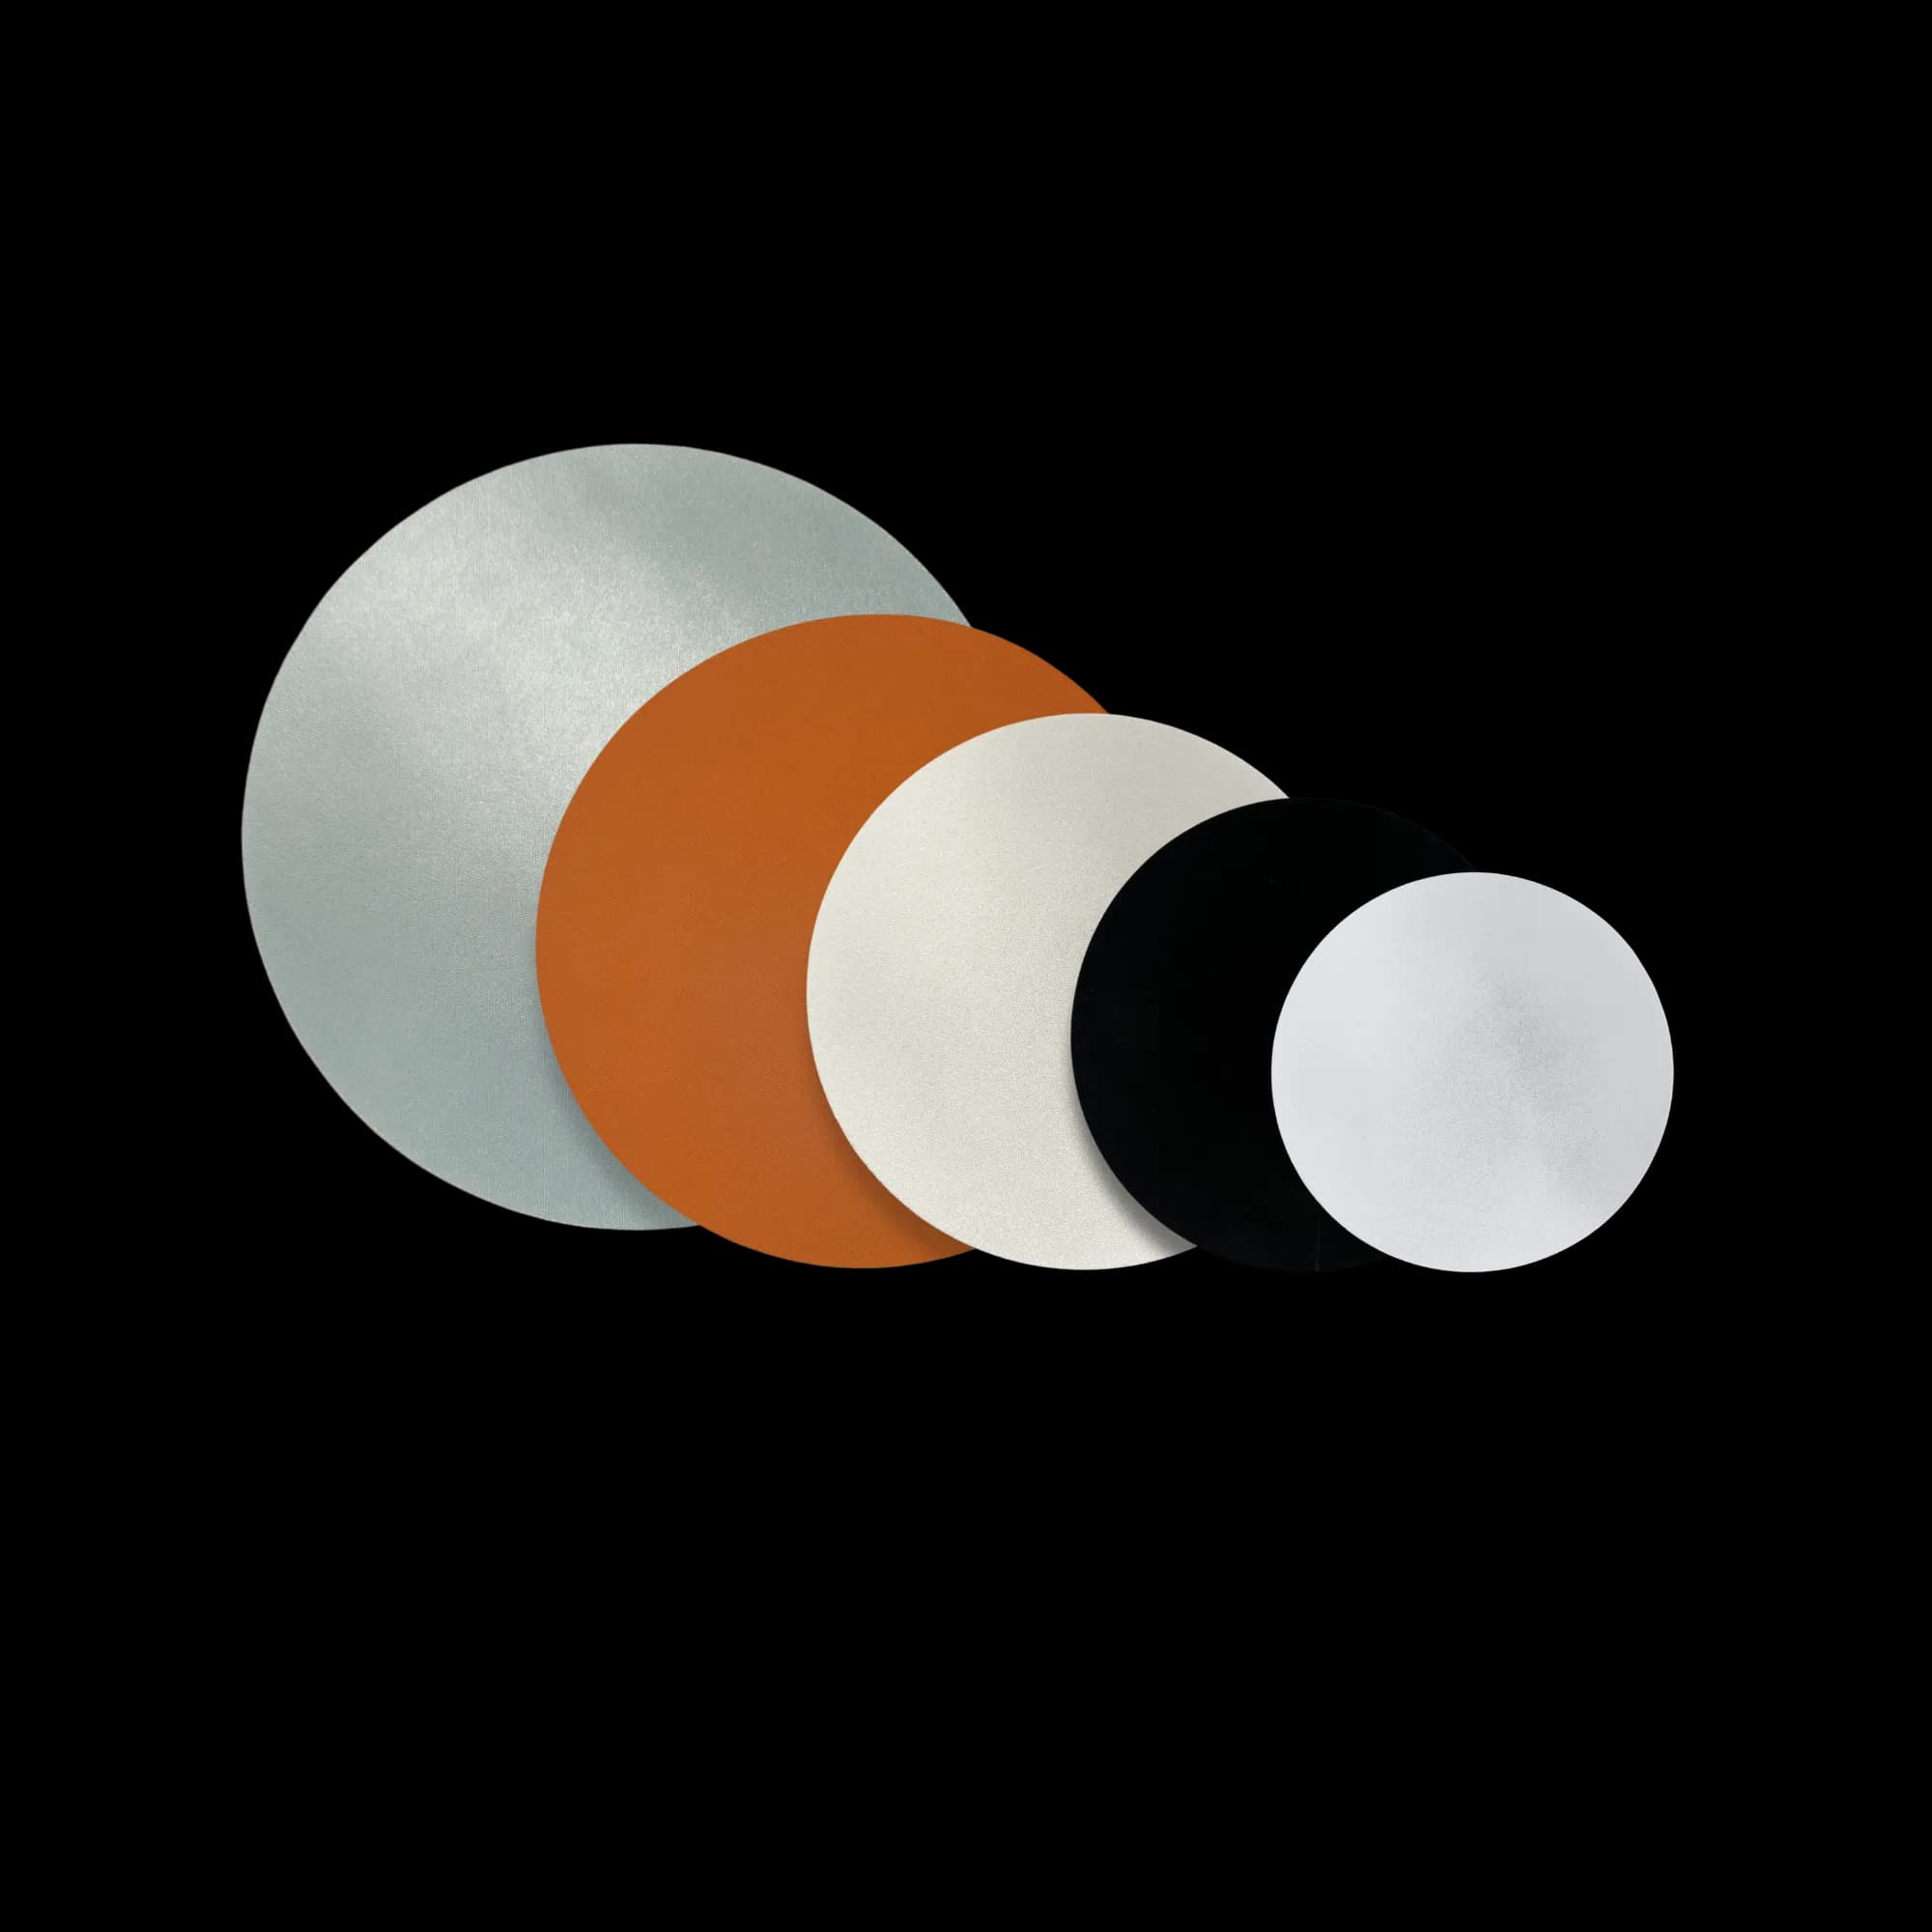
Start diamond polishing on a hard woven cloth and reserve softer napped cloths for the final steps to limit smearing and relief.
Diamond Polishing
- 9 μm diamond: 3-4 minutes on a hard woven cloth. A soft napped cloth at this stage will smear aluminum and create relief — save soft cloths for later steps.
- 3 μm diamond: 2-3 minutes on a medium napped cloth
- 1 μm diamond: 1-2 minutes on a soft napped cloth (optional — colloidal silica will close the gap)
Final Polishing
- 0.04-0.05 μm colloidal silica: 2-3 minutes on a soft chemotextile, followed by a 30 s water flush on the same pad to clear silica residue
- Rinse with water, then ethanol, and dry with room-temperature air (let the ethanol evaporate, or use unheated compressed air). Do not use heated air — recrystallization of the deformed surface layer is a known artifact on freshly polished aluminum.
Important: Use lighter pressure than for steel. Over-polishing can introduce relief around second phases and inclusions. Monitor the surface frequently to avoid smearing, which is common with soft materials like aluminum. This is especially critical for softer alloys such as 6061, while higher-strength alloys like 7075are slightly more forgiving but still require careful pressure control.
Etching
Etching reveals the microstructure by selectively attacking grain boundaries and phases. The choice of etchant depends on the aluminum alloy and what features you want to reveal. For common alloys like 6061 and7075, Keller's reagent is typically the first choice. Common etchants include Keller's reagent, Weck's reagent, and various electrolytic solutions.

Aluminum-silicon alloy etched with Keller's reagent, 400X magnification. Proper etching reveals grain boundaries and phase structure without over-etching artifacts.
Common Etchants for Aluminum
- Keller's Reagent: General purpose, reveals grain boundaries and second phases (1% HF, 1.5% HCl, 2.5% HNO₃, 95% H₂O — equivalently 2 mL HF, 3 mL HCl, 5 mL HNO₃ in 190 mL H₂O). HF safety: work in a fume hood, wear HF-rated gloves and face shield, and keep calcium gluconate gel on hand.
- Weck's Reagent: Tint etch for color contrast of phases and grain boundaries (4g KMnO₄, 1g NaOH, 100ml H₂O — immerse 30-60 s)
- Barker's Reagent: Electrolytic anodizing (not a chemical etch) for grain orientation contrast under polarized light. 5 ml HBF₄ in 200 ml H₂O at 20 V for 60-120 s.
- Graff & Sargent's Reagent: For age-hardened alloys
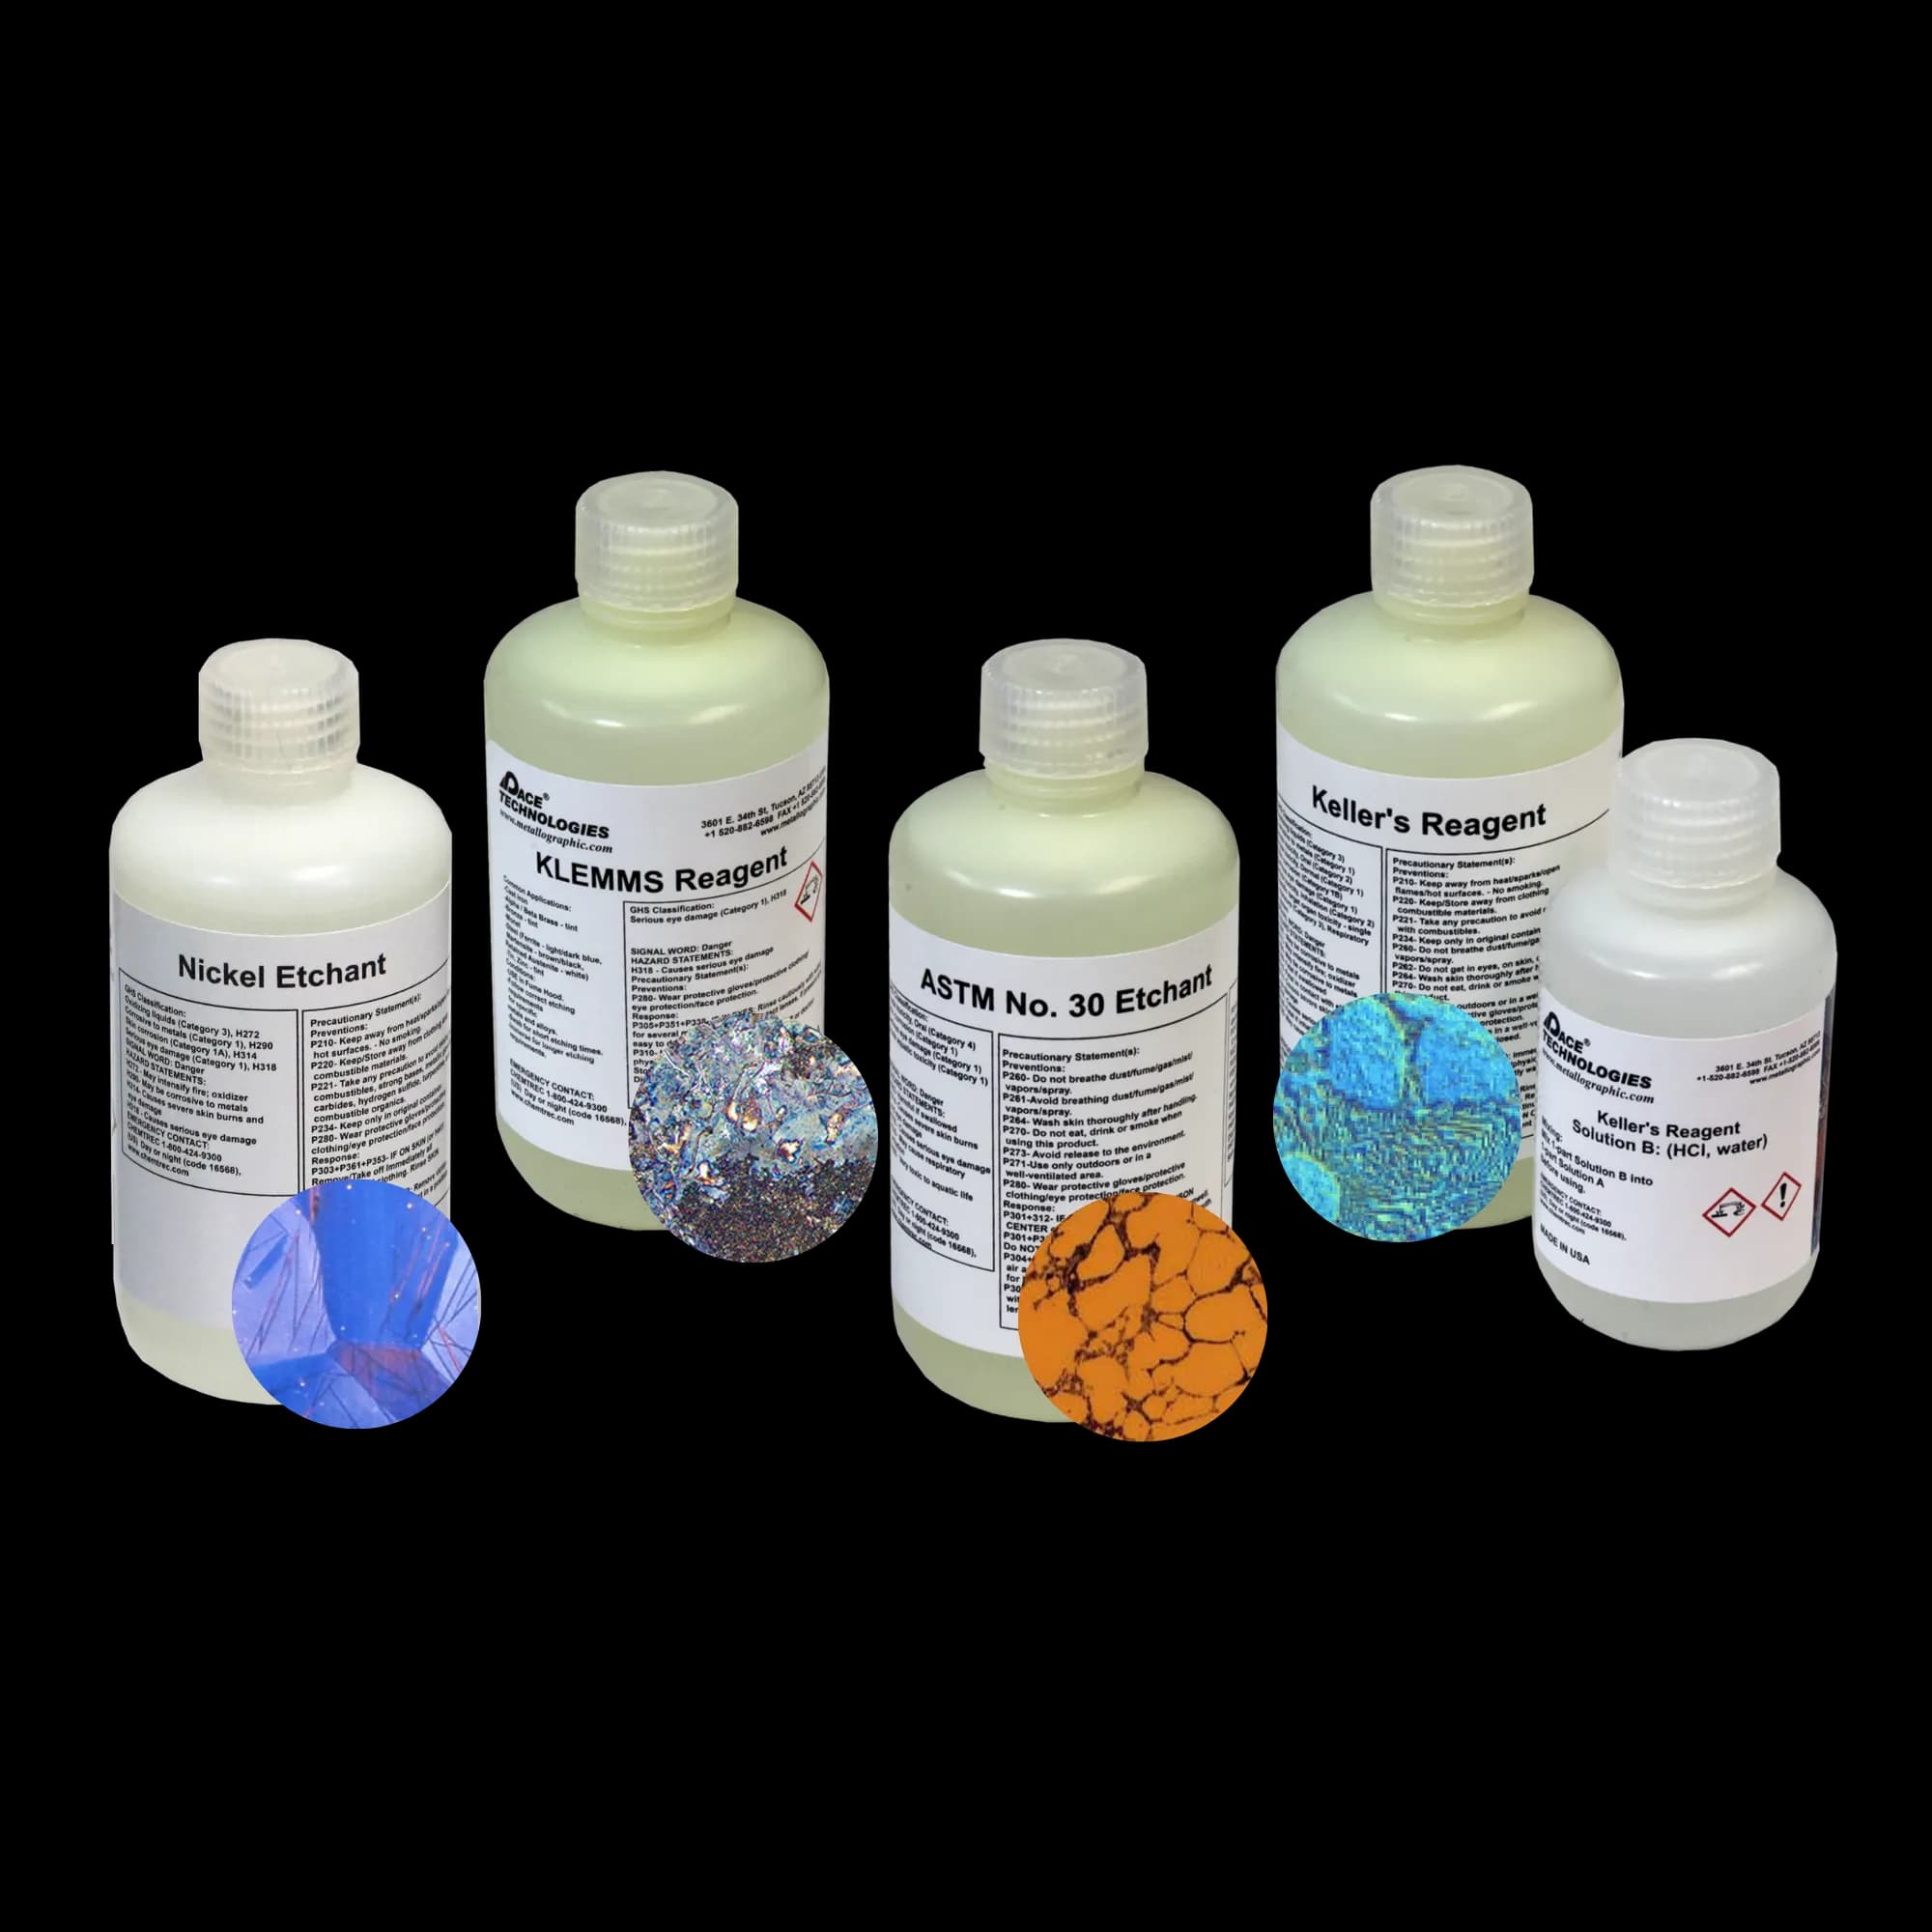
Etching solutions and reagents for aluminum. Common etchants include Keller's Reagent, Weck's Reagent, and electrolytic solutions. Etching time typically ranges from 5-30 seconds depending on the etchant and alloy.
Etching Procedure
- Ensure sample is clean and dry
- Apply etchant with cotton swab or immerse sample (HF-containing etchants like Keller's must be used in a fume hood with HF-rated PPE; never let the surface dry between application and rinse — HF residues continue to attack)
- Etch for 5-30 seconds (time varies by etchant and alloy)
- Immediately rinse with water, then ethanol
- Dry with room-temperature air (still air or unheated compressed air). Avoid heated drying to prevent surface recrystallization.
Tip: Start with shorter etching times (5-10 seconds) and increase if needed. Over-etching can obscure fine details and create pitting. For electrolytic etching, use appropriate voltage and time settings.
Example Products: EtchantsPre-mixed and custom etching solutions for aluminum
For purchasing options and product specifications, see commercial supplier website.
Troubleshooting
Common Issues and Solutions
- Scratches remaining: Insufficient grinding/polishing time or skipped grits. Ensure complete scratch removal at each step.
- Smearing: Too much mechanical work without enough chemical removal — the classic soft-aluminum defect. Reduce pressure and rely on the chemo-mechanical colloidal silica step to remove the smeared layer; switching to soft napped cloths too early makes it worse.
- Relief around second phases: Over-polishing or too soft a cloth. Reduce polishing time or use slightly harder cloth.
- Contamination: Clean between steps, use fresh abrasives, and ensure proper sample cleaning.
- Deformation: Too much pressure during grinding or polishing. Use lighter pressure throughout.
- Over-etching: Reduce etching time or dilute etchant. Start with shorter times.
- Pitting after etching: Etchant too strong or etching time too long. Dilute etchant or reduce time.
Explore More Procedures
Browse our comprehensive procedure guides for material-specific preparation methods and get personalized recommendations.