The Role of Surface Flatness in Accurate Metallographic Evaluation
It's a common scenario in metallography labs: a beautifully polished specimen that looks perfect to the naked eye, only to reveal under the microscope that the entire field of view can't be brought into focus simultaneously. The culprit? Surface flatness, or rather, the lack of it.
Surface flatness might seem like a minor detail, something we only worry about during polishing. By the time you're polishing, many of the decisions that determine flatness have already been made. Understanding how flatness works and what influences it can transform your metallographic preparation from good to exceptional.
The Hidden Cost of Imperfect Flatness
Consider this scenario: an EBSD analysis of a titanium alloy where hours of polishing achieved what looked like a mirror finish. But when collecting diffraction patterns, the indexing success rate was abysmal, barely 30%. Investigation revealed the surface had a subtle tilt of just 2.5 degrees. That tiny deviation was enough to cause the electron beam to strike the surface at varying angles, distorting the patterns beyond recognition.
This illustrates why flatness isn't just about aesthetics. When your surface isn't flat, you're dealing with a cascade of problems:
- Pressure variations during polishing create localized high spots that polish faster, leading to relief between phases
- Etchants pool in depressions and avoid raised areas, creating false contrast that can be mistaken for microstructural features
- Focus becomes impossible at higher magnifications. You're constantly adjusting, never quite getting everything sharp
- Quantitative measurements become unreliable. Grain size measurements can be off by more than 10% simply because the plane of polish wasn't uniform
For applications like EBSD or automated image analysis, the tolerances are even stricter. We're talking about flatness within 0.01 to 0.02 mm over the analysis area. That's less than the thickness of a human hair.
The real cost isn't just in failed analyses. It's in time. A specimen that looks polished but has flatness issues often requires complete re-preparation. That's hours of work down the drain, not to mention the material cost and potential delays in critical projects. In quality control environments, this can mean the difference between meeting deadlines and missing them.
Common Misconceptions About Flatness
Before diving into where flatness goes wrong, let's address a few misconceptions. Many metallographers believe that flatness can be "polished in" during the final steps. The reality is that you can only maintain or improve flatness during polishing. You can't create it. If flatness wasn't established earlier, polishing will only make the problem more apparent.
Another common belief is that a mirror-like finish automatically means a flat surface. Not true. A surface can be perfectly polished, scratch-free and reflective, but still have significant flatness deviations. The two are related but independent characteristics.
There's also the assumption that expensive equipment guarantees flatness. While quality equipment helps, proper technique and process control matter far more. A skilled metallographer with basic equipment can achieve better flatness than someone with top-tier gear but poor technique.
Where Flatness Goes Wrong
Most metallographers assume flatness is a polishing issue. But the foundation of flatness is actually established much earlier in the process, during sectioning and mounting. Specimens can be doomed from the start if they're cut at a slight angle or mounted with poor alignment. No amount of careful polishing can fully correct these initial errors.
During sectioning, the wrong cutting wheel or excessive feed rates can introduce waviness. Cutting at anything other than perpendicular to your analysis plane creates an initial tilt. Thin sections that warp from excessive heat during cutting will affect flatness down the line.
Mounting is equally critical. Specimens that aren't properly aligned in the mounting medium start with inherent flatness problems. The rule of thumb: if you can't get it right during mounting, you'll be fighting an uphill battle for the rest of the preparation.
The Pressure Paradox
Pressure control trips up even experienced metallographers. It's the most critical factor in maintaining flatness, but it's also one of the most misunderstood.
Too much pressure creates localized wear that introduces relief. Too little, and you're not removing material efficiently. The sweet spot varies by material. Soft materials like aluminum need lower pressures, typically 2 to 3 N per specimen, to prevent excessive deformation. Hard materials like tool steels might need 4 to 6 N, but it must be applied uniformly.
Think of pressure distribution like this: imagine your specimens are evenly distributed in a holder. If they cluster toward the center or edges, you create pressure gradients. Those gradients translate directly into flatness problems. Rigid holders help maintain flatness better than flexible ones, but they require careful specimen alignment.
One often-overlooked factor is specimen size variation within a holder. If you're polishing multiple specimens together, significant size differences can cause uneven pressure distribution. The larger specimens bear more load, while smaller ones may not contact the polishing surface properly. This is why many experienced metallographers prefer to polish similar-sized specimens together, or use individual specimen holders for critical work.
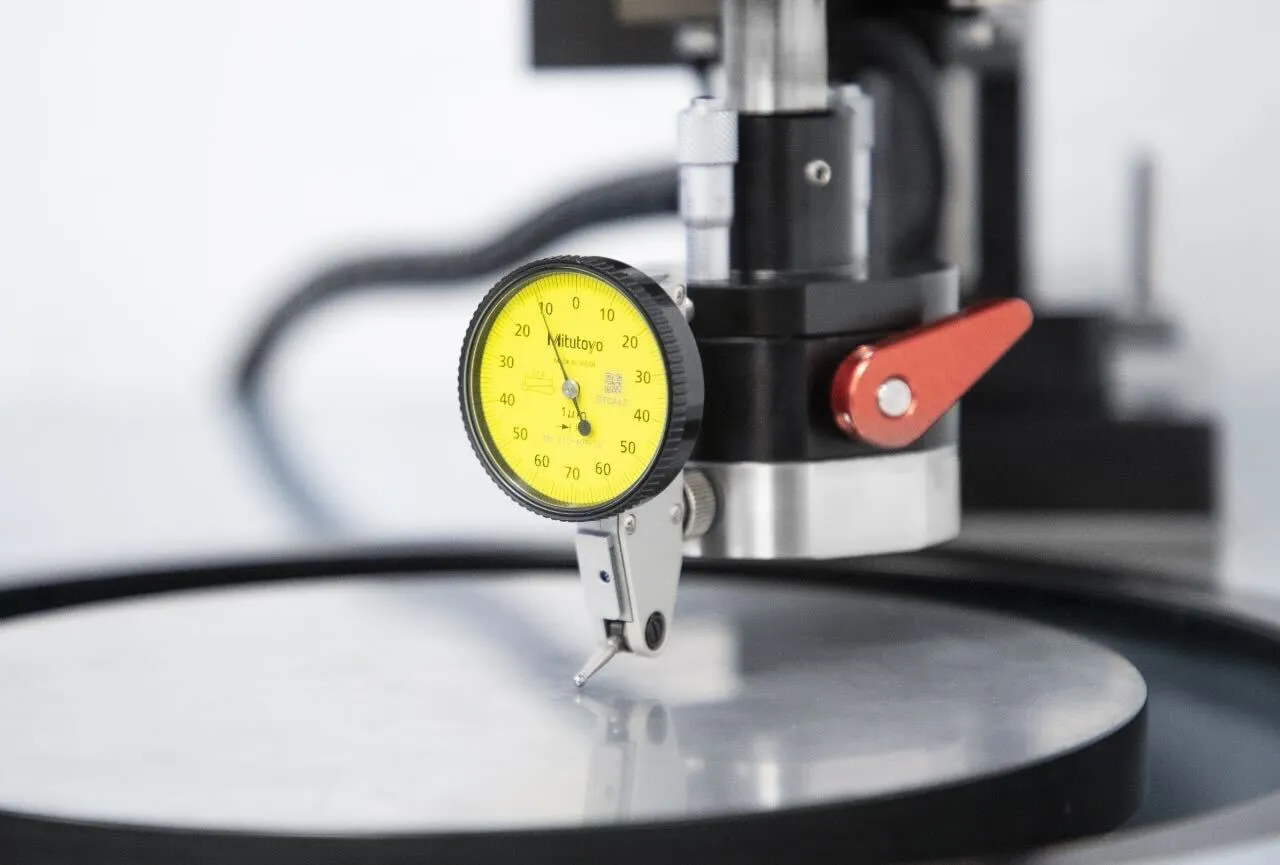
Periodically check flatness during polishing. Keep a precision straightedge handy for quick checks. For critical applications, a surface profilometer can quantify deviations. Often a simple visual check under the microscope tells you what you need to know: can you focus the entire field simultaneously?
The Cloth Conundrum
Polishing cloth selection is another area where flatness can make or break your preparation. Soft cloths like nap cloths or velvet provide excellent final polish quality, but they allow significant surface deformation. This increases the risk of relief formation, especially in multi-phase materials.
Hard cloths like silk, canvas, or rigid grinding discs provide maximum support and maintain flatness best. They're particularly valuable for multi-phase materials or when relief is a concern. The trade-off is that they may require longer polishing times to achieve equivalent scratch-free surfaces.
A common strategy is to use harder cloths for initial polishing steps to establish flatness, then transition to softer cloths for final polishing only after flatness is confirmed. For EBSD or other high-precision applications, consider using rigid grinding discs or hard cloths throughout the entire polishing sequence.
Cloth condition matters just as much as cloth type. Worn cloths develop uneven surfaces that transfer flatness errors to your specimens. Contaminated cloths create localized high spots. Improperly mounted cloths with wrinkles or sagging will affect flatness no matter how good your technique is.
Mark your cloths with the date they were first used. Most polishing cloths have a useful life of 50 to 100 polishing cycles, depending on material hardness and abrasive type. After that, even if they look fine, they've likely developed subtle wear patterns that affect flatness. For high-precision work, err on the side of replacing them more frequently.
The Platen Problem
Even the best polishing technique can't overcome platen problems. Metallographers can spend hours perfecting their technique, only to discover their platen was warped or had excessive runout. The platen transfers its geometry directly to your specimens.
Platens should be flat within 0.05 mm. Warped or worn platens need resurfacing, typically every 1 to 2 years with regular use. But many labs let this maintenance slide, and the results show in their preparations. Regular inspection with a straightedge or dial indicator can catch problems before they become critical.
Contamination is another silent killer. Embedded particles, dried abrasive, or corrosion create localized high spots that affect flatness. Make it a habit to thoroughly clean platens between uses, and replace polishing cloths before they become excessively worn or contaminated.
Real-World Flatness Checks
You don't always need expensive equipment to check flatness. The simplest method is the straightedge test. Place a precision straightedge across your polished surface and check for gaps using feeler gauges. This works well for detecting deviations greater than 0.05 mm.
For higher precision, optical flat interference uses monochromatic light to observe interference fringes. Each fringe represents approximately 0.3 micrometers of deviation. It's more involved, but invaluable for high-precision applications.
Some of the best flatness checks happen during normal observation. Under the microscope, if you can't bring the entire field of view into sharp focus simultaneously, flatness is likely compromised. Non-uniform etching patterns often indicate flatness problems. Under oblique illumination, relief between phases suggests pressure variations that point to flatness issues.
For those working with digital microscopy, there's another quick check: take a series of images at different focal planes across your specimen. If you find yourself constantly adjusting focus as you move across the field, that's a red flag. Modern software can even create focus-stacked images that reveal flatness issues through the depth of field required to capture the entire surface.
Lessons from the Lab
A systematic approach to flatness control starts with proper sectioning: perpendicular cuts with minimal thermal damage. Then establish flatness early using rigid grinding discs or hard cloths during initial grinding steps.
Monitor flatness throughout the process, not just at the end. Each step should improve flatness while removing damage from previous steps. Always confirm flatness before etching or analysis. There's nothing worse than discovering a flatness problem after you've already etched.
Material-specific strategies matter too. Single-phase materials are generally easier to maintain flatness. Focus on even pressure and proper cloth selection. Multi-phase materials need harder cloths, moderate pressures, and careful monitoring for relief formation. Soft materials require lower pressures and careful cloth selection to prevent excessive deformation. Hard materials may need higher pressures, but uniform distribution is critical.
Some materials present unique challenges. Cast irons with graphite flakes can develop relief around the graphite if pressure is too high. Ceramics and hard metals may require diamond abrasives throughout to maintain flatness, as softer abrasives can create uneven removal. Materials with significant hardness variations, like carburized steels, demand extra attention to prevent differential polishing rates that create relief.
When Things Go Wrong
Even with the best practices, flatness problems happen. Here are the most common issues and how to fix them:
Specimen appears tilted or wedge-shaped: This usually comes from improper mounting alignment or uneven pressure distribution. Re-mount with proper alignment, check your holder for even pressure, and inspect your platen. It might need resurfacing.
Center higher or lower than edges: Specimens clustered in the holder center, excessive pressure, or a soft cloth allowing deformation. Redistribute specimens evenly, reduce pressure, and consider a harder cloth.
Relief between phases: Excessive pressure, soft cloth, insufficient polishing time, or inappropriate abrasive. Reduce pressure, use a harder cloth, increase polishing time, and ensure proper abrasive selection for your material.
Edge rounding: Excessive pressure, over-polishing, soft cloth, or improper holder design. Reduce pressure, shorten polishing time, use a harder cloth or edge retention techniques, and consider a different holder design.
Waviness or undulating surface: Platen runout, variable rotation speed, worn or contaminated cloth, or improper cloth mounting. Check and repair your platen, ensure constant speed, replace the cloth, and remount it properly.
Inconsistent results between specimens: This often indicates equipment issues rather than technique problems. Check platen flatness, verify holder condition, and ensure consistent specimen mounting. If one specimen is flat but others aren't, look for differences in their mounting or positioning.
Standards and Specifications
While there's no single ASTM standard dedicated solely to flatness, several standards reference flatness requirements. ASTM E3, the Standard Guide for Preparation of Metallographic Specimens, emphasizes the importance of a uniform plane of polish, which inherently requires flatness. ASTM E112, Standard Test Methods for Determining Average Grain Size, requires flatness within 0.05 mm for accurate grain size measurements.
For EBSD work, the de facto standard is flatness within 0.01 to 0.02 mm, though this isn't always explicitly stated in standards. The requirement comes from the physics of electron diffraction. The electron beam needs to strike the surface at consistent angles to produce reliable patterns.
Many quality control programs establish their own flatness specifications based on their specific analytical needs. The key is consistency: whatever tolerance you establish, apply it uniformly and verify it regularly.
Quick Reference: Flatness Checklist
Before starting any critical preparation, run through this mental checklist:
- Specimen cut perpendicular to analysis plane?
- Properly aligned during mounting?
- Appropriate cloth selected for material and application?
- Cloth in good condition and properly mounted?
- Platen flat and clean?
- Specimens evenly distributed in holder?
- Pressure appropriate for material hardness?
- Flatness checked after each major step?
If you can check all these boxes, you're well on your way to achieving good flatness. If not, address the issues before proceeding. It's much easier to fix problems early than to correct them later.
The Bottom Line
Surface flatness isn't just a polishing concern. It's a characteristic determined by your entire preparation sequence, from initial sectioning through final polishing. Understanding the mechanisms that control flatness enables you to make informed decisions throughout the process.
For applications requiring the highest precision, like EBSD, automated image analysis, or quantitative microstructural measurements, attention to flatness isn't optional. It's essential for obtaining valid, reproducible results.
Flatness is both a means to an end and an indicator of preparation quality. A flat surface not only enables accurate analysis but also demonstrates that your preparation process has been executed with care and attention to detail. In metallography, as in many technical disciplines, the foundation of quality lies in mastering the fundamentals. Flatness is one of the most fundamental of these.
So the next time you're polishing a specimen, take a moment to check that flatness. Your future self and your analysis results will thank you.
Remember: flatness isn't something you add at the end. It's something you build from the beginning. Every step in your preparation process either contributes to or detracts from flatness. By understanding these relationships and making informed choices throughout the process, you'll improve your results, save time, reduce waste, and produce more reliable data. That's the real value of mastering surface flatness.
If you're looking to improve your flatness control or troubleshoot persistent issues in your preparation process, reach out to our team. We can help you identify the root causes and develop solutions tailored to your specific materials and applications.
Want to Learn More?
Explore our comprehensive guides for detailed step-by-step instructions on sample preparation techniques.
Browse GuidesRelated Posts
The Importance of Proper Grinding and Its Effect on Final Surface Quality
Learn why careful grinding is essential for achieving high-quality final polishing results and how incomplete grinding affects metallographic analysis.
Read More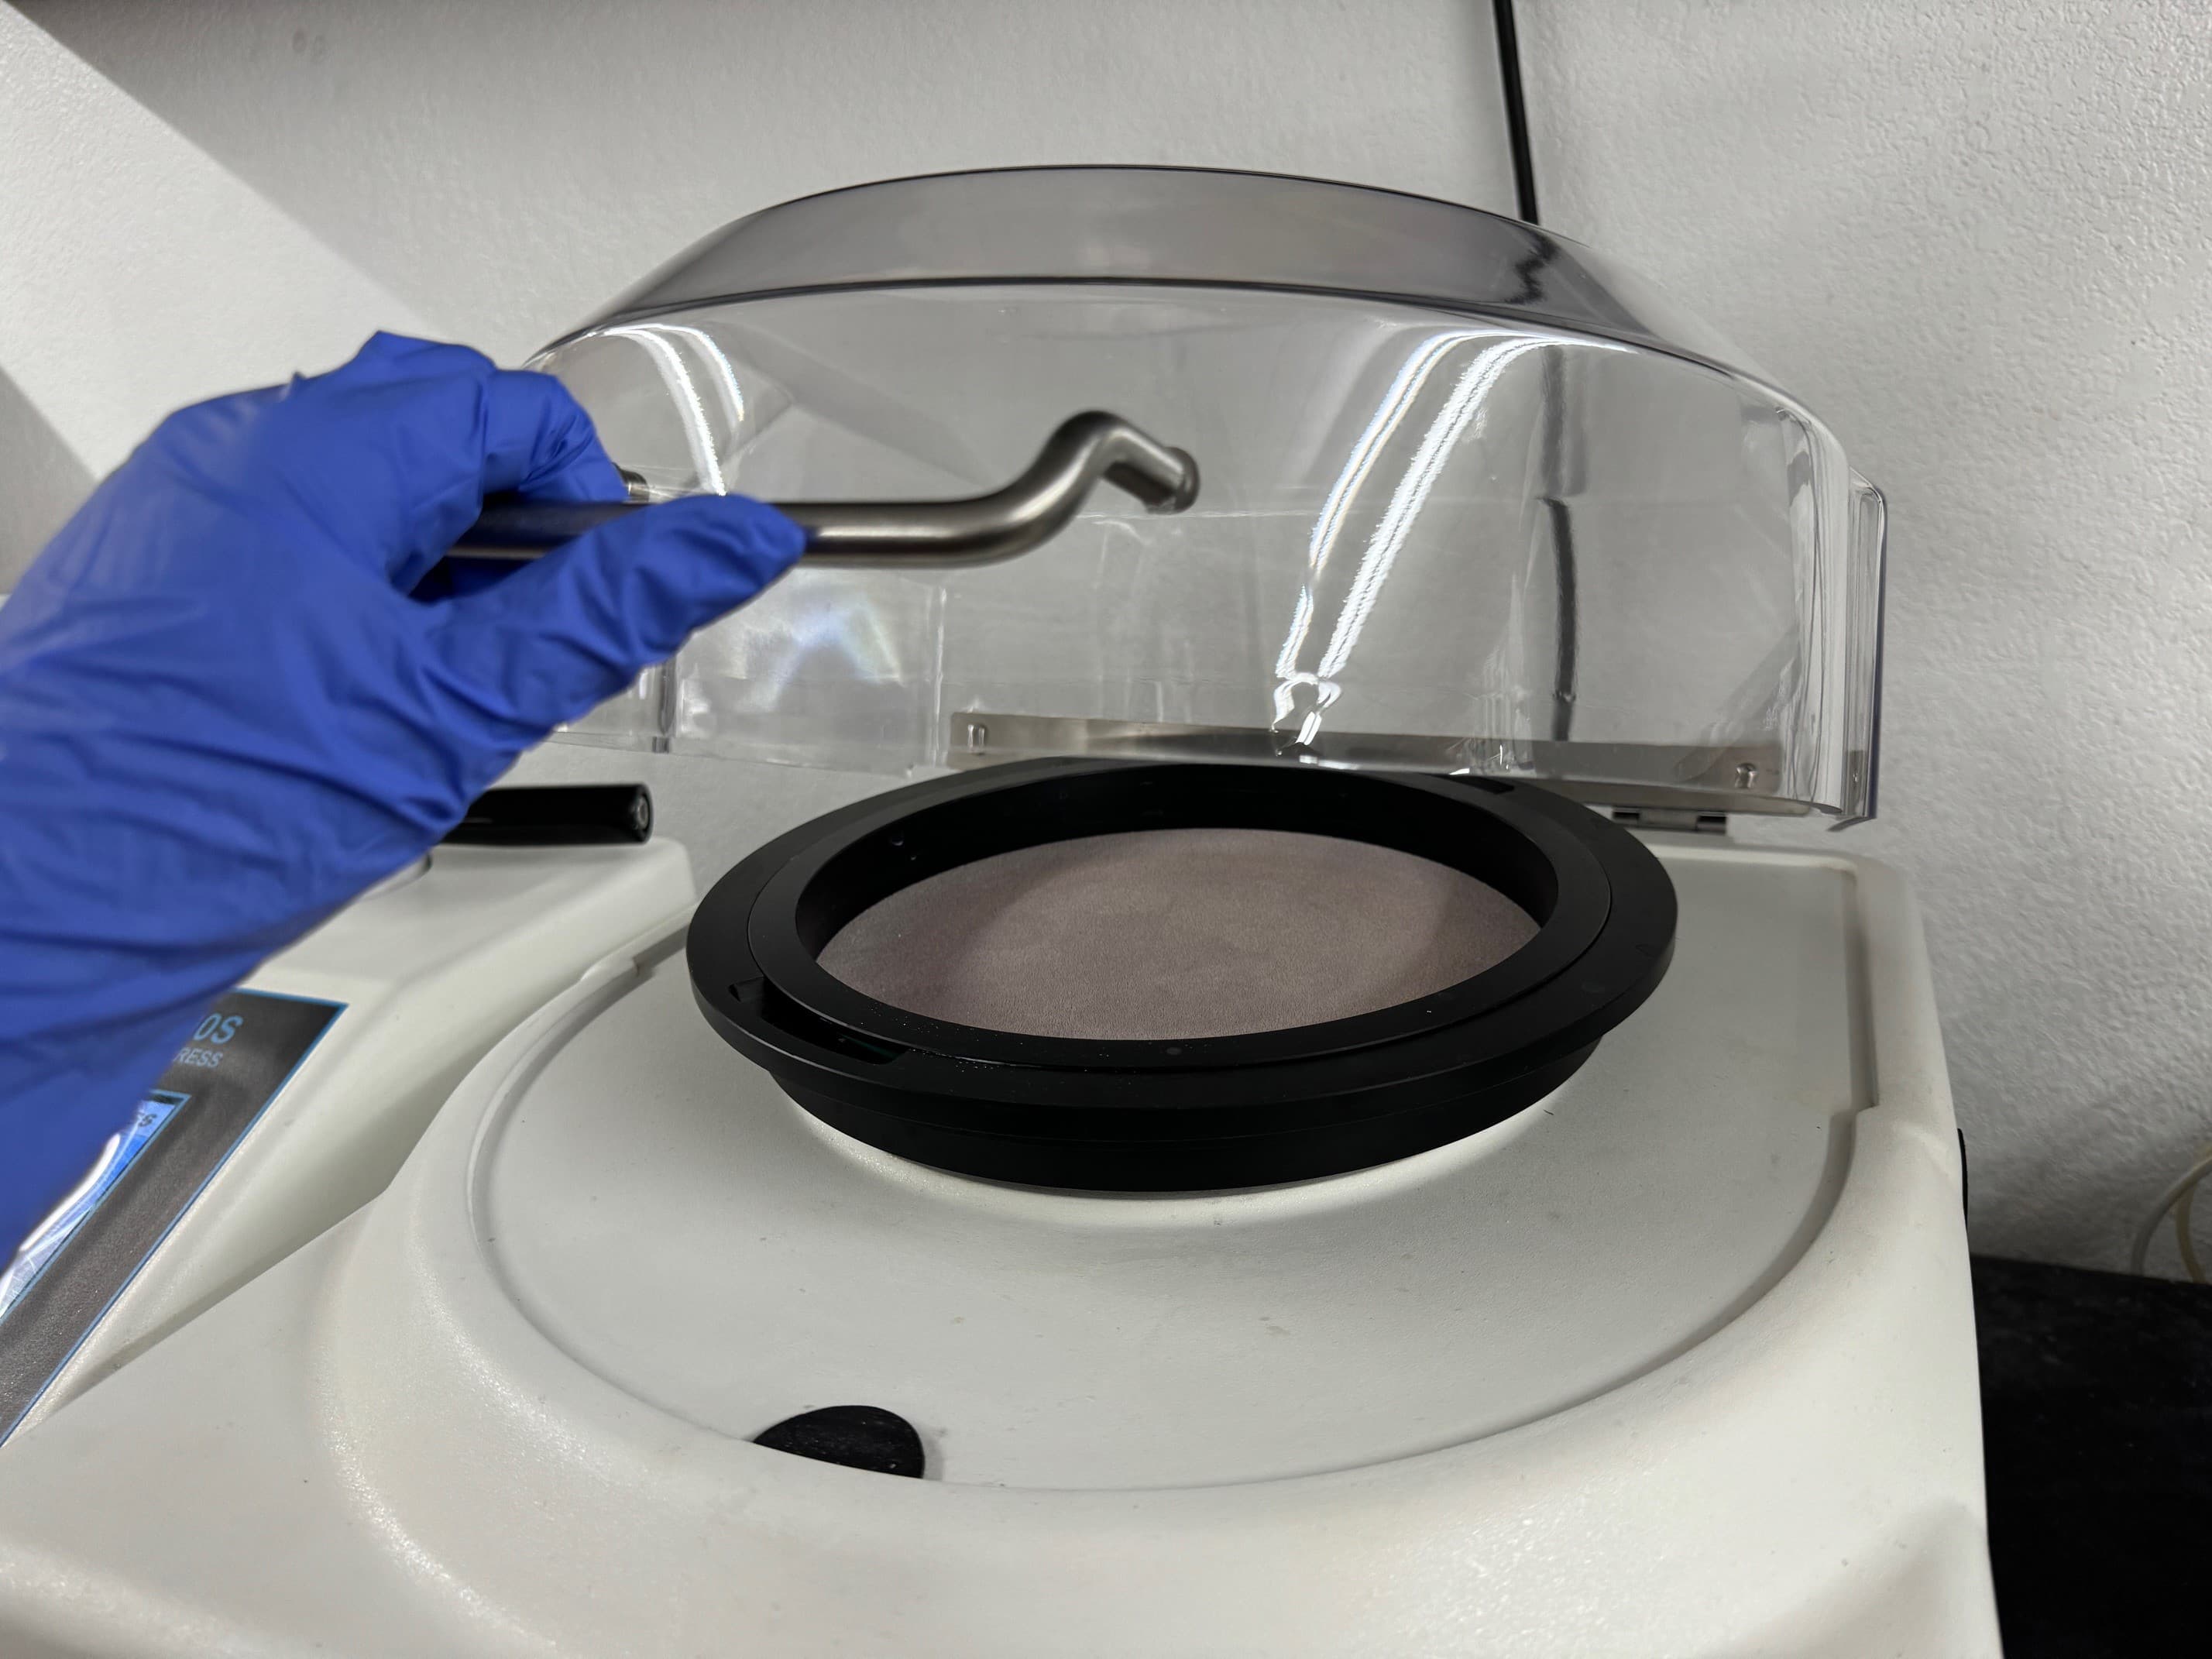
Vibratory Polishing: When It Outperforms Advanced Final Polishing Methods
Learn when vibratory polishing provides superior surface finishes over other advanced methods and why it is critical for high-resolution metallographic analysis.
Read More
How Polishing Cloth Properties Influence Metallographic Results
Learn how polishing cloth characteristics affect surface quality, relief formation, and polishing performance in metallographic preparation.
Read More