Nickel and Cobalt Superalloys Sample Preparation
A comprehensive guide to preparing nickel and cobalt superalloy samples for metallographic analysis, covering specialized techniques for high-temperature alloys including Inconel, Hastelloy, Stellite, and other superalloys.
Introduction
Nickel and cobalt superalloys are among the most challenging materials to prepare for metallographic analysis. These materials are used in high-temperature applications, aerospace, chemical processing, and wear-resistant applications due to their excellent corrosion resistance, high strength, temperature stability, and hardness.
Common nickel alloys include Inconel (600, 625, 718, 738), Hastelloy (C-276, X), Monel, and various superalloys. Cobalt alloys like Stellite are also high-temperature, wear-resistant materials with similar preparation challenges. These materials often contain complex microstructures with multiple phases including gamma prime (γ'), carbides, and other precipitates that require careful preparation to reveal.
Key Challenge: Nickel and cobalt superalloys are typically very hard and work-harden easily. They require slow cutting speeds, careful grinding, and extended polishing times to avoid introducing deformation artifacts. Cobalt alloys like Stellite are particularly hard (450+ HB) and contain carbides that must be preserved.
Sectioning
Nickel and cobalt superalloys are extremely hard and work-harden rapidly during cutting. Proper sectioning is critical to minimize deformation and heat generation. Cobalt alloys like Stellite are particularly hard (450+ HB) and require careful cutting techniques.
Cutting Parameters
- Blade Selection: an abrasive blade formulated for nickel and cobalt superalloys — a CBN or Al₂O₃ wheel with a medium-hard bond, rated for Inconel, Hastelloy, and Co-base superalloys. Do not substitute a soft-bond non-ferrous (Al/Cu/brass) blade — its soft bond breaks down and wears away far too fast on a hard superalloy, while a blade bonded too hard for the alloy will glaze and burn.
- Cooling: Continuous flood coolant is non-negotiable — Ni and Co superalloys generate heat fast and work-harden under it
- Feed Rate: Slow, steady feed; let the blade cut at its own pace. Heavy force drives mechanical deformation deeper than the next plane-grind step can remove.
- Wheel speed: Standard metallographic abrasive cutoff range (typical machines run 2,500-4,500 SFM)
Example Products: Nickel/Superalloy Abrasive BladesMedium-hard bond CBN and Al₂O₃ abrasive blades formulated for nickel and cobalt superalloys — appropriate for Inconel, Hastelloy, Waspaloy, Stellite, and other hard Ni- and Co-base alloys.
For purchasing options and product specifications, see commercial supplier website.
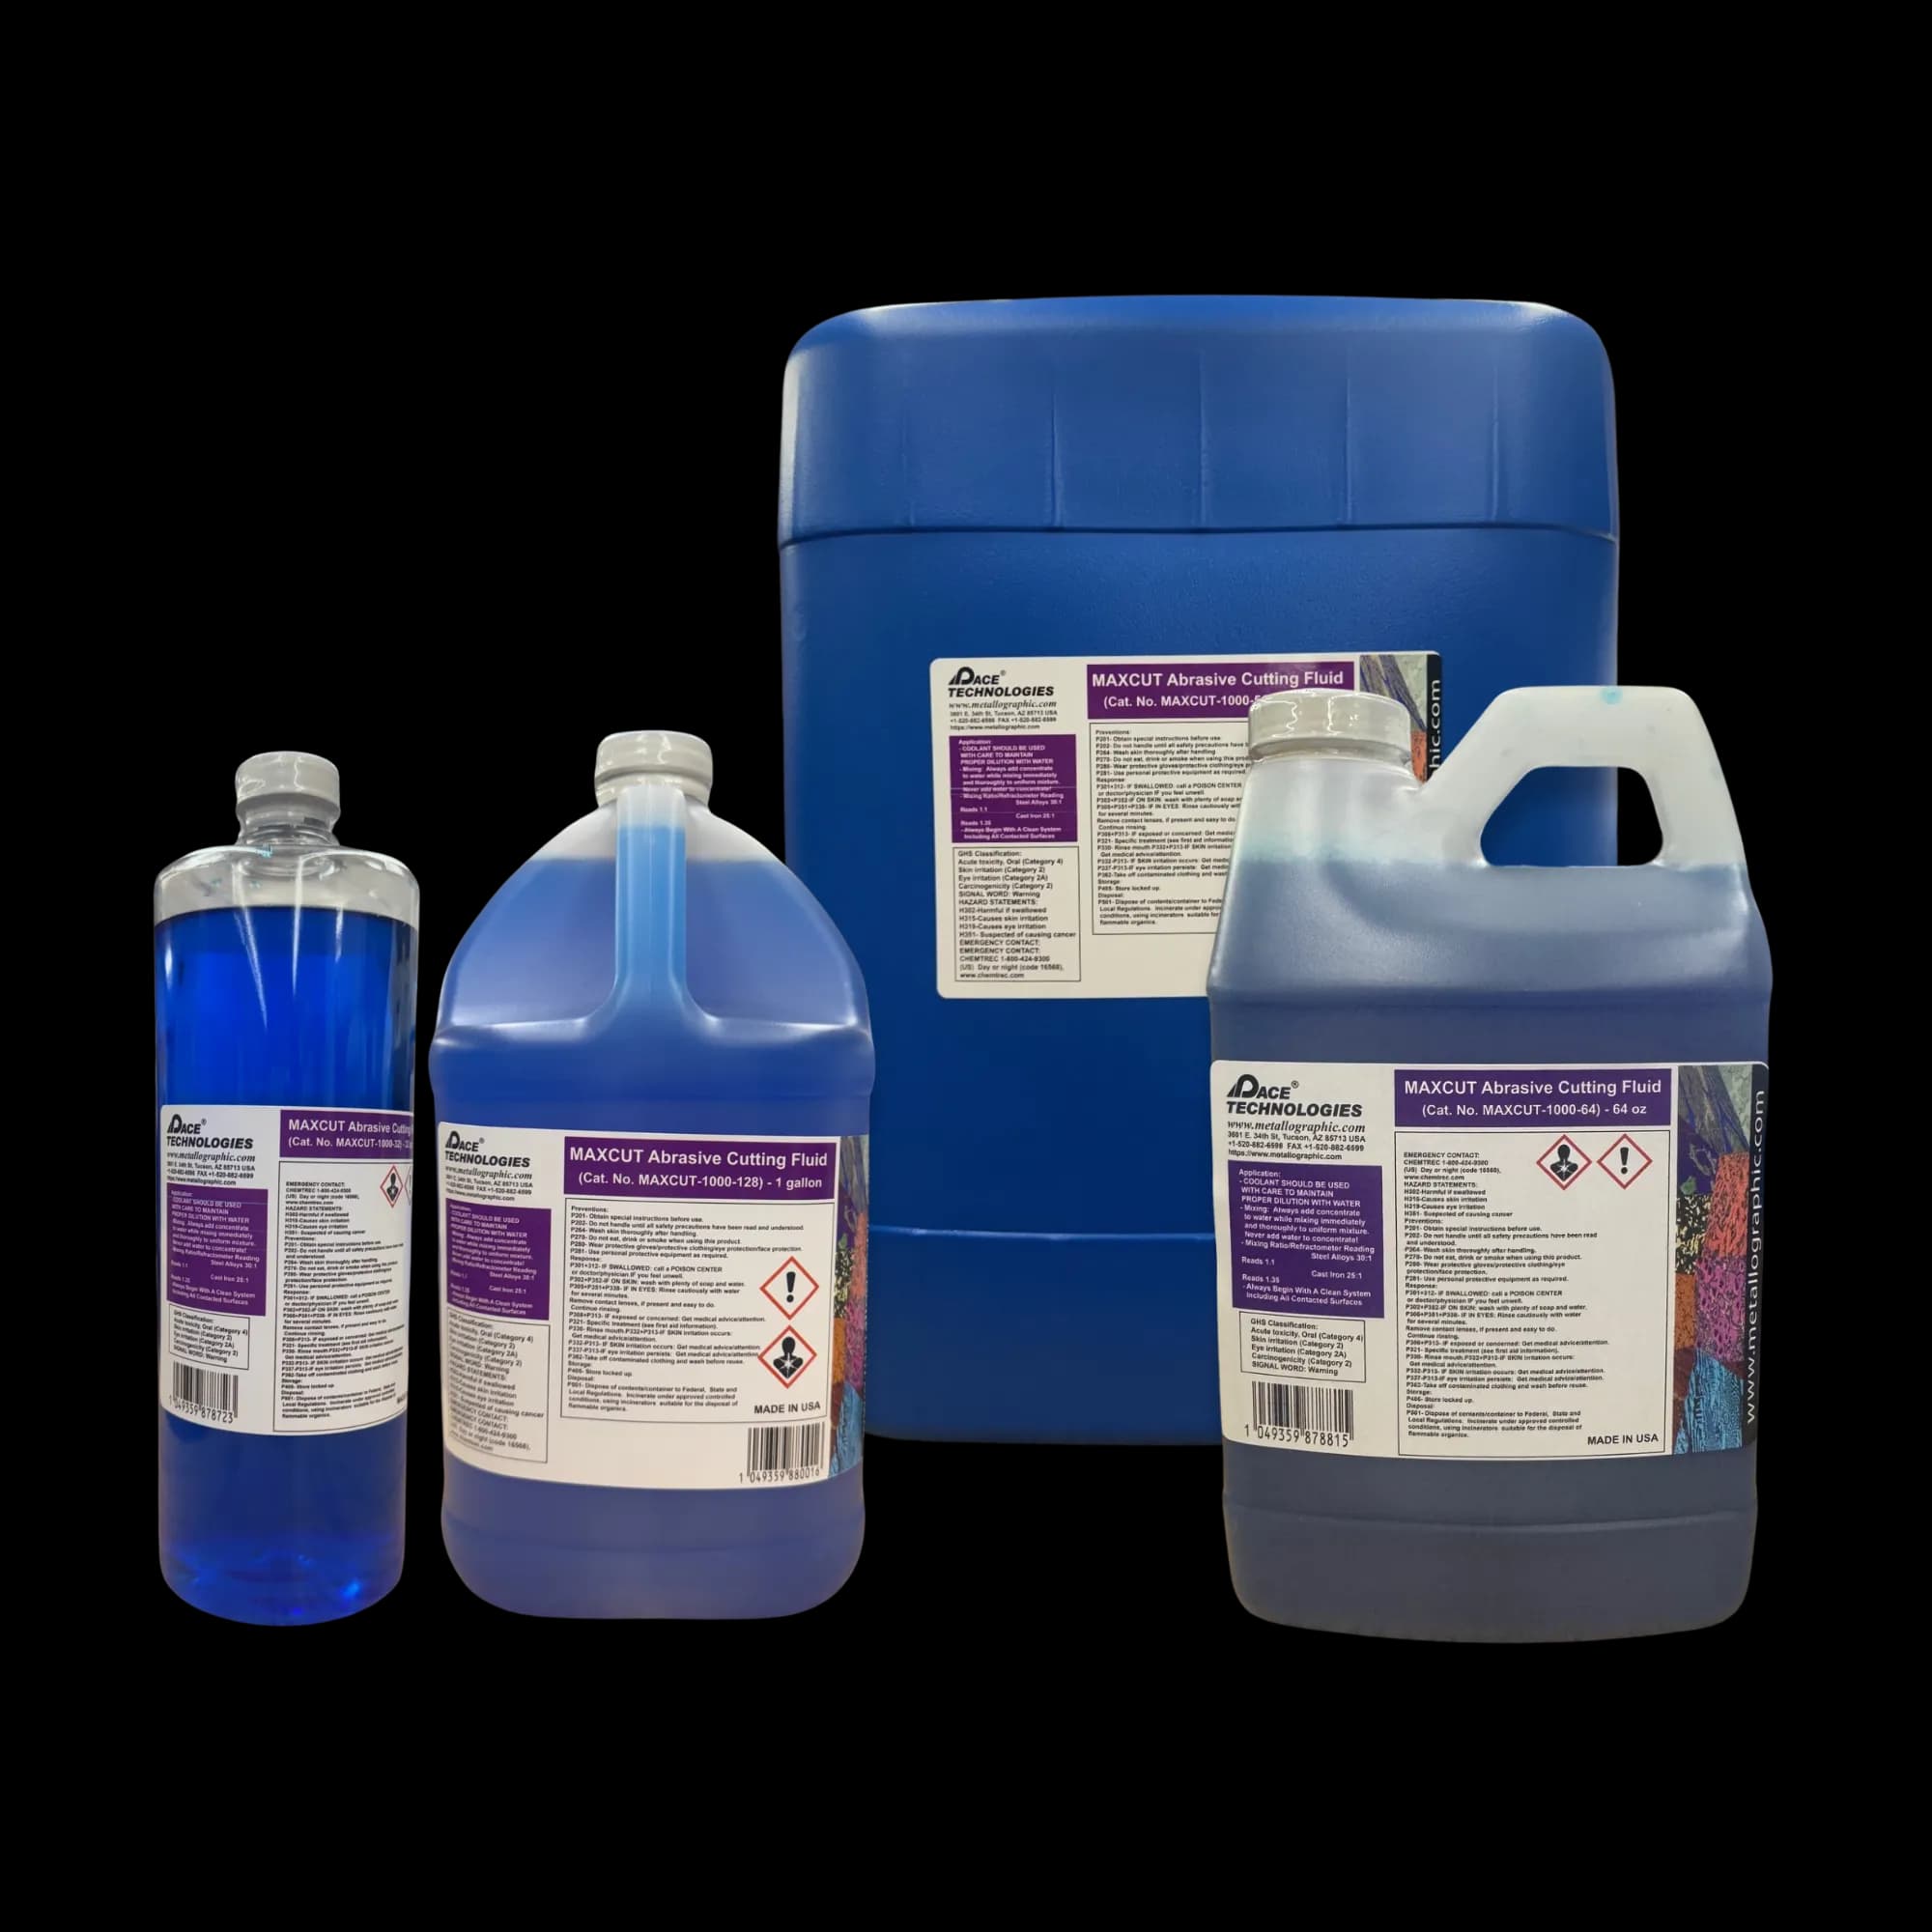
Cutting fluids are essential for nickel and cobalt superalloy sectioning to prevent overheating and minimize deformation. Continuous cooling throughout the cut is critical.
Best Practices
- Use thin blades (0.5-1.0 mm) to minimize kerf loss and heat generation
- Maintain constant cooling throughout the cut
- Avoid excessive pressure - let the blade do the work
- For small, delicate, or very hard superalloy samples, consider a precision wafering saw at low feed — it leaves a damage layer roughly 10× thinner than abrasive cutoff
Mounting
The canonical mount for superalloy work is glass-filled epoxy compression mount. Plain phenolic (Bakelite-style) is the wrong choice on Ni and Co superalloys whenever edge retention matters — turbine blade cross-sections, fastener fatigue analysis, near-edge γ′/γ″ precipitate distribution, single-crystal orientation studies — because phenolic wears faster than the alloy and rounds the sample-mount boundary, biasing every near-edge measurement. Reserve plain phenolic for low-stakes general-structure work where edge fidelity isn't a deliverable.
Mounting Materials
- Glass-filled epoxy (preferred for superalloy work): Best edge retention; matches the differential-wear profile of Ni/Co superalloys. The right answer for Inconel 718 γ′/γ″ work, Hastelloy fatigue cross-sections, and any case where near-edge structure is the analysis goal.
- Plain epoxy: Acceptable when the analysis goal is bulk microstructure rather than near-edge features. Low shrinkage reduces mount-sample gaps.
- Phenolic resins: Acceptable for general-structure low-stakes work only. Will round the sample-mount edge during long polishes; not appropriate when edge retention matters.
- Mounting Cycle: 150-180°C at 3,000-4,500 psi (about 4,200 psi is typical); cure ~5 minutes, then cool under pressure
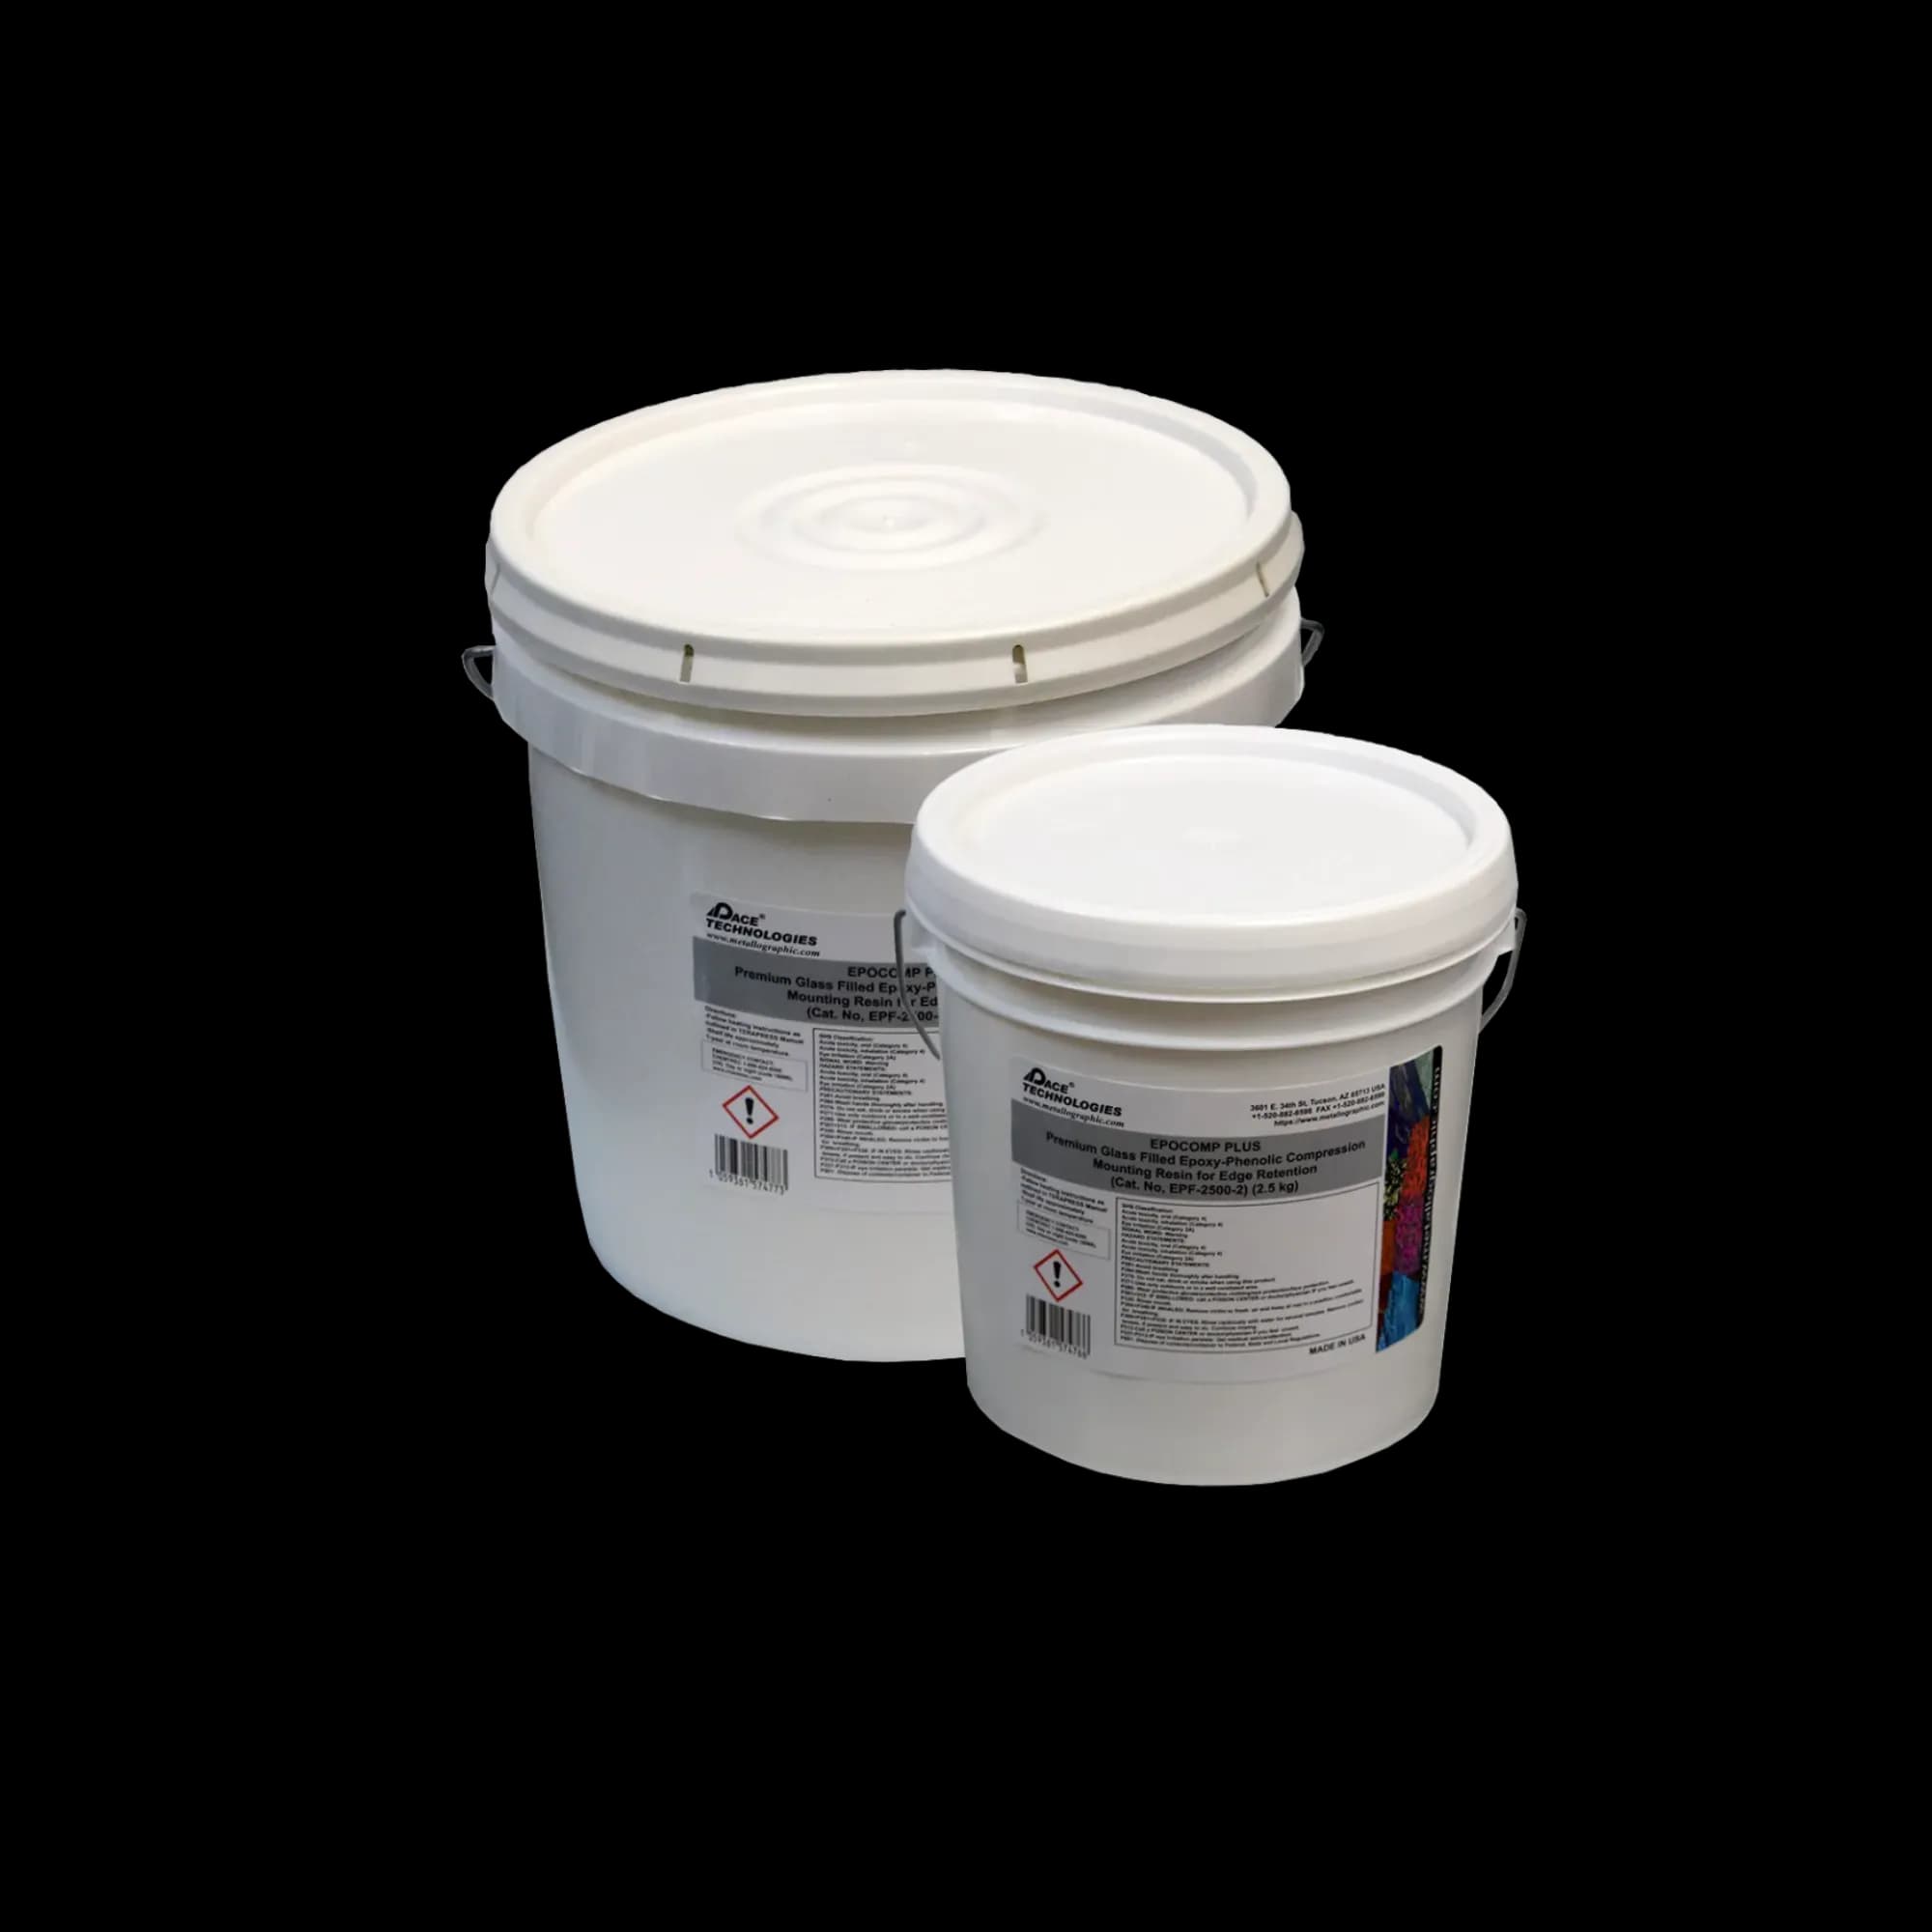
Glass-filled epoxy compression mounting materials are preferred for nickel superalloys because they wear at a rate close to the alloy, preserving the sample-mount edge during long polishing cycles.
Mounting Procedure
- Clean the sample thoroughly to remove cutting fluid and debris
- Select appropriate mold size (typically 1.25" or 1.5" diameter)
- Place sample in mold with the surface of interest facing up
- Add mounting compound and mount at recommended temperature and pressure
- Allow to cool slowly to room temperature before removing from mold
Important: Avoid rapid cooling of mounted samples as this can cause cracking in both the mount and the sample, especially for superalloys.
Grinding
Progressive grinding is essential for nickel alloys. These materials work-harden easily, so consistent pressure and proper grit progression are critical.
Grinding Sequence
- 120 grit: Remove sectioning damage - 2-3 minutes per sample
- 240 grit: Remove 120 grit scratches - 2-3 minutes
- 400 grit: Further refinement - 2-3 minutes
- 600 grit: Fine grinding - 2-3 minutes
- 800 grit: Optional for superalloys - 2 minutes
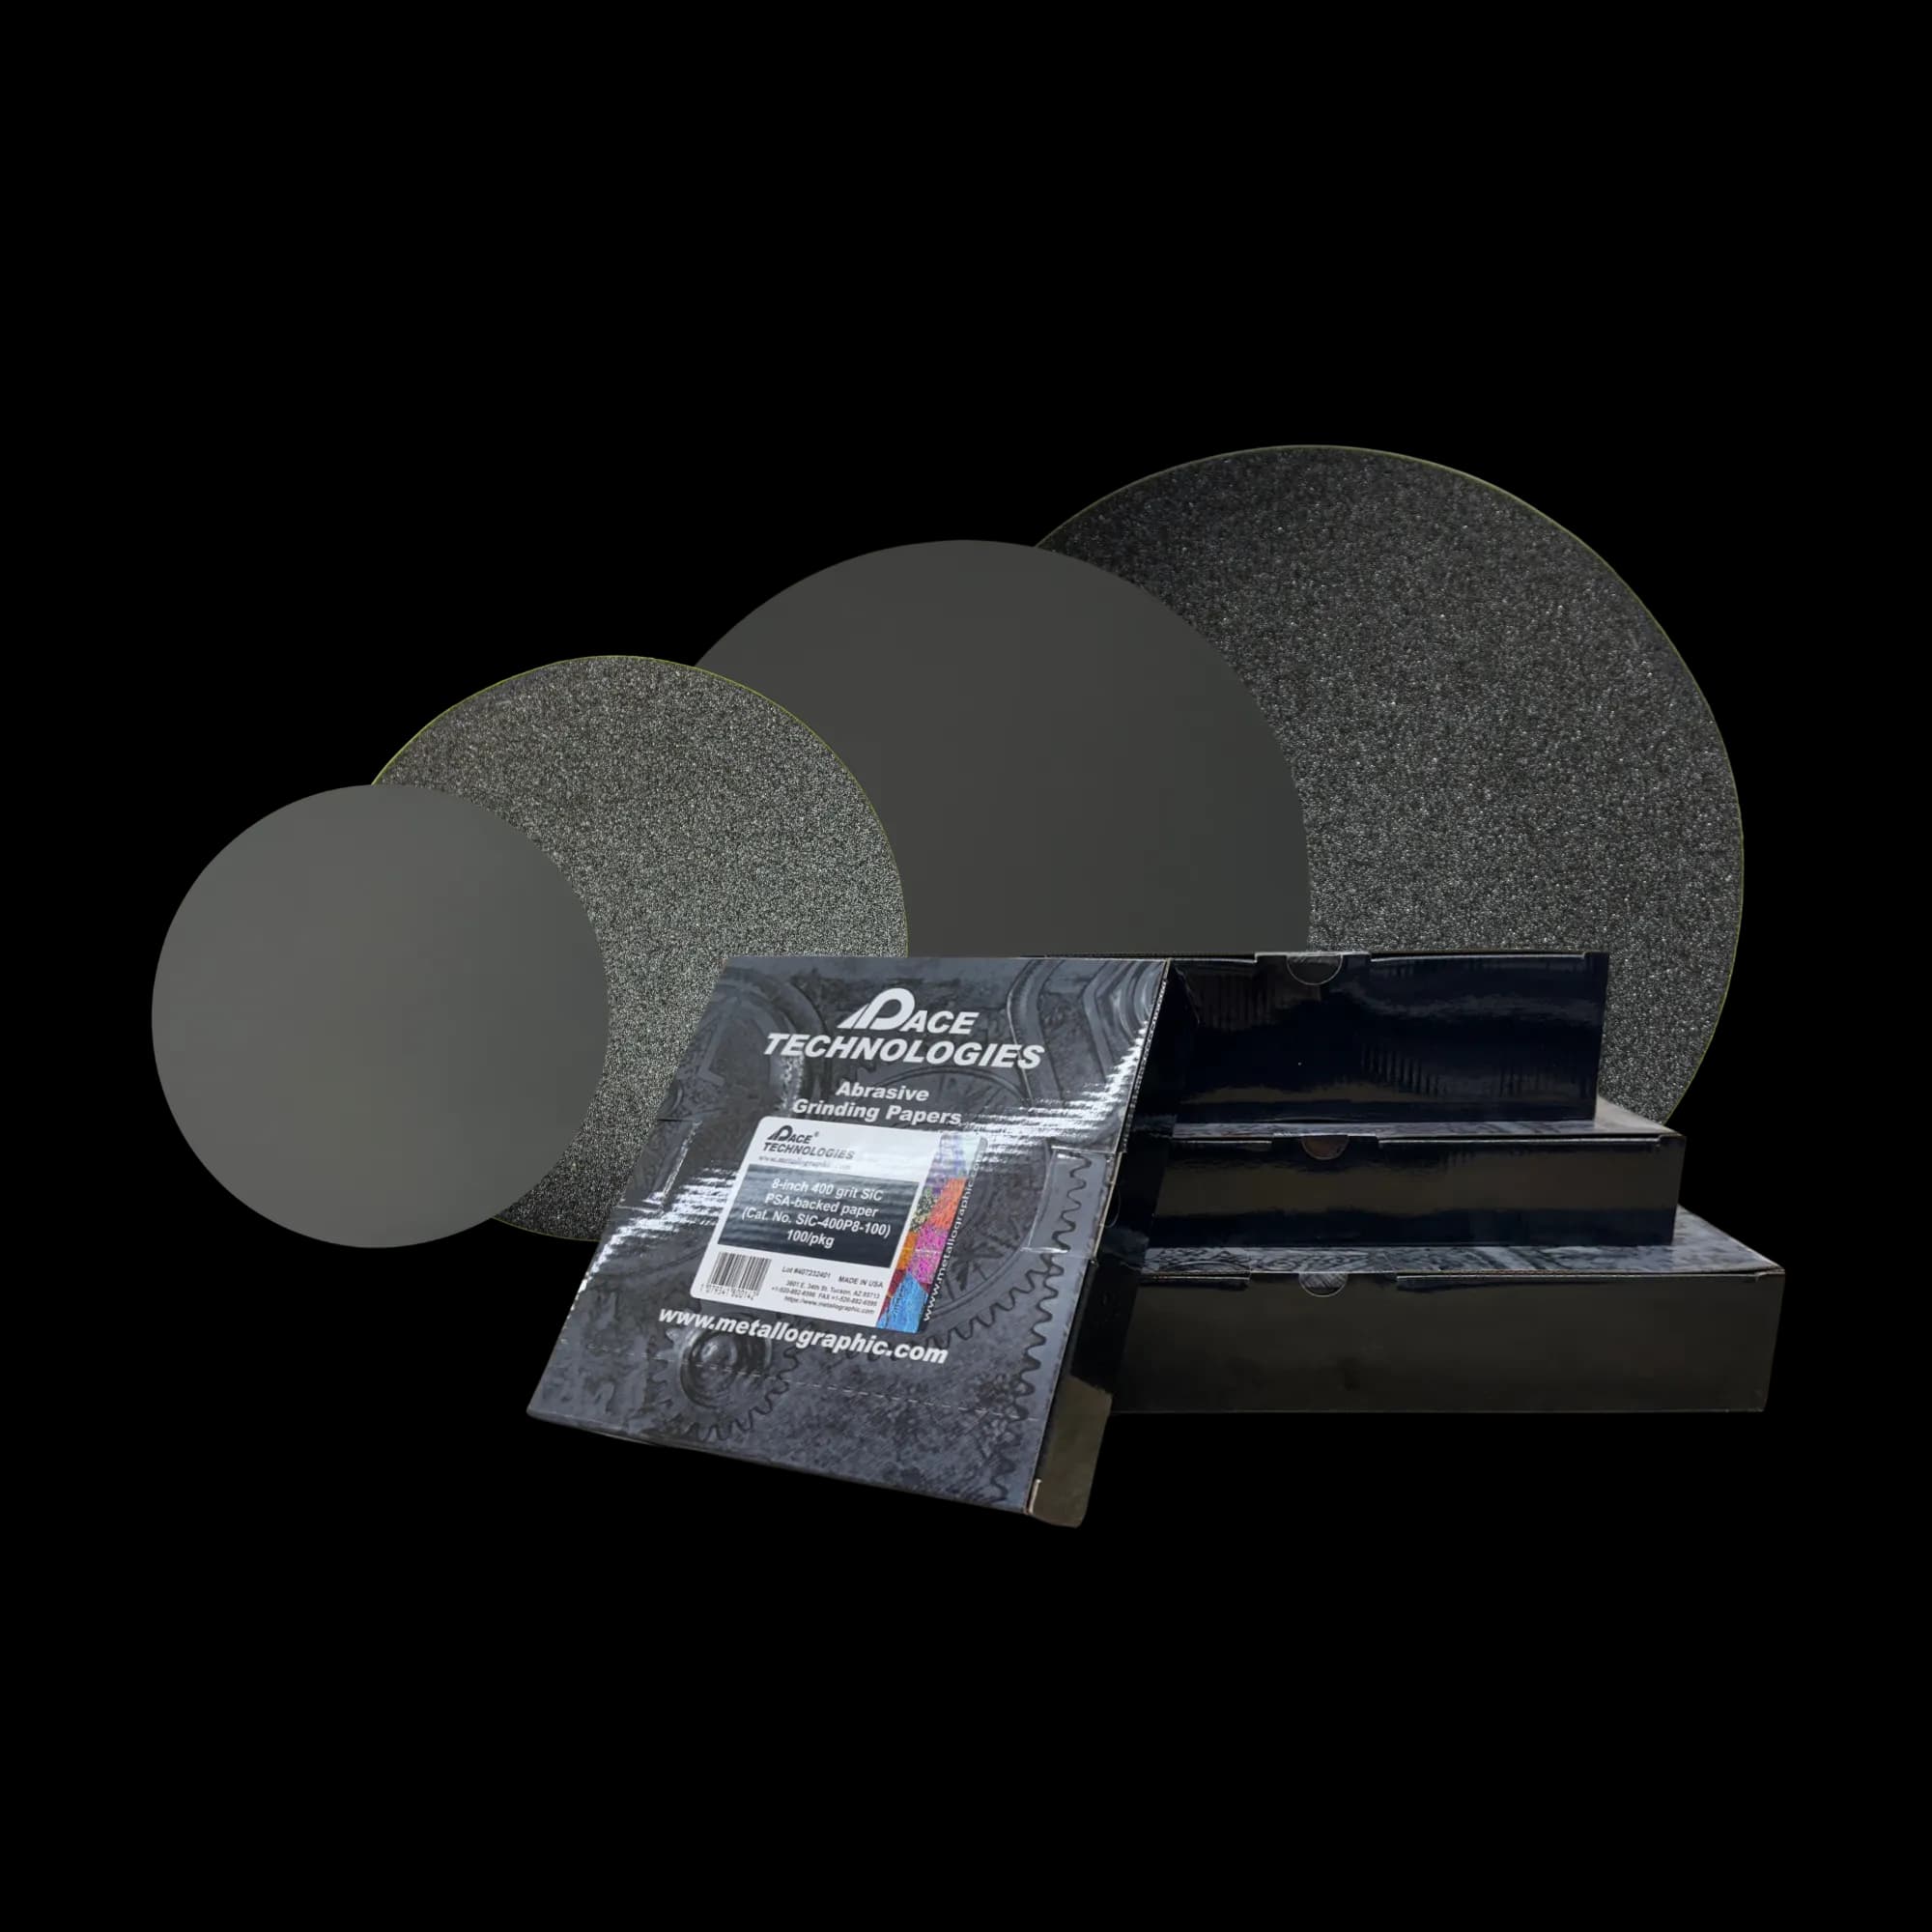
Silicon carbide (SiC) grinding papers in various grit sizes (120, 240, 400, 600, 800) for progressive grinding. Rotate sample 90° between each grit to ensure complete scratch removal.
Grinding Parameters
- Pressure: Moderate (25-30 N, about 5-7 lbs per sample) — enough to keep the paper cutting; excessive force work-hardens the surface
- Rotation: Rotate sample 90° between each grit
- Water Flow: Continuous water flow to remove debris and prevent loading
- Speed: 240-300 RPM for grinding wheels
Example Products: Silicon Carbide Grinding Papersappropriate SiC papers in all grit sizes for consistent grinding of nickel alloys
For purchasing options and product specifications, see commercial supplier website.
Grinding Tips for Nickel Alloys
- • Use fresh grinding papers - nickel alloys can quickly load papers
- • Maintain consistent pressure throughout each step
- • Ensure all scratches from previous grit are removed before proceeding
- • For superalloys, consider using SiC papers up to 1200 grit
Polishing
Diamond polishing is essential for nickel alloys. These materials require extended polishing times and careful attention to avoid introducing deformation or pullout of hard phases.
Diamond Polishing Sequence
- 9 μm diamond: 5-8 minutes on a hard woven cloth (silk or woven nylon)
- 6 μm diamond: 4-6 minutes on medium-hard cloth
- 3 μm diamond: 4-6 minutes on medium cloth
- 1 μm diamond: 3-5 minutes on soft cloth
- Final polish: 0.05 μm colloidal silica or 0.3 μm alumina - 2-4 minutes; with colloidal silica, flush with water for the last 30-60 seconds while still polishing to prevent silica residue and staining
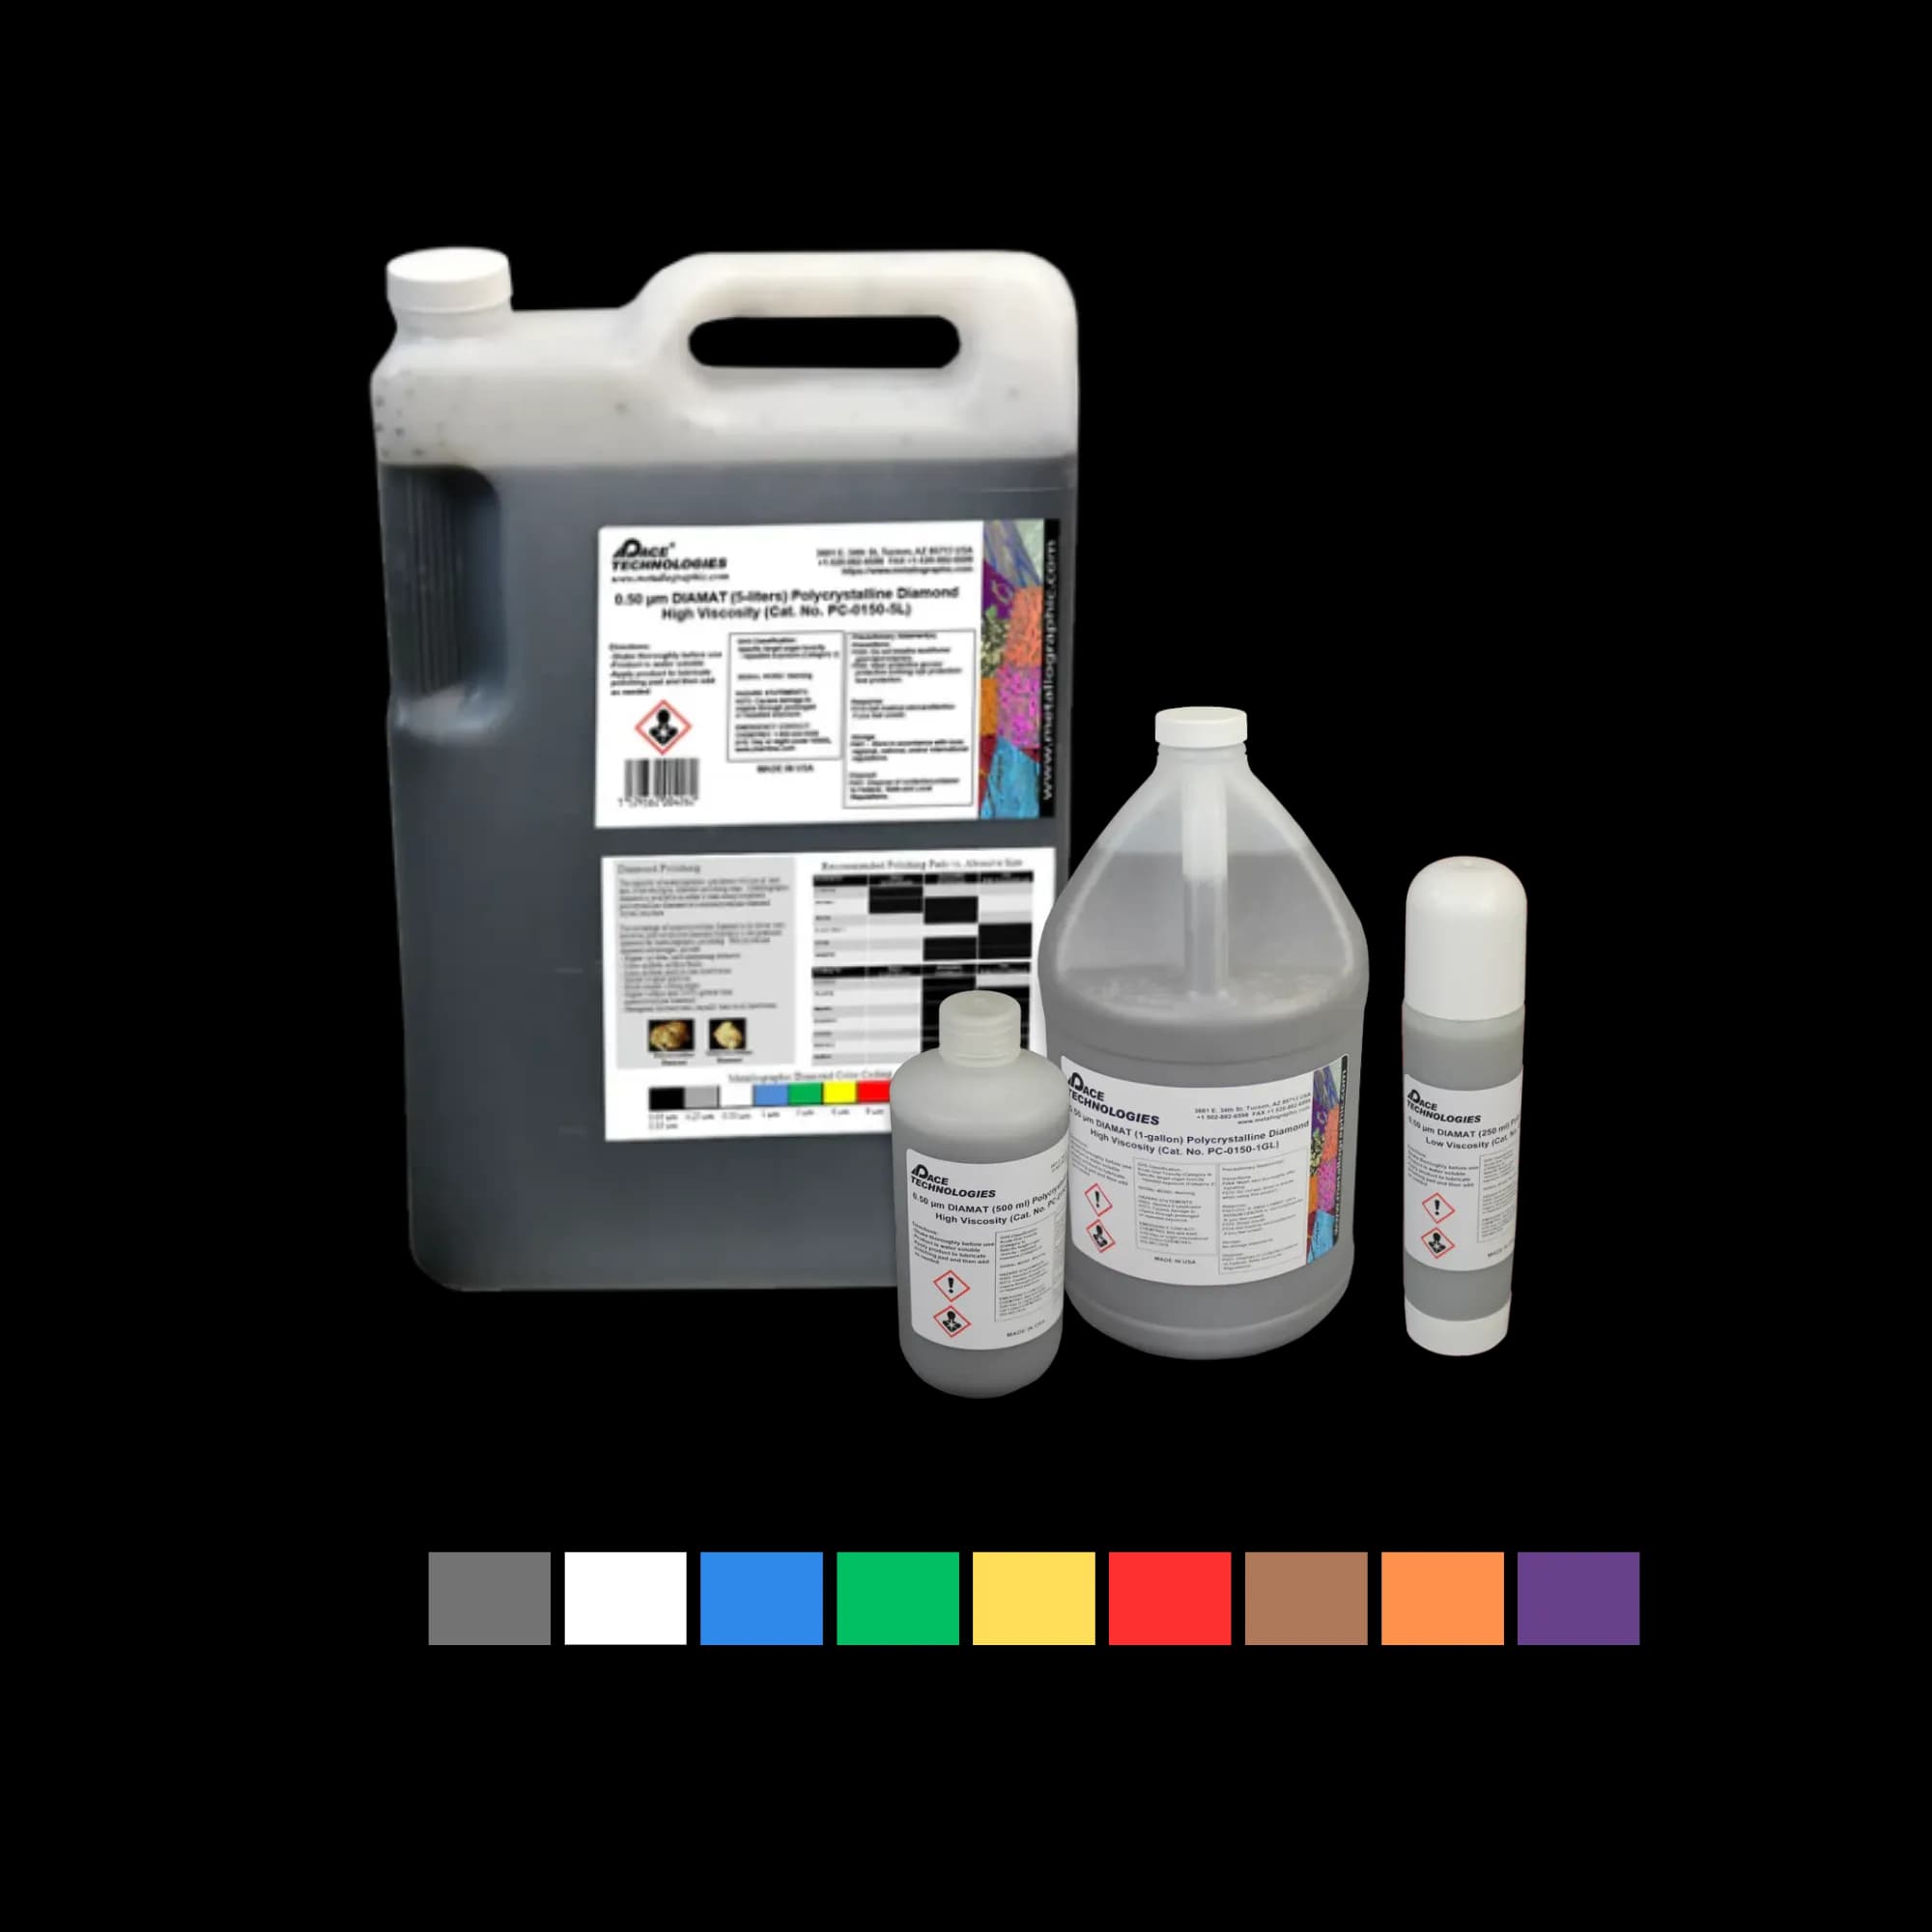
Polycrystalline diamond compound provides aggressive cutting action ideal for hard nickel alloys and superalloys.
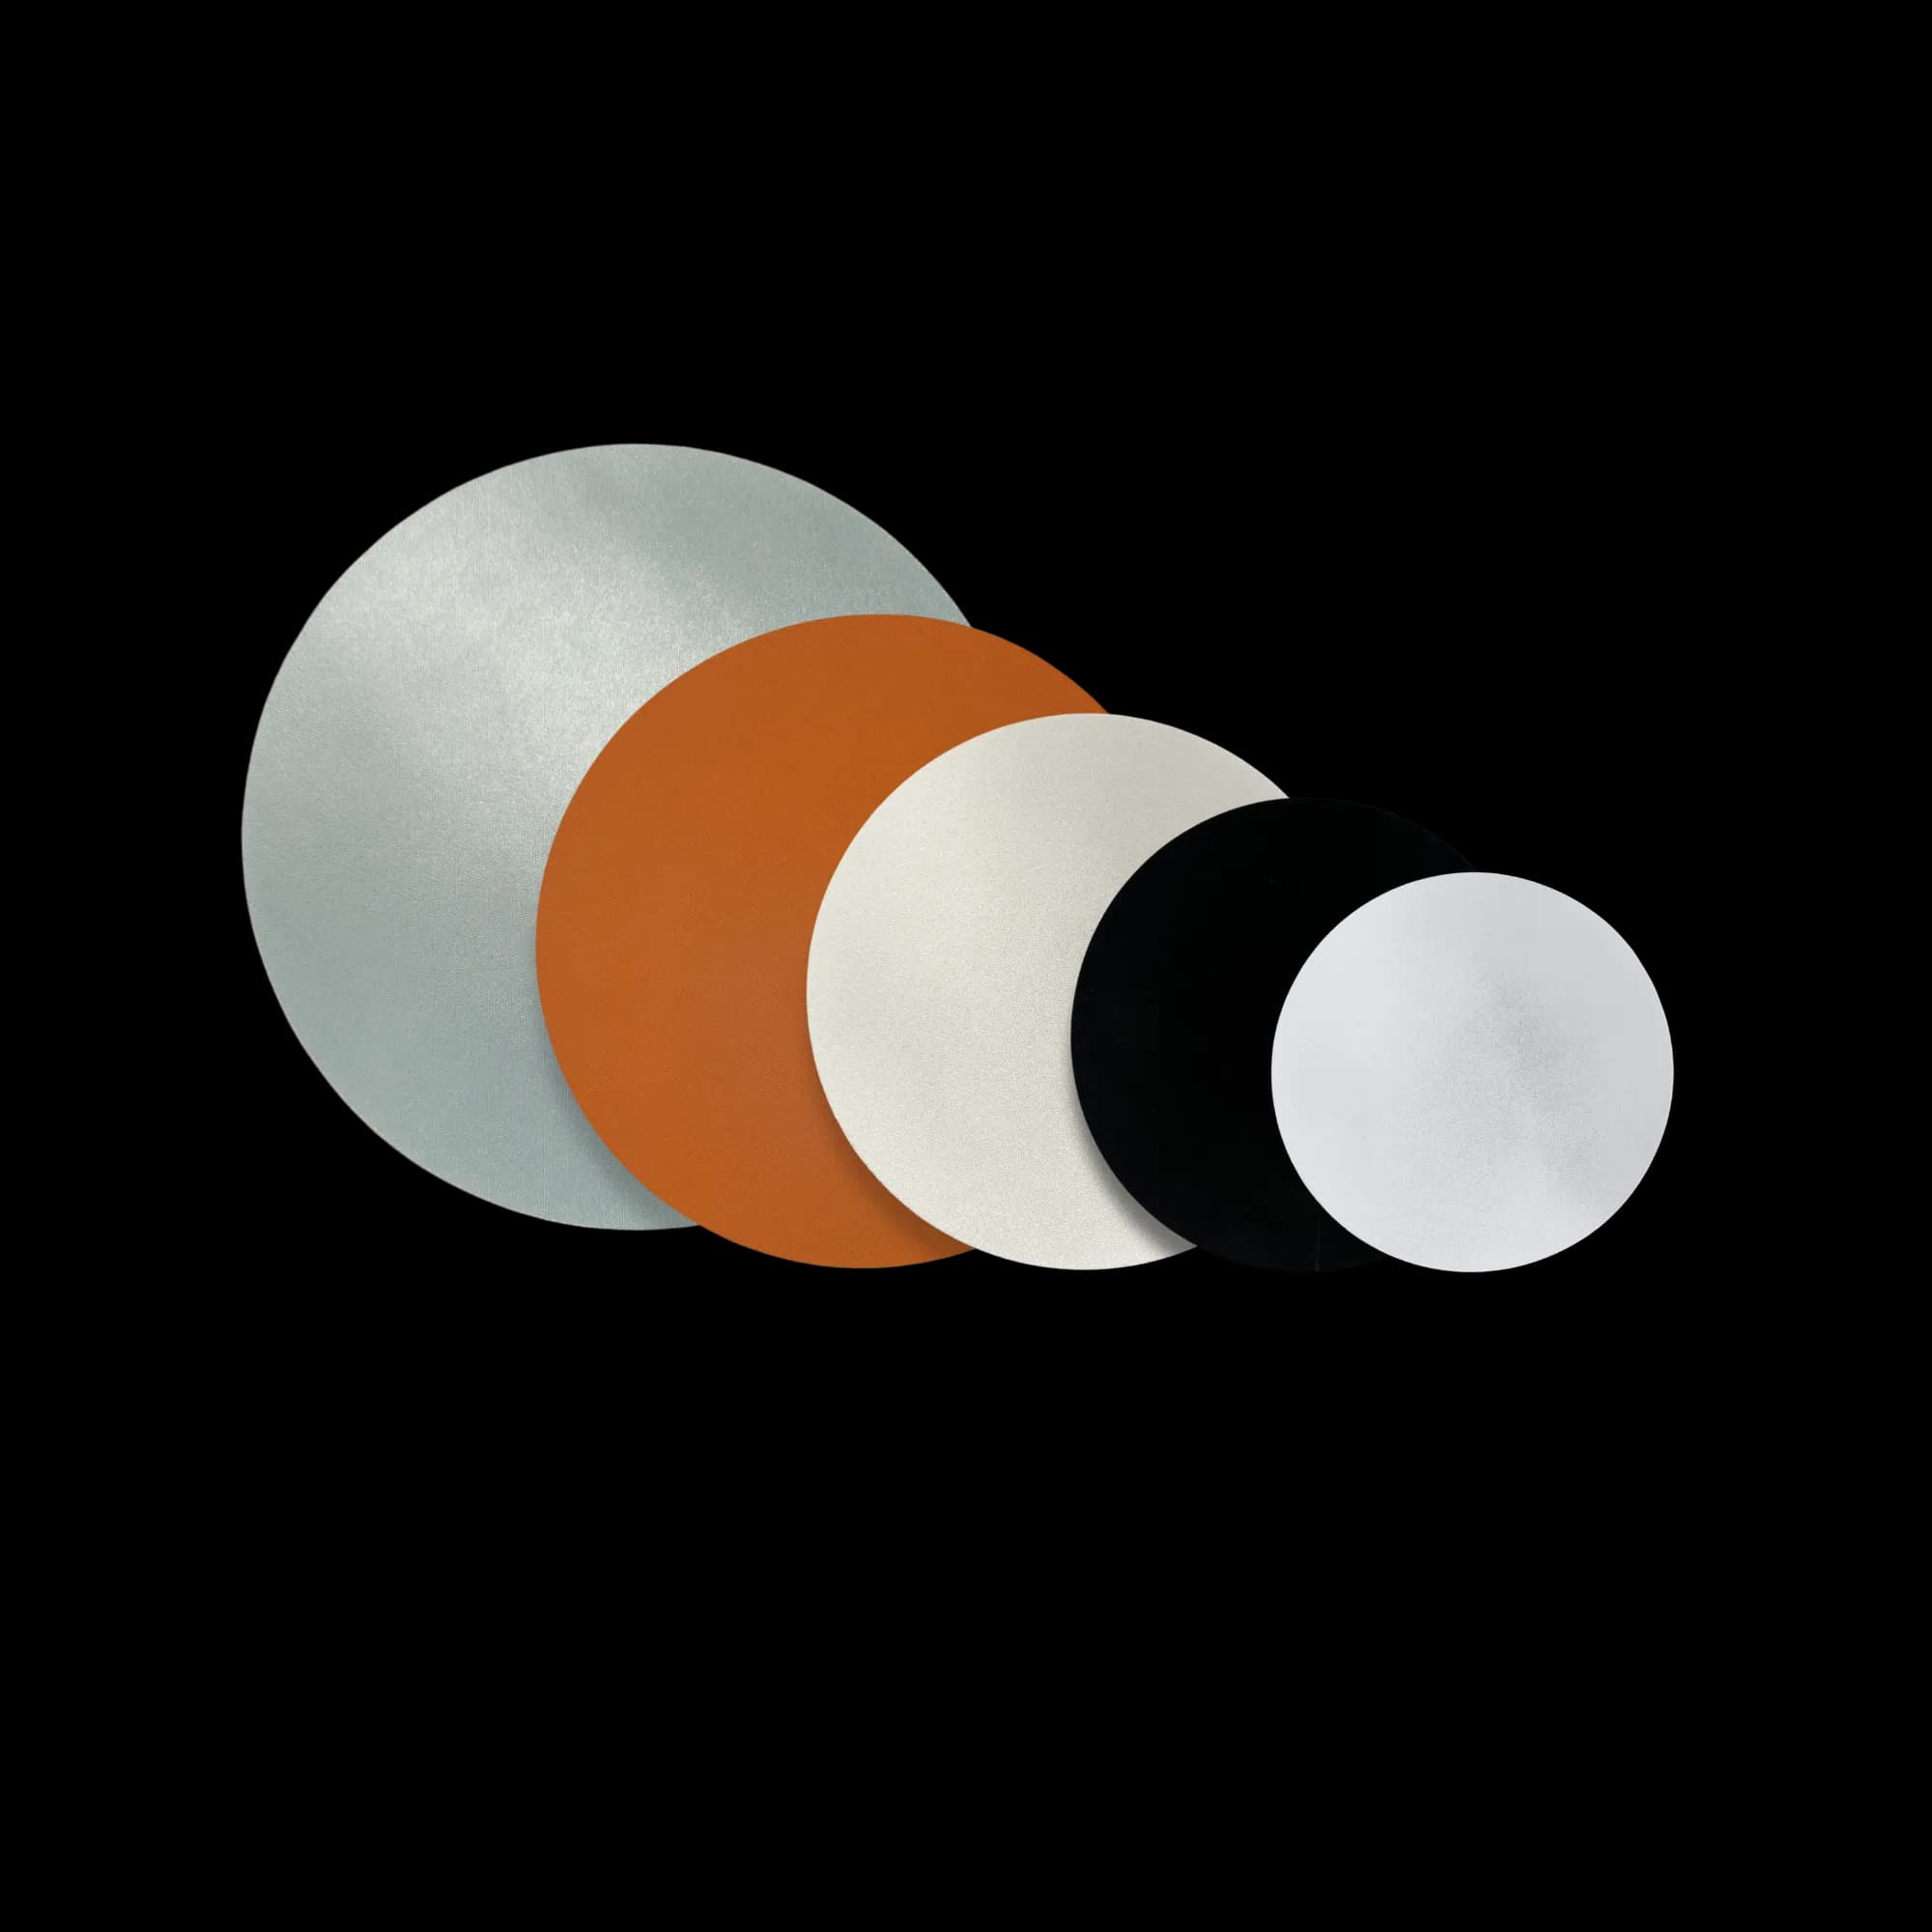
Various polishing pads and cloths for different polishing stages. Select pad hardness based on nickel alloy and polishing stage.
Polishing Parameters
- Pressure: Moderate (20-25 N, about 4-5 lbs) for the diamond steps, easing to 15-20 N on the final steps - avoid excessive pressure
- Speed: 120-150 RPM for diamond polishing
- Lubricant: Diamond suspension in water or oil-based lubricant
- Cloth Selection: Harder cloths for coarse steps, softer for fine steps
Superalloy Consideration: Nickel superalloys with gamma prime (γ') precipitates require careful polishing to avoid pullout. Use light pressure and extend polishing times at each step. Final polish with colloidal silica is essential to reveal fine precipitates.
Inconel MC-carbide comet tails — watch for these on the diamond steps.Inconel and most Ni-base superalloys carry MC carbides (NbC, TiC) that drag during diamond polishing, leaving unidirectional comet-tail scratches behind the carbides. The fix is rotating the sample 90° between polishing intervals (e.g., polish 90 s, stop, rotate the holder, polish another 90 s) — this breaks up the directional drag pattern. Lighter pressure helps, as does switching to a harder pad. Simply extending the polish time without rotating won't remove comet tails — the unidirectional drag pattern keeps reforming in the same direction.
Final Polishing
For nickel alloys, especially superalloys, final polishing with colloidal silica (0.05 μm) or fine alumina (0.3 μm) is critical. This step removes any remaining deformation and reveals the true microstructure including fine precipitates.
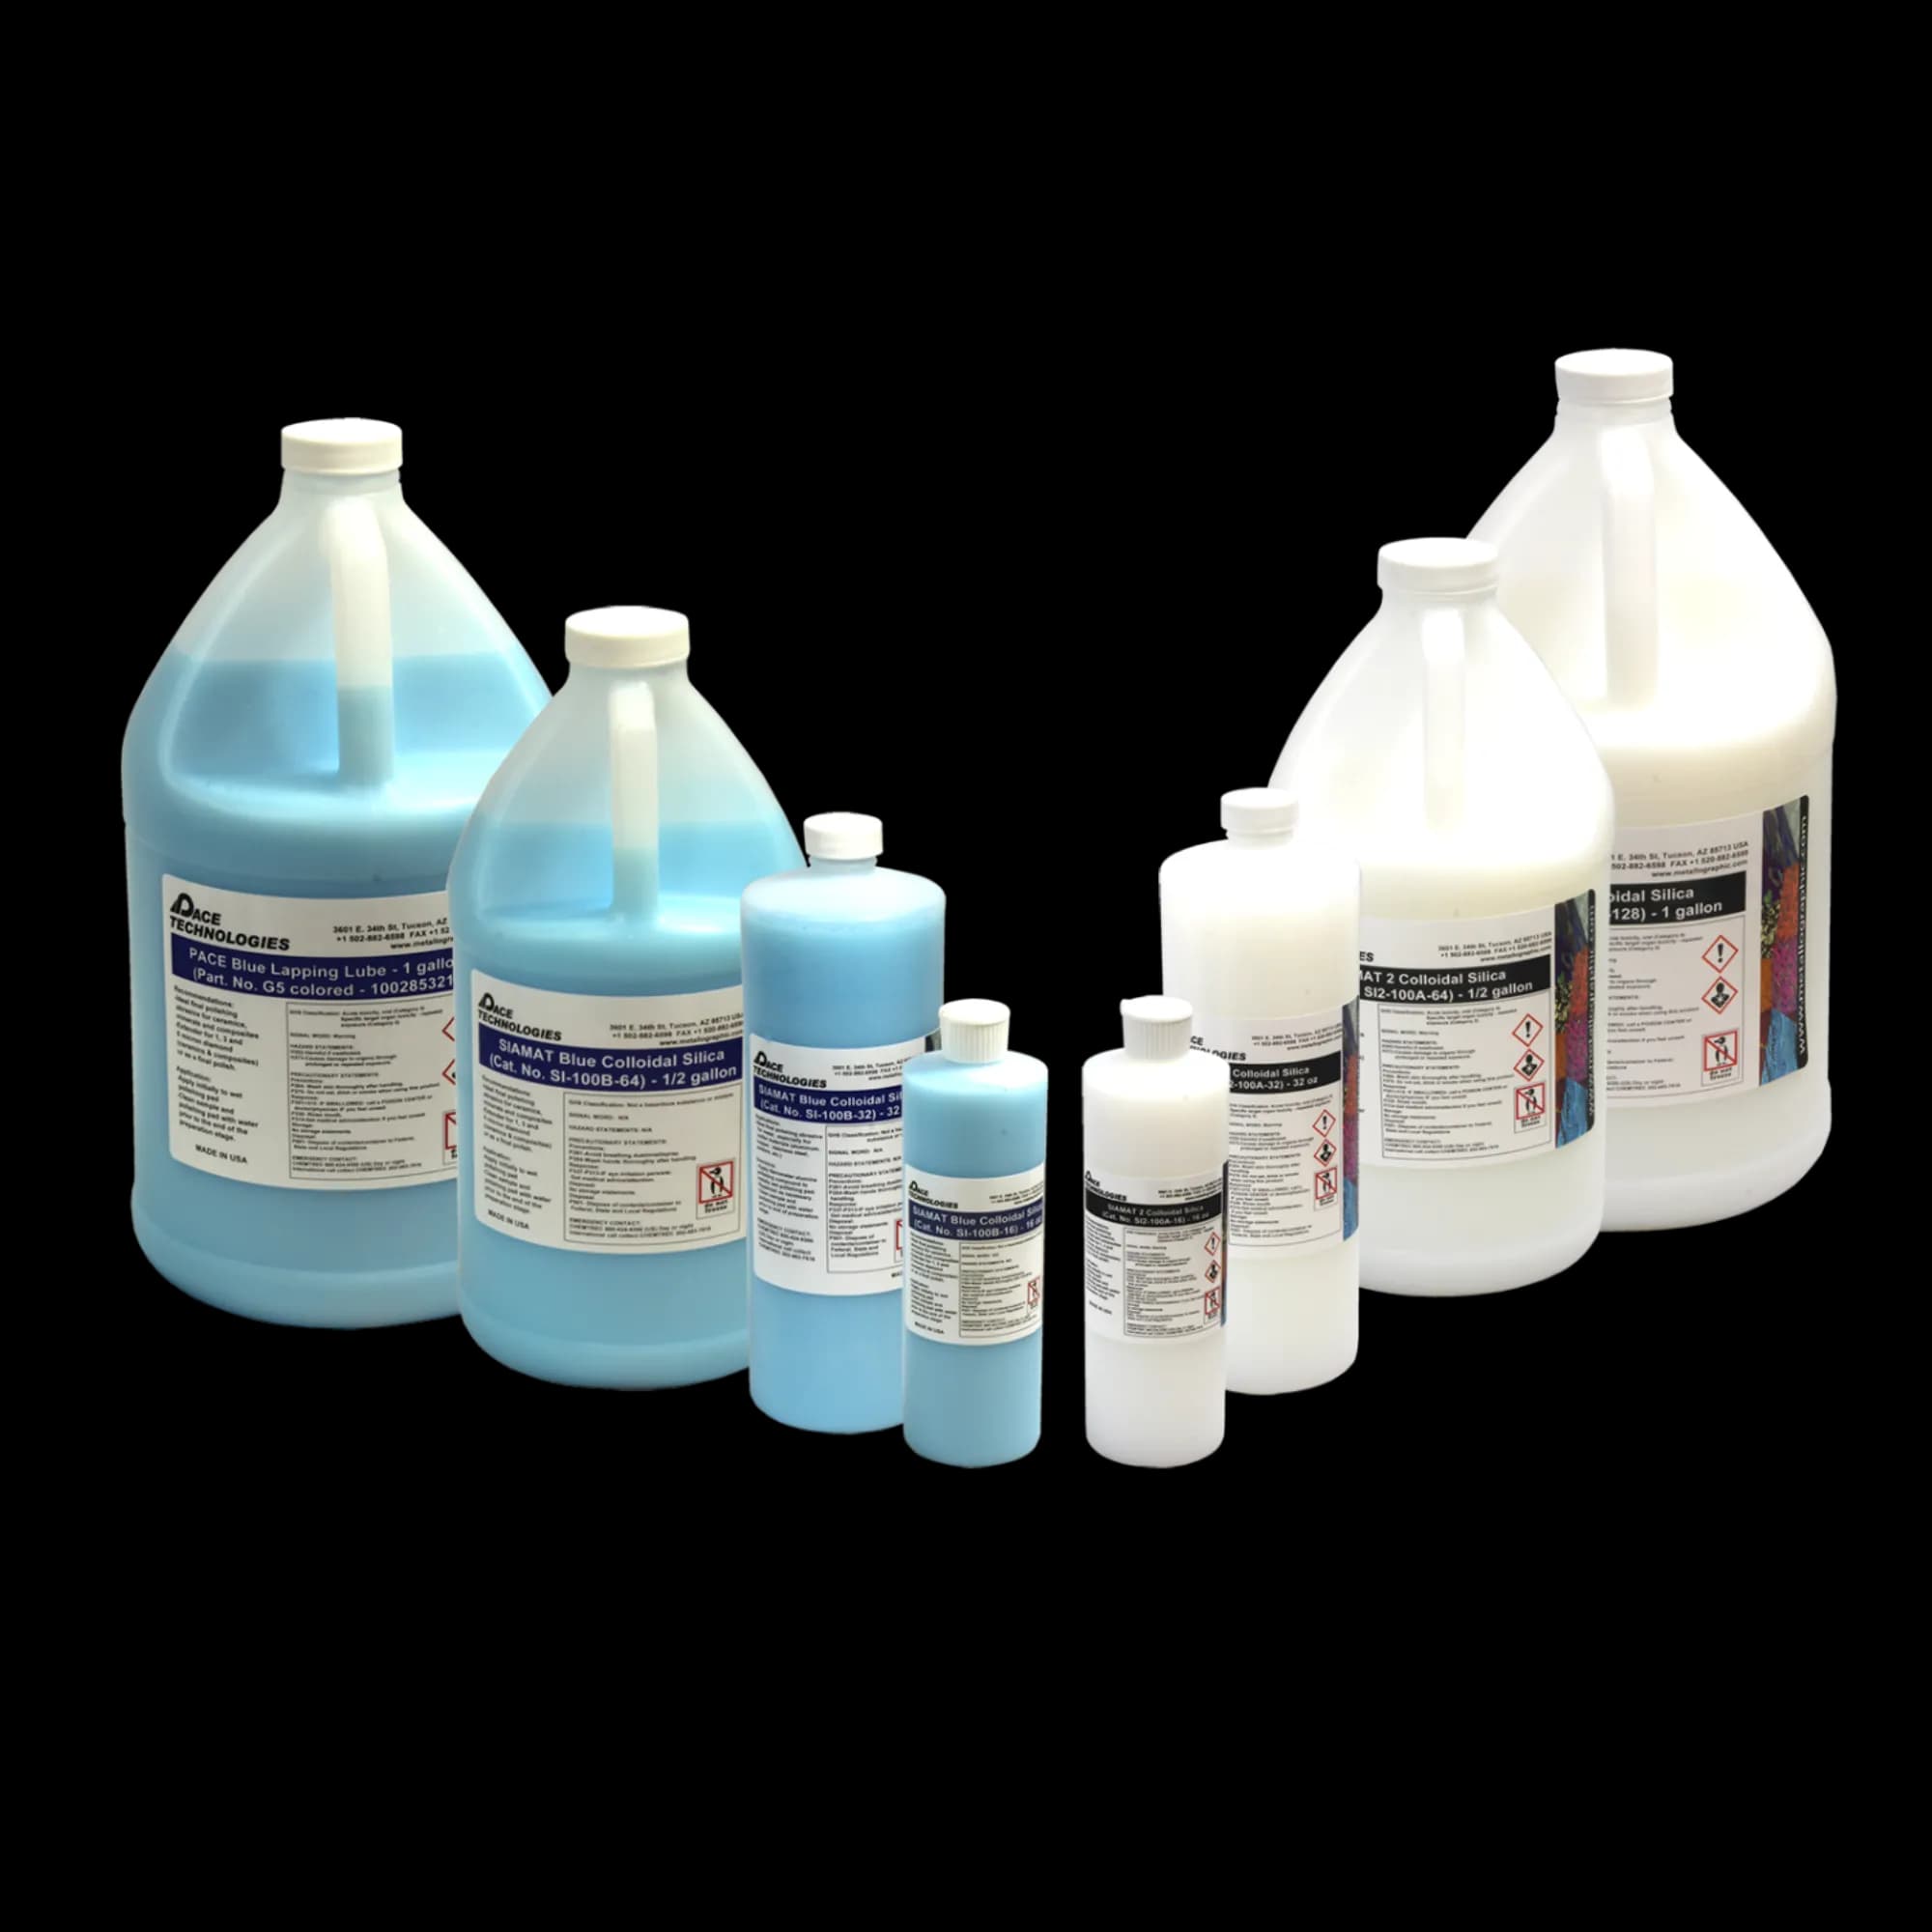
Colloidal silica (0.05 μm) is essential for final polishing of nickel superalloys to reveal fine precipitates like gamma prime (γ') without pullout.
Etching
Nickel and cobalt superalloys take Marble's reagent as the canonical first-pass etch, with Modified Kalling's for sharper detail on Inconel and Hastelloy. The classic γ′ imaging etch is electrolytic 5% chromic acid at 5 V — chemical etches don't give the same crisp γ matrix / γ′ precipitate contrast that the chromic gives at SEM magnification. Murakami's reagent darkens the Cr-rich carbides in Stellite-class Co-base wear alloys.
Common Etchants for Nickel and Cobalt Superalloys
| Etchant | Composition | Application | Method & Time |
|---|---|---|---|
| Marble's Reagent | 4 g CuSO₄ + 20 mL HCl + 20 mL H₂O | General Ni-base structure — Inconel, Hastelloy, Co-base alloys (Stellite). The default first-pass etch for the entire family. | Swab 10-60 s |
| Modified Kalling's (Kalling's No. 2) | 5 g CuCl₂ + 100 mL HCl + 100 mL ethanol | Inconel and Hastelloy detail — sharper grain-boundary contrast than Marble's; also a respectable γ′ outline if no chromic electrolyte is available. | Immersion 10-30 s |
| 5% Chromic Acid (electrolytic) — for γ′ imaging | 5 g CrO₃ in 100 mL H₂O | The canonical γ′ etch for Ni superalloys (Waspaloy, Rene 41/N5, Nimonic; in Inconel 718 it reveals the γ″/γ′ dispersion). Selective electrolytic attack throws the precipitates into sharp contrast against the γ matrix — best at SEM magnification. | 5 V, 5-10 s |
| Murakami's Reagent | 10 g K₃[Fe(CN)₆] + 10 g NaOH + 100 mL H₂O | Carbide imaging in Co-base wear alloys (Stellite 6, 12, 21) — the Cr-rich carbides are the metallographic interest in these alloys, and Murakami's selectively attacks them. | Swab 5-30 s (heated for refractory) |
Note: Glyceregia and aqua regia are stainless steel etchants and should not lead a Ni-base workflow — Glyceregia is the canonical austenitic-stainless general etch and aqua regia is for noble metals. They occasionally work on Ni alloys but Marble's gives cleaner contrast on the same samples. Similarly, 10% oxalic at 6 V is the austenitic-stainless sensitization etch (ASTM A262 Practice A), not a γ′ etch — for γ′ imaging, use the 5% chromic electrolytic above.
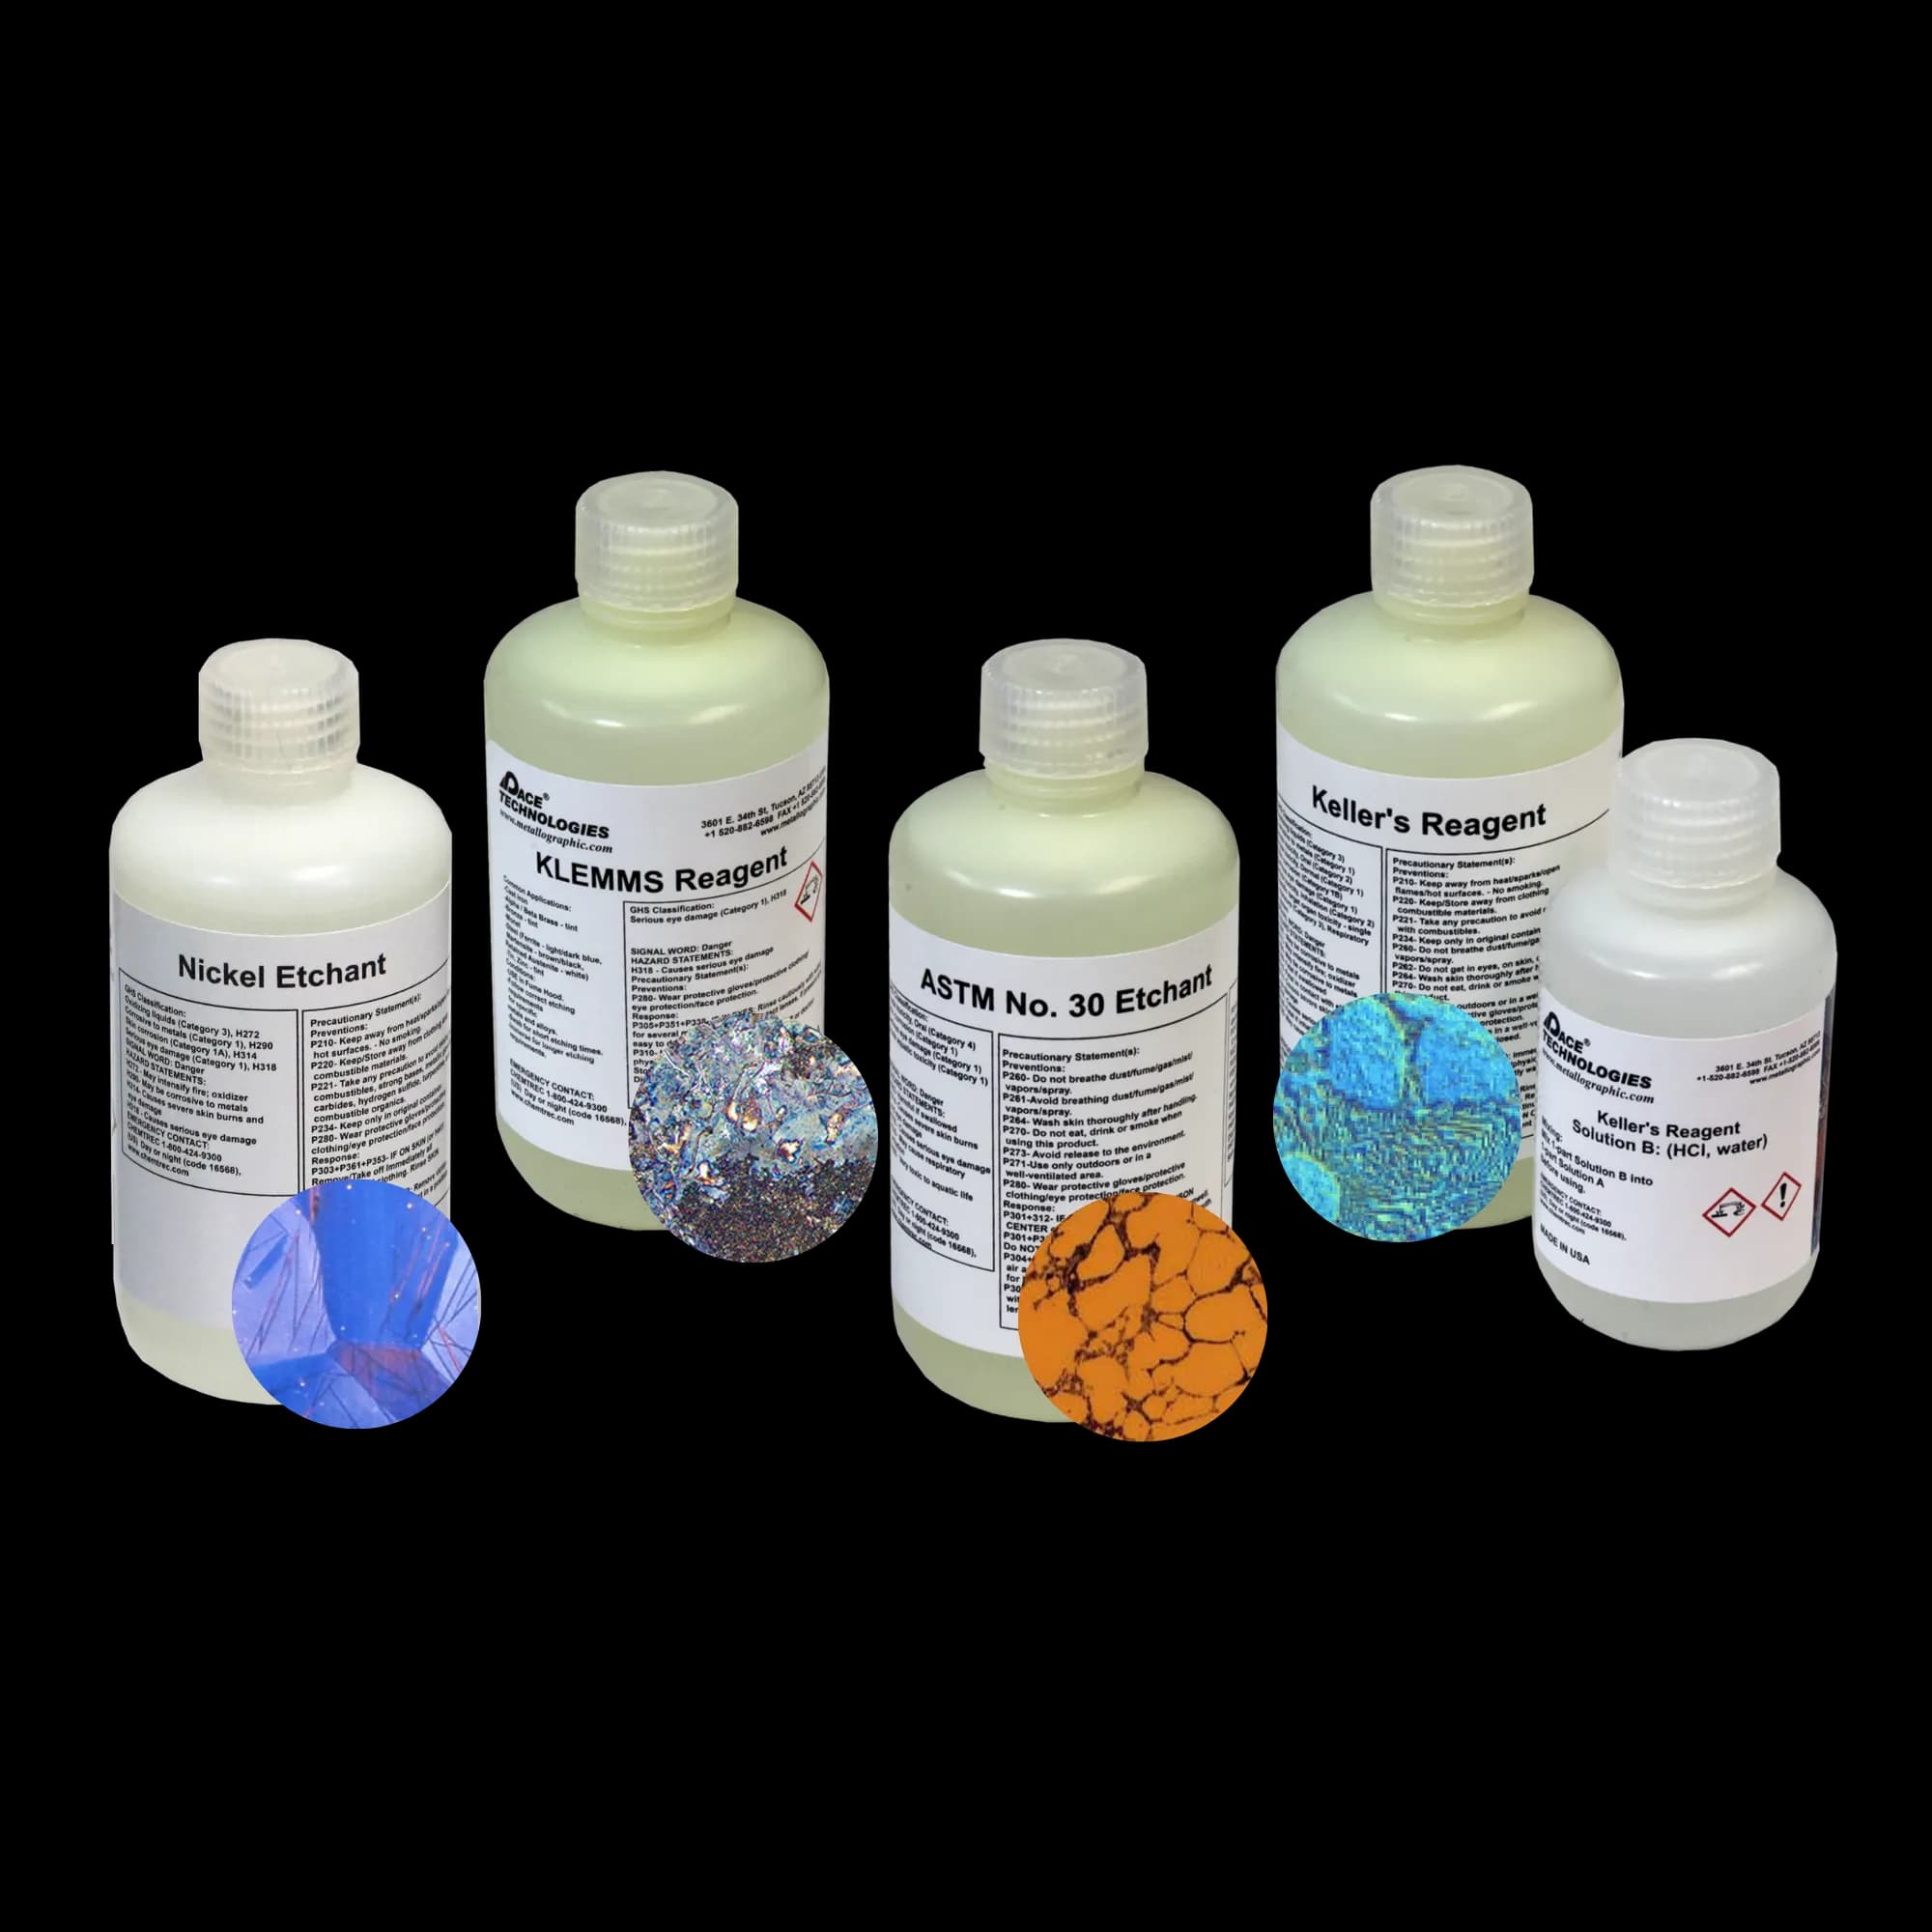
Etching solutions and reagents for nickel and cobalt superalloys. Common etchants include Marble's reagent, Modified Kalling's (Kalling's No. 2), Murakami's, and electrolytic chromic acid. Etching time typically ranges from 5-60 seconds depending on the etchant and alloy composition.
Etching Procedure
- Ensure sample is clean and dry before etching
- Apply etchant using cotton swab or immerse sample
- Agitate gently if using swab method
- Monitor etching progress - nickel alloys can over-etch quickly
- Rinse immediately with water, then ethanol
- Dry with compressed air or warm air stream
Example Products: Etching SolutionsEtching solutions and reagents for nickel alloys and superalloys
For purchasing options and product specifications, see commercial supplier website.
Safety Warning: Many nickel alloy etchants contain strong acids and are highly corrosive. Always use appropriate personal protective equipment including gloves, safety glasses, and work in a well-ventilated area or fume hood.
Alloy-Specific Etching
- Inconel 718 (general structure): Marble's reagent by swab, or Modified Kalling's by immersion for sharper grain-boundary contrast
- Inconel 718 (precipitate imaging): 5% chromic acid electrolytic at 5 V for 5-10 s. Note that 718 is strengthened primarily by γ″ (Ni₃Nb) with secondary γ′ — the chromic electrolytic reveals the combined dispersion. Best at SEM magnification.
- Hastelloy C-276: Marble's for general structure; Modified Kalling's for detail
- Waspaloy, Rene 41, Rene N5, Nimonic 80A/90/105 (aerospace γ′-strengthened): Marble's or Modified Kalling's for general structure; 5% chromic electrolytic for γ′
- Monel 400, K-500: Treated as Ni-base — Marble's or Modified Kalling's
- Stellite 6, 12, 21 (Co-base): Marble's for general structure; Murakami's for the Cr-rich carbides that are usually the analysis goal
Troubleshooting
Common Issues and Solutions
Problem: Excessive Deformation
Symptoms: Smearing, distorted microstructure, difficulty revealing grain boundaries
Solutions: Reduce cutting speed, use lighter grinding/polishing pressure, extend polishing times, ensure proper grit progression
Problem: Pullout of Hard Phases
Symptoms: Holes or pits in the surface, missing carbides or precipitates
Solutions: Use lighter polishing pressure, extend polishing times, use softer polishing cloths for final steps, consider vibratory polishing for superalloys
Problem: Over-Etching
Symptoms: Dark, obscured microstructure, excessive relief
Solutions: Reduce etching time, use weaker etchant concentration, rinse immediately after etching, re-polish and re-etch if necessary
Problem: Incomplete Etching
Symptoms: No contrast, grain boundaries not visible, flat appearance
Solutions: Increase etching time, try different etchant, ensure sample is clean, check etchant freshness, consider electrolytic etching for difficult alloys
Need More Help?
Explore our other guides or use our tools to find the right products and procedures for your specific needs.